At the end of the last post I had restored the Hero’s memories as well as the Zenith Castle, so it’s time to visit the Zenethian King.
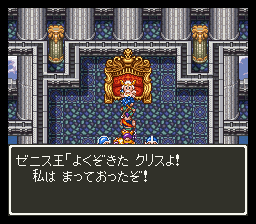
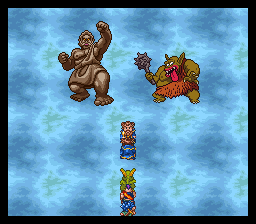
Here we learn that Deathtamoor is in the “hazama no sekai”, which means something like “In-between world” but is apparently “Dark World” in the official translations. To get there, though, we have to revive the Pegasus. The Pegasus is in a tower guarded by some of Deathtamoor’s monsters, but the boss fight was fairly easy — the spirit enemy here can use a multi-hit death spell that could be bad but I killed him before he used it.
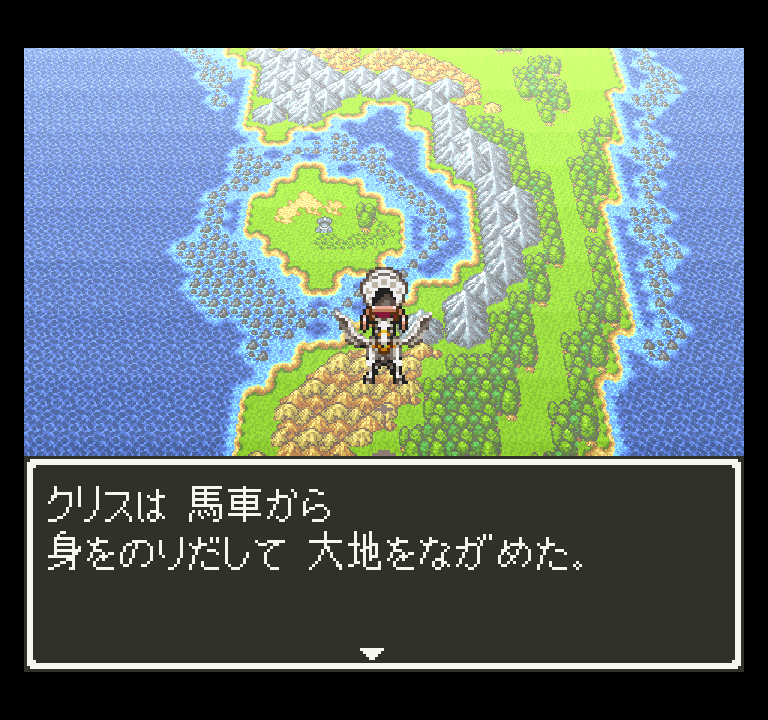
Now with the Pegasus, we can go anywhere in the world as well as to the Between World.
We get locked into the Between world, and everyone’s HP is set to 1 and MP to 0. This cannot be healed or cured by any means (even if you leave the between world). This is because you’ve fallen into the despair of Despair Town, the first destination. Everyone there just lies around doing nothing. There is a man Clarke Ende, who came from the town of Zaxon in the real world. He once forged good armor but he’s too depressed now — however, he gives us his pipe to show his wife and child if we ever find them.
We can return to the real world from a spring to the west of the town, and show the pipe; his wife gives us Ende’s tools. When we show Ende the tools he knows we can actually travel between the worlds and this perks him up enough to forge him some armor. This also restores the spirits of the other townspeople and allows us to heal our HP/MP.
Next up is Greed Town, where everyone tries to selfishly cheat, and they’re all obsessed with this treasure that’s supposedly in the mine. All we find in the mine is a note saying that a rich man in town knows where the treasure is — he tells us it’s in a nearby lake. A bunch of townspeople gather there and start fighting over the chest, but we open it and reveal that it’s empty, the townspeople realize they were fighting over nothing and the greed of the town vanishes. It also turns out that the rich man was serving Deathtamoor.
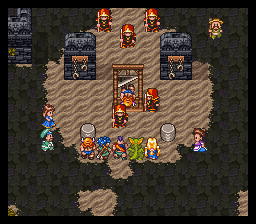
The last of the towns here is the Prison Town, where we have to do a lot of sneaking around in soldier costumes — eventually there’s a revolt from the prisoners and we manage to take out Akbar. Akbar himself is somewhat difficult, but Hustle Dance from the hero helps a lot in healing, as does Mireyu’s Bikilt spell.
Solving this area also releases Krimut and Masarl, two magicians who are able to open the way to Deathtamoor’s Castle, the final dungeon.
The castle itself has a lot of difficult enemies, but with Hustle Dance I was able to keep up my HP. When I reached Deathtamoor, the main character still was on level 7 Superstar so I had not even unlocked the Hero job yet. I was around level 30-31, and Deathtamoor kicked my butt.
I decided to master Battlemaster for Hassan and switch him to a Dragon, then try again (originally I was going to master Dragon but that takes way too many battles). Actually Hassan’s job didn’t help very much; it was the general levels and being able to get some Hero levels that really helped.
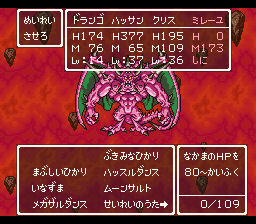
Deathtamoor has three forms. My basic strategy for all of them was the same — attack with Drango (dragon) and Hassan, use Hustle Dance or Gigaslash with Kurisu, and have Mireyu use Bikilt on Drango/Hassan if they need it (since Deathtamoor frequently eliminates our buffs), heal if necessary, and just guard if neither of those are needed. The second form uses def+ a lot so I used Kurisu’s hero ability that removes the buffs. Sometimes I used Drango’s breath attack but in general I found just attacking with both was more effective. I also had World Tree Leafs on each person in case someone needed to be revived.
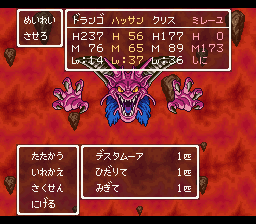
For the third form, the Left Hand has to be taken out first since it can revive the others (in the DS version they made both hands revive). I swapped in Barbara here so that she could use Madante which did 650 damage to each part. From there the same basic technique as the other bosses worked, and he went down faster than I expected. I probably overlevelled.
After Deathtamoor dies, the Between World vanishes, and there’s a long ending scene where everyone goes back to their lives. I was a little confused because I thought they said the Dream World was disappearing and Barbara does vanish, but then there’s a later scene where she’s still there. Maybe Kurisu’s ability to go to the Dream World was just removed.

If I load my clear save, I can go get the Hagure Metal job book and then fight about 150 battles to unlock the bonus dungeon but I’m not going to do that. If you can beat the boss in the bonus dungeon in 20 turns you can wish for something that will change the ending, but I wasn’t able to find any description of what it actually changes (perhaps Barbara doesn’t disappear)?
In the end this is definitely a strong game and one of the best I’ve played so far, but it’s not as good as DQ5. The job system is fun but I think the battle numbers are too high, and they had to create a lot of abilities to fill out the jobs, most of which seem fairly useless. I also never recruited a single monster even though I had a maxed Monster Tamer in my party for a good chunk of the game. The dungeon design is inferior to 5 and I really liked 5’s storytelling.
DQ will show up one more time near the end, with the SNES remake of DQ3.