Monthly Archives: January 2022

SFC Game 77 – Mahoujin Guruguru

Mahoujin Guruguru is a manga that ran in Monthly Shonen Gangan from 1992-2003. It’s a parody of RPG video games and has a lot of meta-humor and 4th wall breaking. There are two video games based on it for the Super Famicom. This one is not really an RPG in my estimation because it has no developing story. The opening has the main characters Nike and Kukuri coming to a new village with no money, and the king gives them a quest to get the magic circles from 12 towers so that the 13th tower can be unsealed, and they can save the Ocroc Egg. That’s the entire story; there’s no further development (as least in the first 9 towers, which is the extent of what I played).

The graphics on the whole are well done; the sprites are large and detailed.

You first buy equipment; there are various weapon types that Nike can use but I just went with swords. Then it’s on to the area where you can access the 12 towers.

In theory you can do them in any order, but the monster levels pretty much force you to do them in a set way — starting from the bottom left, then the bottom right, then the second to bottom on the left, etc.

The towers are (I think) randomly generated when you enter. You explore around each floor, looking for chests and eventually the warp to the next floor. The chests usually have money in them, but can have some items as well.

There are also monsters that wander the dungeon, and when they encounter you, it’s time to fight. In the fights, Nike is at the front and fights automatically. You control Kukuri’s spellcasting. You can also give Nike one of 4 commands but without the instruction manual I was never clear on exactly what these did.

To cast a spell, you first choose one of four elements (wind, fire, life, water). Then you pick an area of effect, and then a style (like “powerful”). This makes a possible 64 combinations that result in 64 different spells. The idea is interesting but as with most games that offer this many spell choices, there are a few that are really powerful and the rest aren’t worth using. After the first dungeon, MP restoring items are so plentiful that you can basically cast as many spells as you want, which is nice. Healing items also come pretty easily as well.

The game on the whole is fairly easy, but there are times when you have to do a bit of moneymaking to buy new weapons and armor (the shops gain new equipment after each 2 towers cleared). The bosses for the most part can be taken down easily with the Ikari no Honou fire spell, but two of the bosses I encountered could kill me from full HP with a single special attack. I stopped playing on the 9th tower because I could see that there was going to be no way to beat the boss without a bunch of grinding — I tried all kinds of spells, including ones that claimed to raise defense, but he still killed me from full HP with a special attack.

Each tower is 5 to 8 floors, with the top floor being a boss fight. Some towers have some special elements to them, like one way arrows, enemies that change the direction on your control pad, or one tower where you can’t use the automap. But they don’t change the basic gameplay that much.

This is not a terrible game, but it’s not fun enough that I was willing to do a bunch of grinding to beat something that (to me) isn’t really an RPG in the first place. I watched a video playthrough of the ending; the last tower is the same as the first 12 and the final boss has no real character. The ending scene is just Kukuri using the 12 seals to protect the egg, which hatches into a bird — the end.

SFC Game 76 – Ladystalker: Challenge From the Past

Lady Stalker (レディストーカー 〜過去からの挑戦〜), released 4/1/1995, developed by Climax

In 1992, Climax released a game for the Mega Drive called Landstalker. It wasn’t really an RPG, it was more of an action/adventure game that used the same isolinear perspective as Solstice and other games like that. The title is rather odd because the word ストーカー in Japanese has the same meaning as “stalker” in English. I imagine the designers were trying to evoke other meanings of English “stalk”, as someone moving around sneakily. But I’m not sure. In any case this accounts for the dubious name of the sequel — the main character is a woman named Lady, so the game is a lady “stalking” around the land, not a stalker of women.

This 1995 game is based on Landstalker, which I never played (I was a Nintendo kid). If anyone did play this let me know your thoughts in the comments. They removed the ability to jump but added XP and levels, making it a full-fledged RPG. (Dark Savior for the Saturn and Alundra for the Playstation are additional games with the same basic developers.)

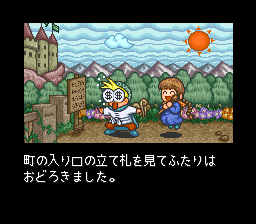
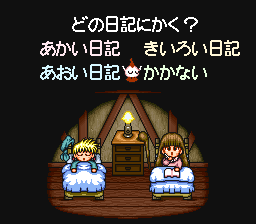
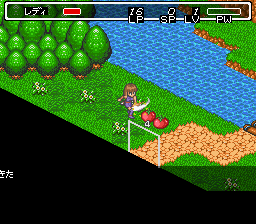
The beginning story is that this girl named Lady, who is the daughter of a rich person, causes so much trouble that her dad shuts her up in a house with a tutor Yoshio and a cook Cooks (spelled “Cocks” in the instruction manual but I’ll use “Cooks” instead). She manages to break out and heads to Destrand Island, where she’s heard rumors of great treasure. When she gets there, she learns that the island was ruled by King Baron long ago, a genius scientists who did all kinds of experiments, especially on his fellow monsters. But to learn more and further explore, Lady needs a visa, which she can only get by going through a training area.

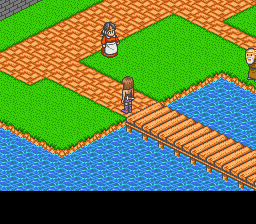
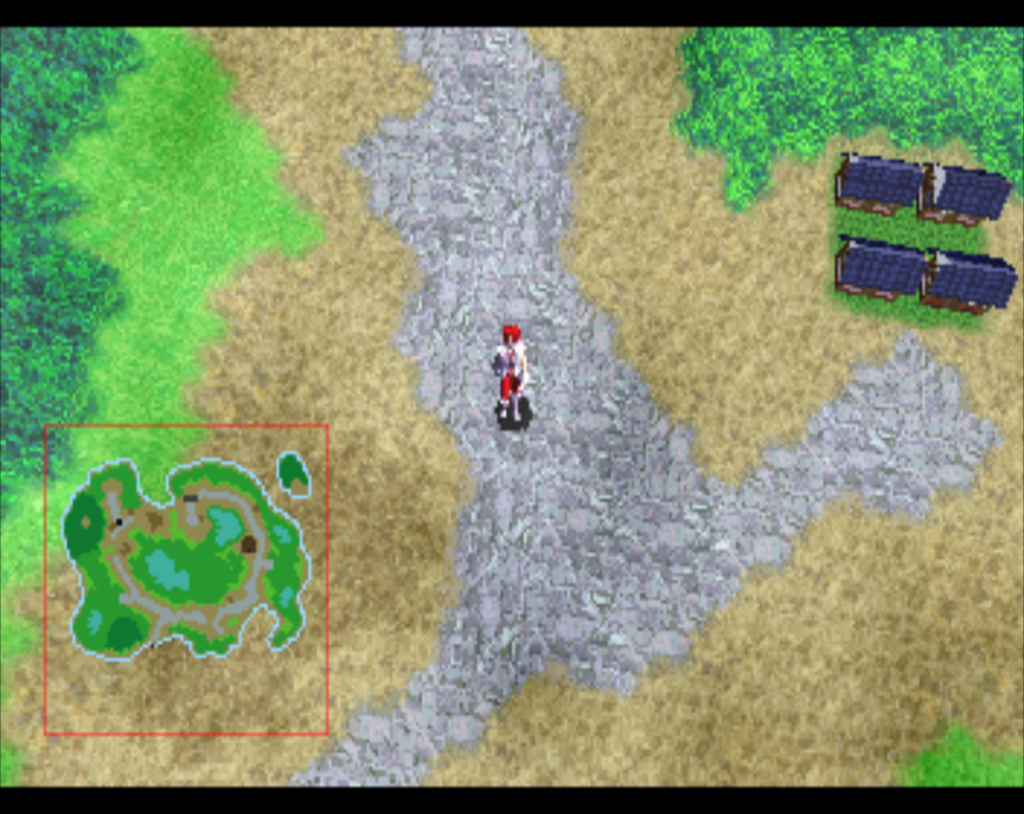
The movement takes some getting used to. The up arrow is NW; I always felt like it should be the NE instead. I did get used to it after the first dungeon or so but it is really frustrating until you do.

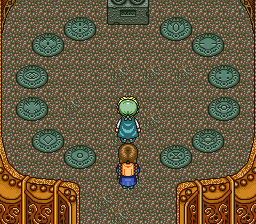
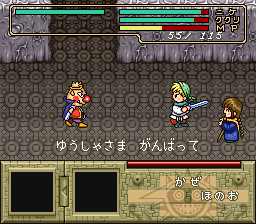
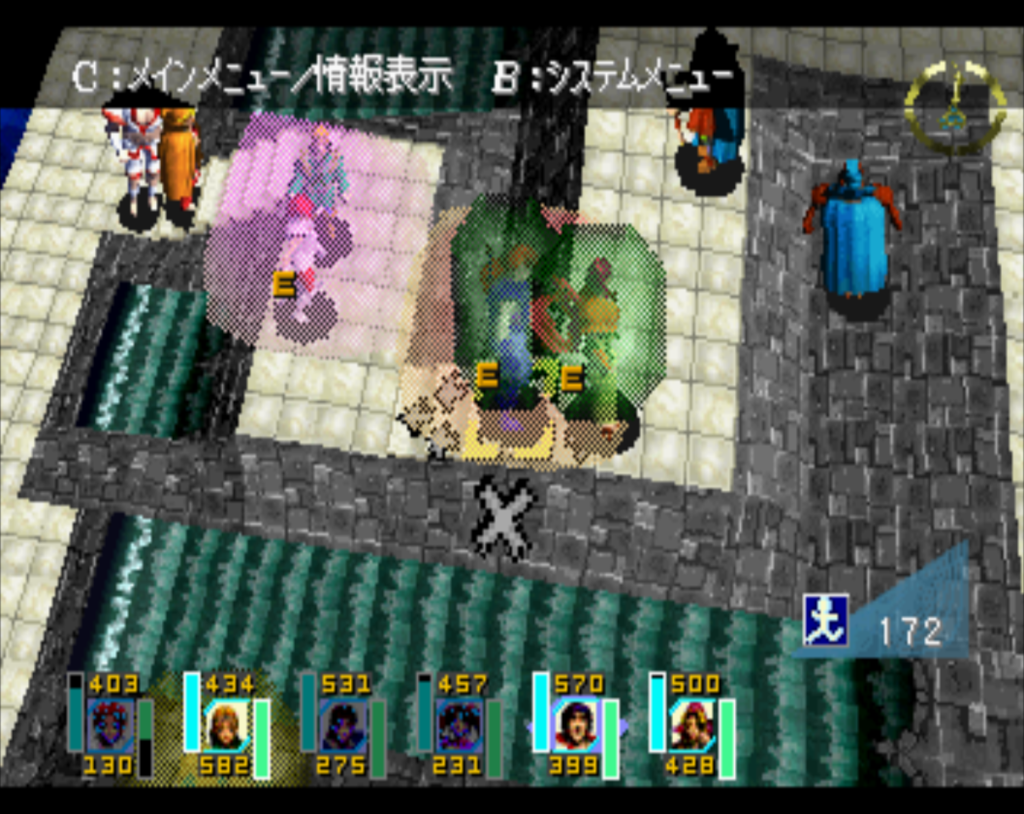
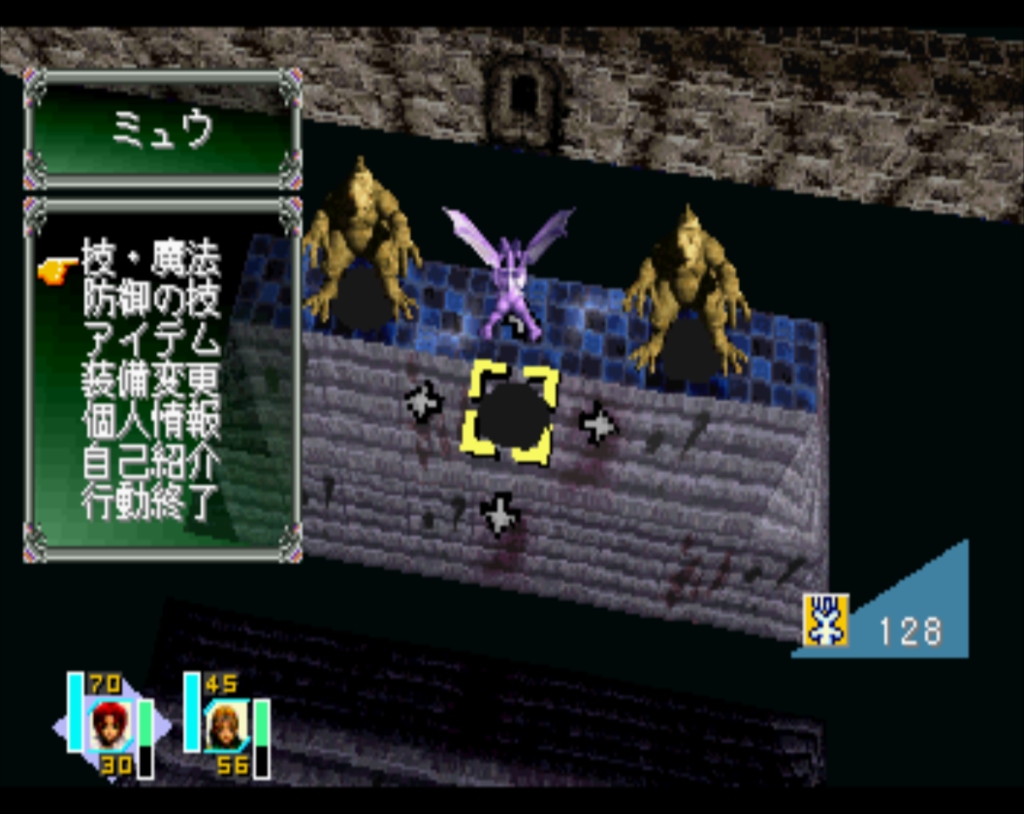
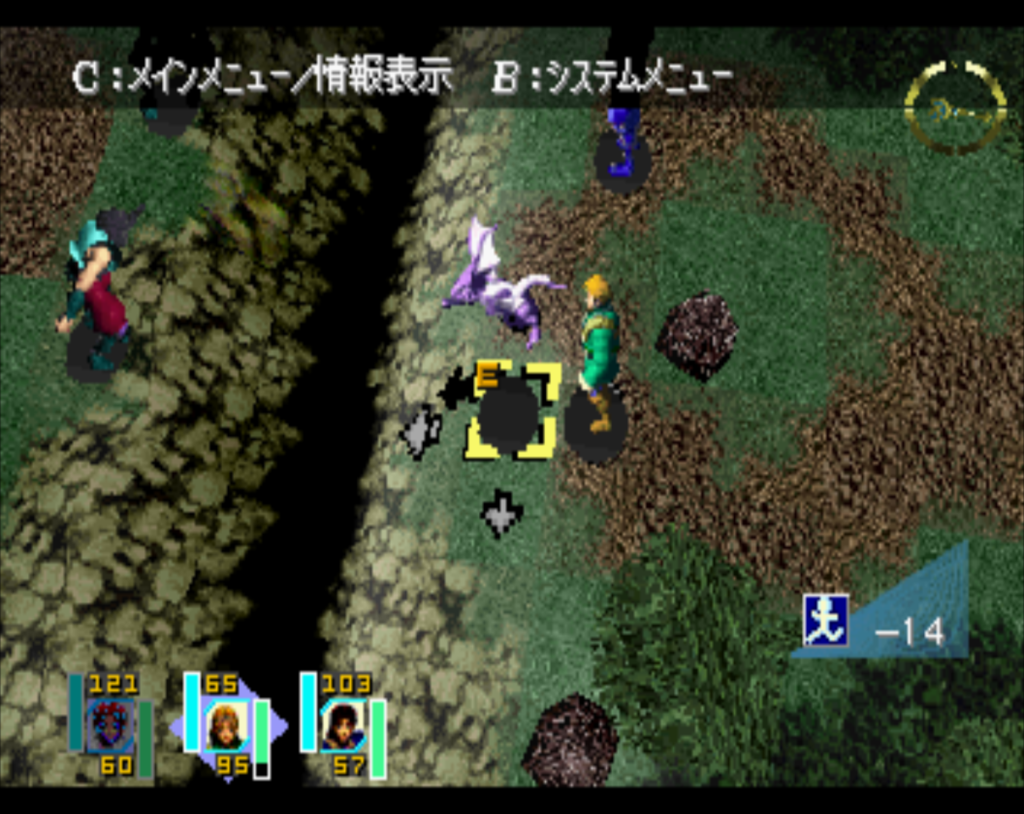
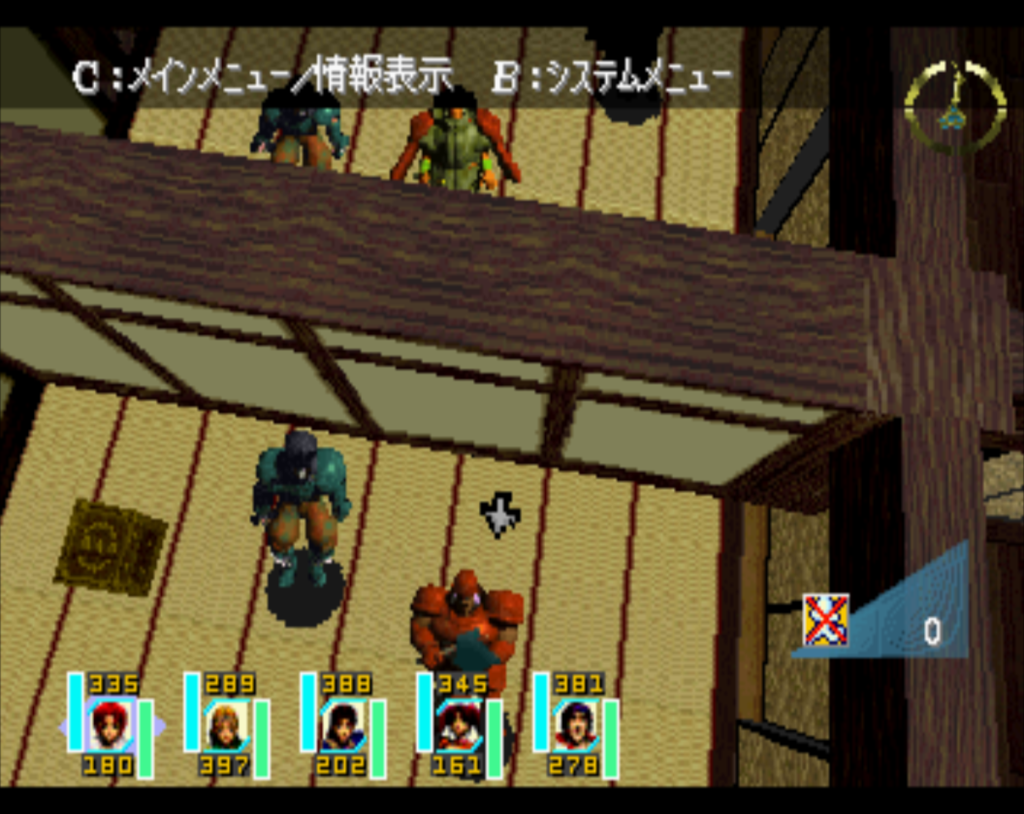
Inside the training areas Lady meets her first combats. These are done in a random encounter style, but the encounter takes place on the same map where you are. Thankfully, not every place has random encounters, and in particular, the rooms that have puzzles usually do not have any enemies.

You swing the sword by pressing A. By holding down A she charges up a move. These moves depend on your equipped weapon, either a Whip or a Glove. There’s supposed to be a tradeoff where the whip has longer range but weaker strength. In practice, since the basic attack is always the short-range sword, I think the whip is useless.

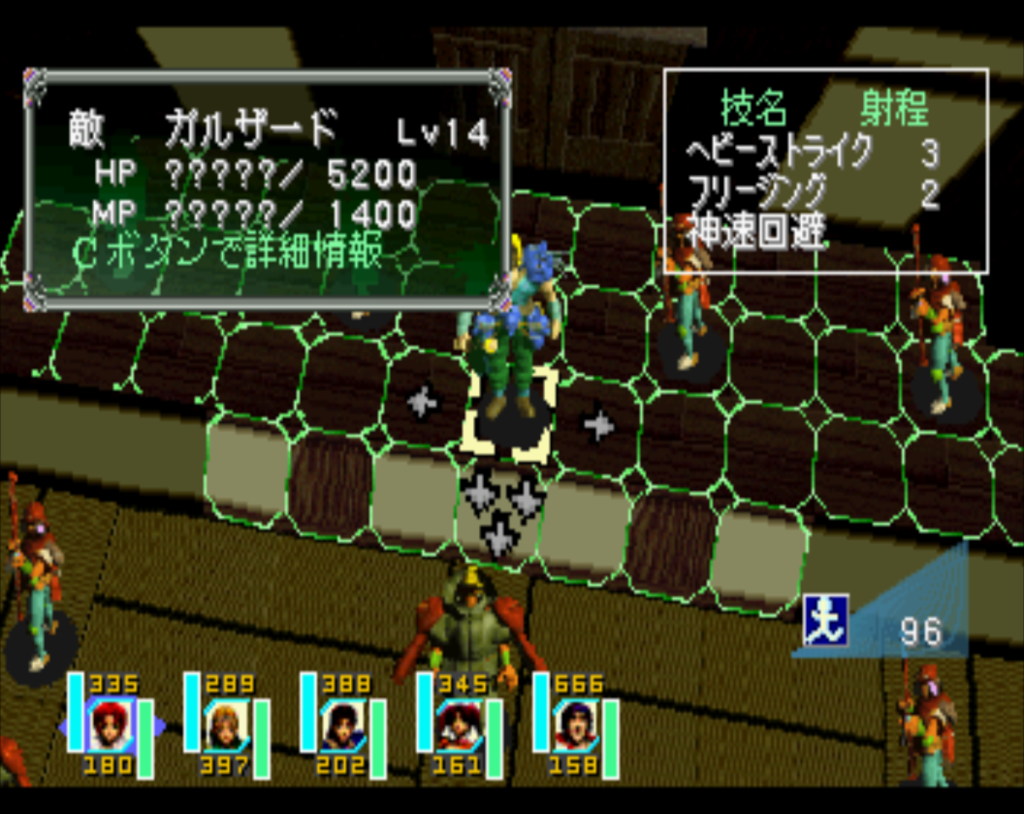
One thing I did not find out until way too late in the game is that attacking from behind or the side does more damage. This is easier once Lady gets companions. You also can’t just hold down a turbo button because the enemies will block your attacks if you do that. I thought the battle system on the whole was well done.

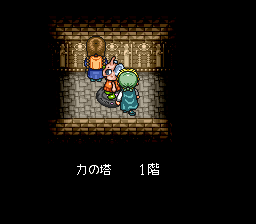
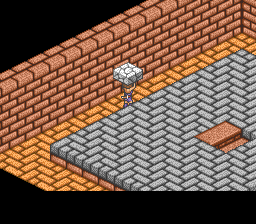
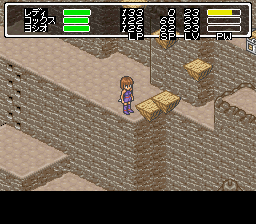
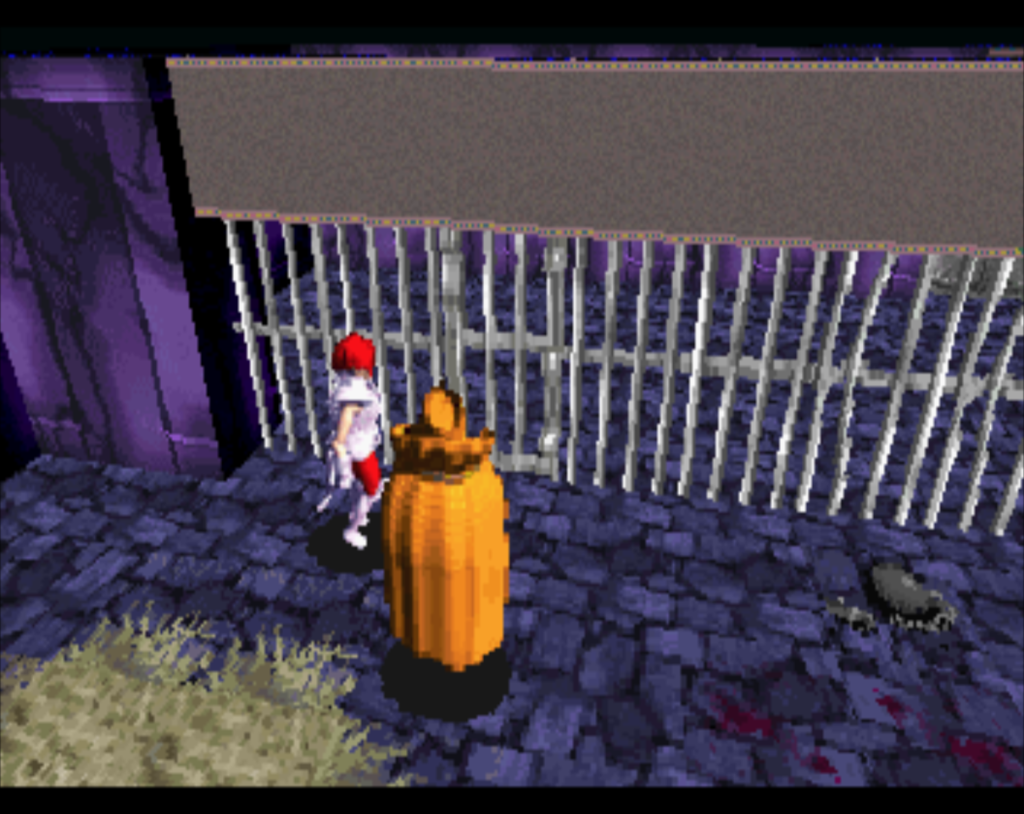
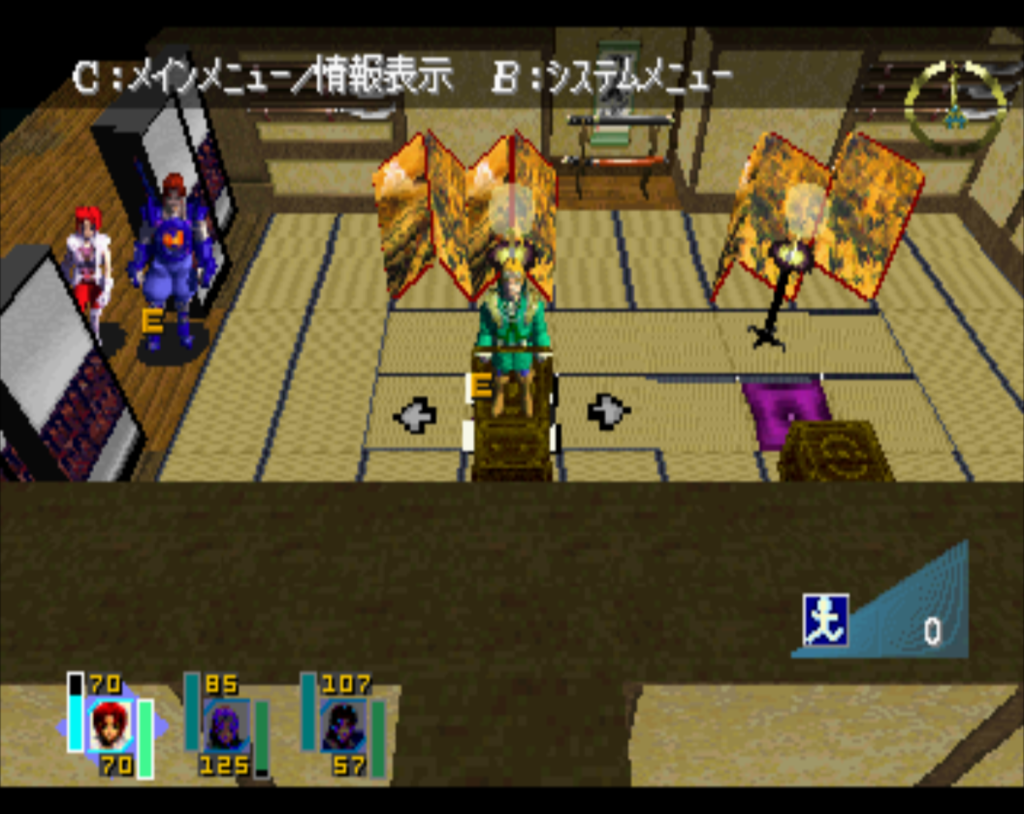
The purpose of the first dungeon is just to teach you some of the basic features of the game — picking up blocks to make stairways (since you can’t jump), solving basic puzzles, easy fights, and dashing with the B button to cross gaps. At the end, Lady watches a film in the museum and learns that King Baron developed a machine to make monsters huge, but then somehow was defeated. An archaeologist named Sajik went to try to find the machine but nobody has heard from him.

Now Lady can leave the town, and she heads for Rivertown, the largest city on the island. It’s next to Baron Castle, but nobody goes there because there are too many traps and tricks — of course that’s our next destination.

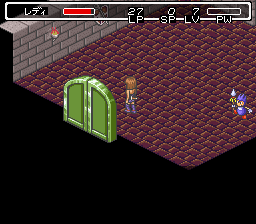
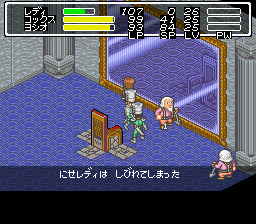
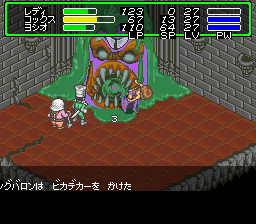
There are a lot of traps in the castle, including fireball shooting heads. But the main thing is when the monsters trap Lady and force her to do various kinds of torture games before she can leave.

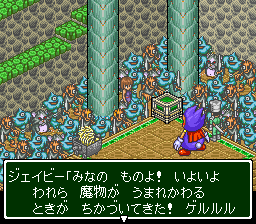
Here Lady learns about Jumbo BabyBaron (JB) who seems to be controlling things. There’s also the first boss, JB’s pet, but he’s not very hard. It seems like the monsters’ goal is to make some way to eat human meat every day — this turns out to be canned humans, which Lady finds out in the next town where a bunch of enslaved humans are laboring, and JB is trying to find an ancient relic of some kind. Lady needs to escape through the sewer to reach the next area.

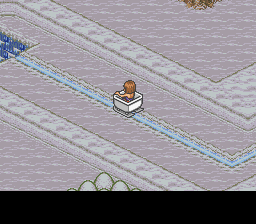
The sewer has some areas where you have to swim underwater, losing health, but if you go to areas with bubbles you can breathe air and restore HP (even HP lost in combats, which is nice).

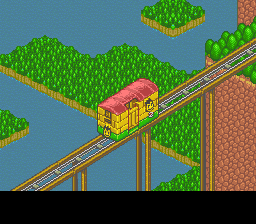
Coming out of the sewer, Lady reaches Deathvegas. There’s a casino which will open later, as well as Meg, Sajik’s wife. Lady tells someone she’ll work in the mines and she gets a ticket to ride the cable car there.

As soon as Lady reaches here she gets thrown in prison by JB, but Yoshio is there as well. Yoshio joins, and Cooks is apparently in the area as well. Yoshio and Cooks work on AI control; at the beginning they’re a liability because they’re so weak and there’s no way to revive allies except by visiting a church. But once you get them better equipment so they can survive a few hits, they do well at distracting the monsters while you go in for a back or side hit. Cooks can cast healing spells which is nice too, as the 5 healing items you can carry don’t last very long. Escaping the cell, Lady overhears that JB has found some ancient machine that can make monsters big.

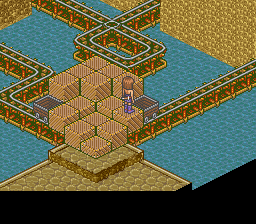
This dungeon is based mostly on riding mine cards around, and you can change the direction by pressing the arrow keys and slow it down with B.

Eventually we find that JB is going to execute Cooks, but when JB reads what’s on a stone tablet in the box in front of him, he leaves, allowing us to rescue Cooks and put him in our party. The tablet tells us that we need to use a white ball to revive the ancient machine, so that’s probably what JB is going to try to find.

You fight the boss here on a minecart that shoots fireballs, so you have to shoot the opponent while racing around on the cars.

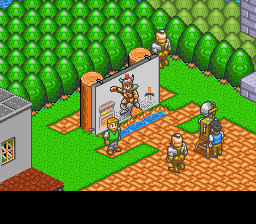
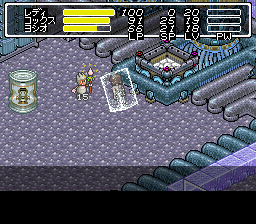
Next up is a monster village — Lady goes back to Deathvegas to get Monster Extract to become monsters. Here we also find the Shining Ball man who will take Shining Balls and exchange them for good items throughout the game. The Casino is also open.

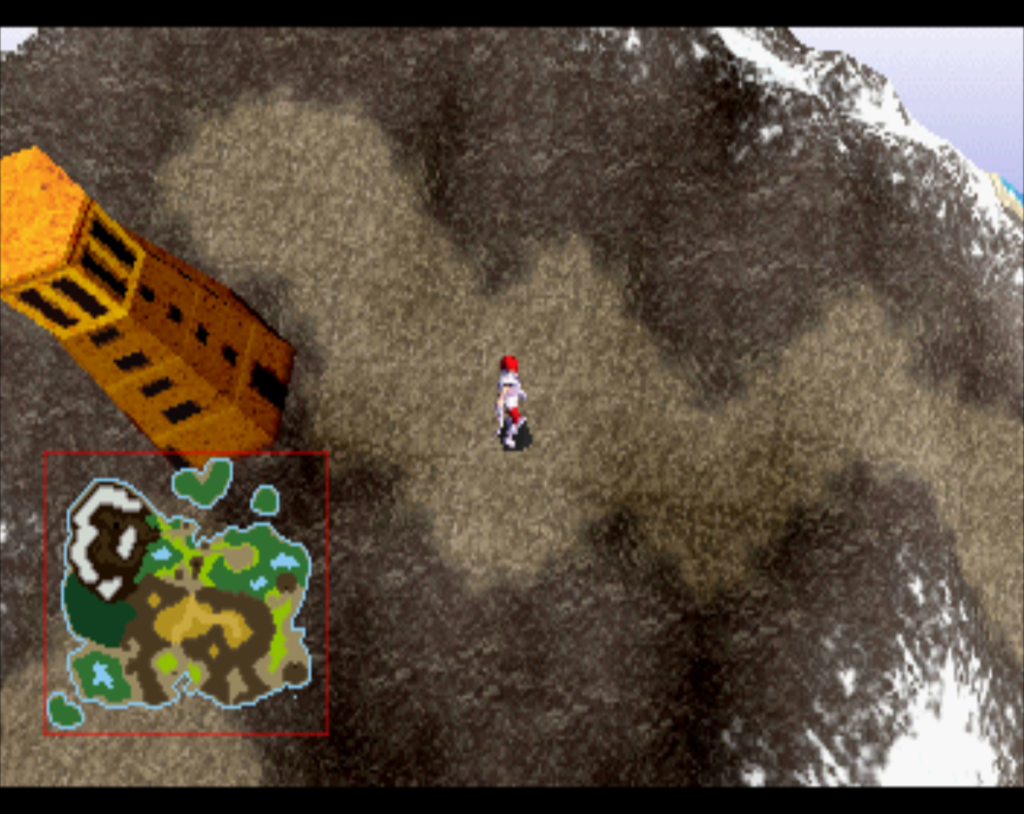
The monsters there tell us that the mayor was trapped in the Volcano; we need to reach the interior machine and put the bolts back in to stop it.

I found this to be the hardest dungeon in the game in terms of the monster difficulty, partly because the companions were so weak. It’s possible I could have gotten better equipment before here, I’m not sure. In any case, Lady finds the mayor, but he’s dying. JB has been using a machine to make them bigger, but those bigger bodies age faster and die quicker. He warns Lady-monster not to be fooled by JB. After the Volcano is fixed we can take the mine car on to the next era, snow valley.

This is another mine car area, as well as ice-sliding puzzles. Eventually Lady reaches a machine that turns her into an ice block, and you actually have to fight a boss as the ice.

Afterwards there’s a hammer that can break the ice, and it also breaks the ice of another person who turns out to be Sajik the archeologist. He heads back to Rivertown, and we go on to Ramus Tower. (This area has some enemies that are like metal slimes in DQ that give huge XP but run away easily. The end area has ones that are clearly based on the king slimes as well.)

We can’t get in to Ramus Tower so back to the towns to find new equipment and various things — it also turns out that a lot of the townspeople have left, now that they’ve heard the treasure rumors were fake and that they were just lured here to become canned food. But the museum in port town has the Ramus Statue, which opens up the tower.

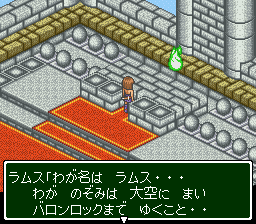
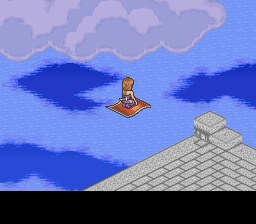
There are spirits in the tower that tell the story of King Ramus, who made this tower to try to steal King Baron’s machine. Ramus tried to reach Baron Rock by air, but never could. The King himself is at the top, and begs us to take him to Baron Rock…maybe this old rug we found in the tower can help? Yes, it’s a flying carpet, and the king accompanies us to Baron Rock and then disappears, having fulfilled his dream.

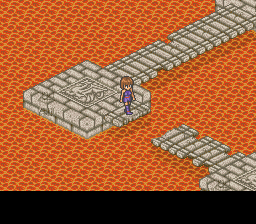
Unfortunately Baron Rock has places we would need to jump up — Lady can’t jump, so it’s back to Deathvegas again. There we get gas powered shoes that allow limited jumps, and the power can be restored by going to gas vents.

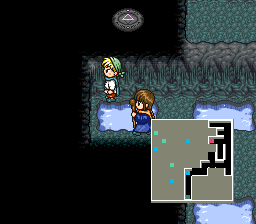
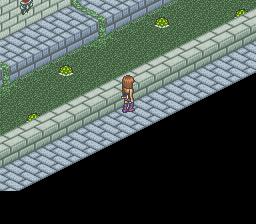
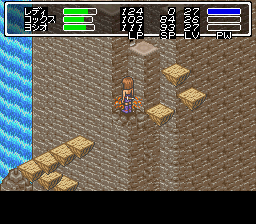
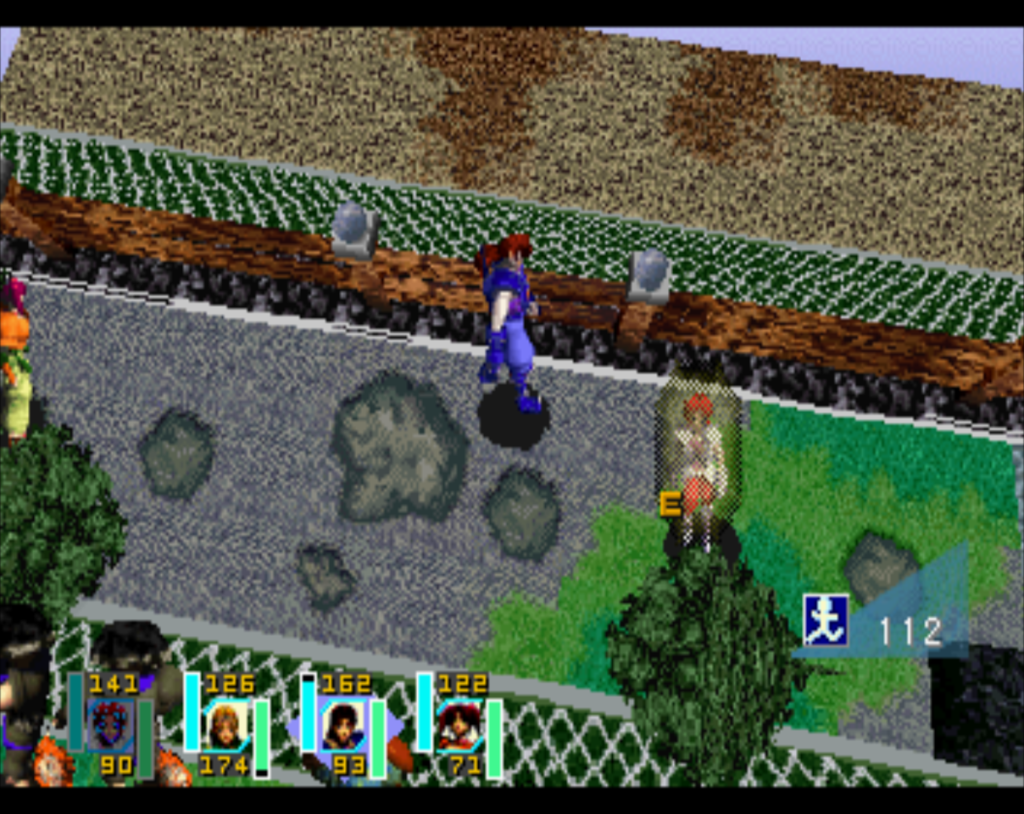
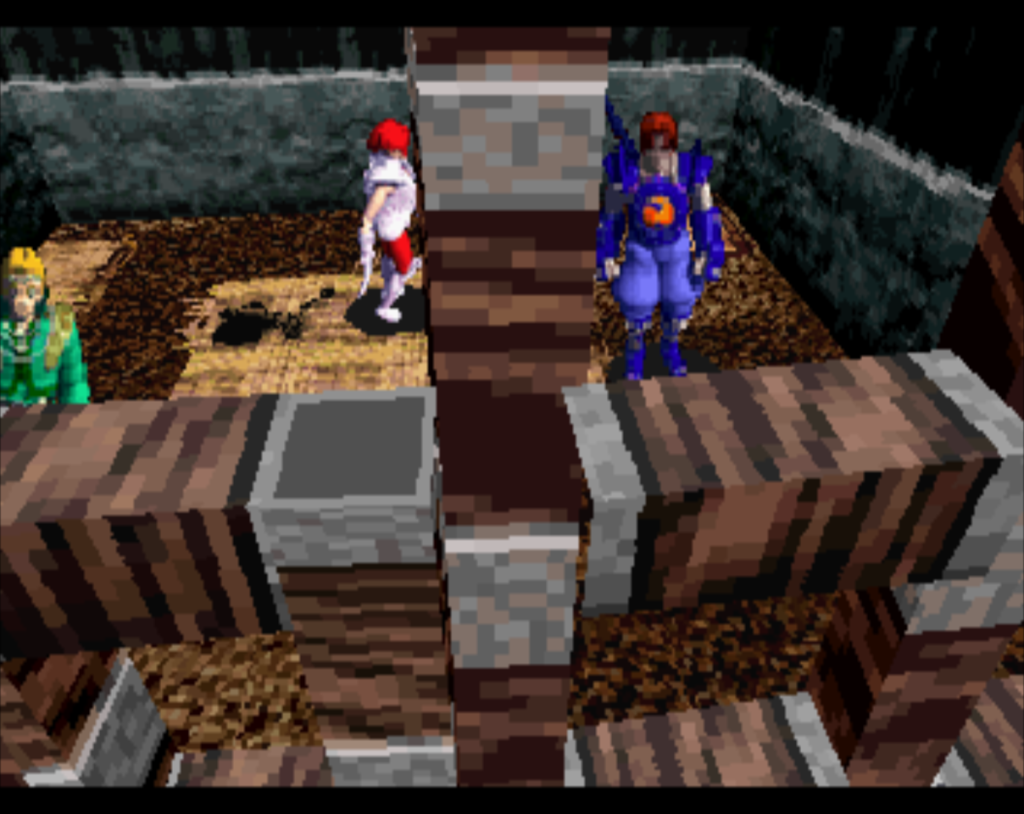
This part of the game was tricky because as you can see from the picture, the way the graphics are done does not make it very clear where the platforms are. I fell a lot just because I could not tell if the next platform was in front of me or to a side. The dungeon also requires you to use Stone Shoes to walk over spikes, and find the Ganubis Proof to walk over a holy area.

At Angel Rock, the next area, we learn the King Baron was devoured by his own monsters, who evidently then tried to seal the machine away.

There’s a puzzle to solve that opens the door to King Baron’s mansion — unfortunately we were tricked into doing this by JB, who could not solve the puzzle himself and so used us to gain access. In King Baron’s mansion, we have to prove that we are the worthy successor to King Baron in order to progress — as usual this is more puzzles. The boss of this area is copies of ourselves, who really aren’t that hard.

Now it’s on to Baron Tower, where we learn more about JB and King Baron’s experiments on monsters. There’s a weird area here where we shrink to miniature size and have to go around this monster’s body. Finally at the end, JB breaks a bridge and sends us down into the Gates of Hell…where there’s more rocket shoe jumping puzzles, worse than the ones in the previous area.

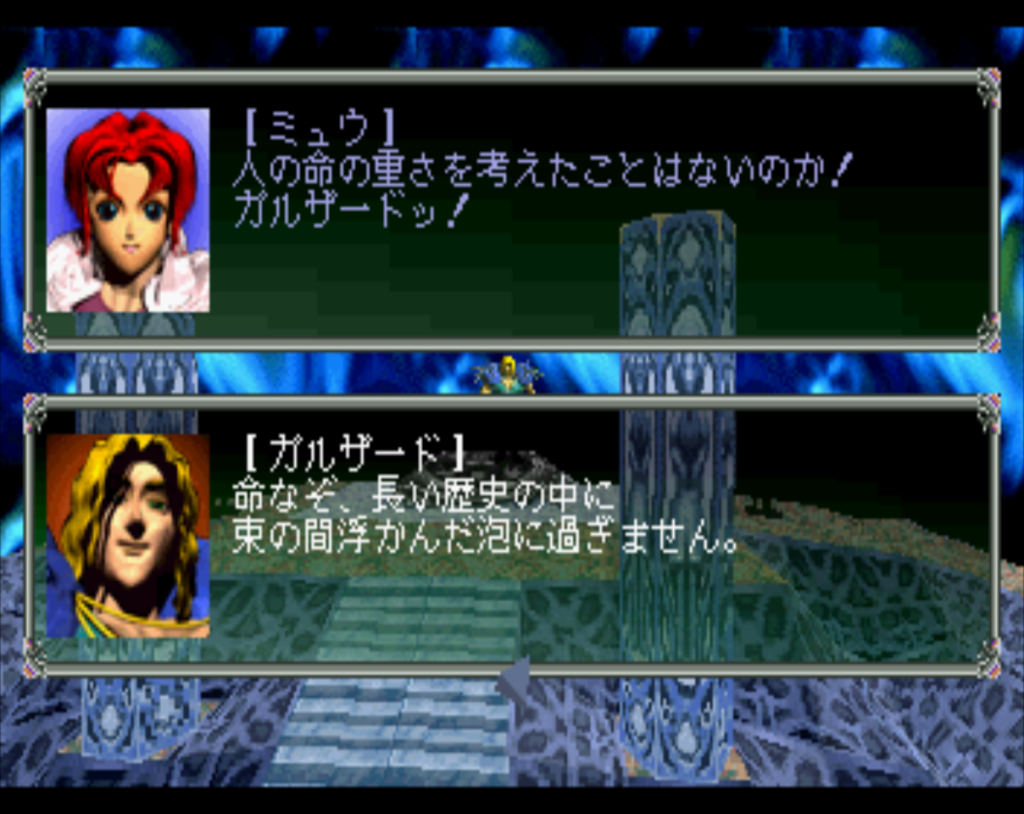
But after this it’s basically the end of the game. JB finally fights us, but he’s not particularly difficult. JB then tells his story — he was a little Baby Baron until he was thrown into the machine and turned into a giant.

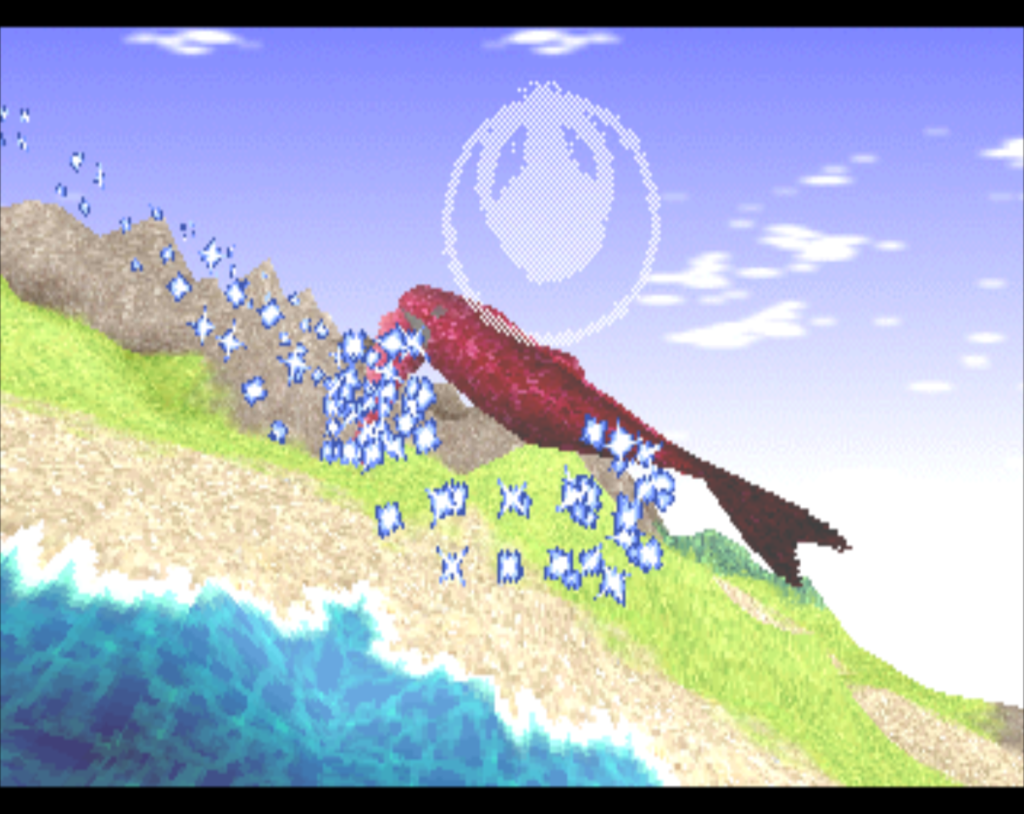
JB then had to capture more monsters to use as experiments, but none of them survived. Even JB’s body is unstable…and he then changes into a dragon. After beating the dragon, JB is finally dead. But now the machine comes alive, apparently still possessed by the spirit of King Baron (or maybe King Baron is the machine).

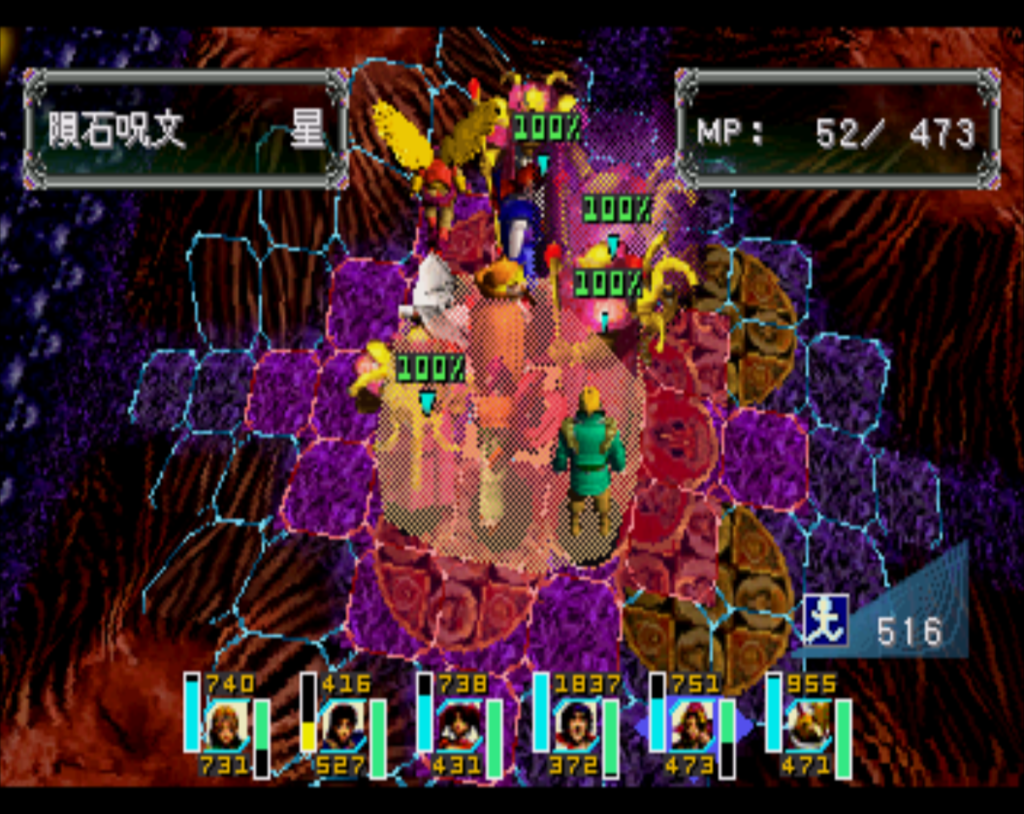
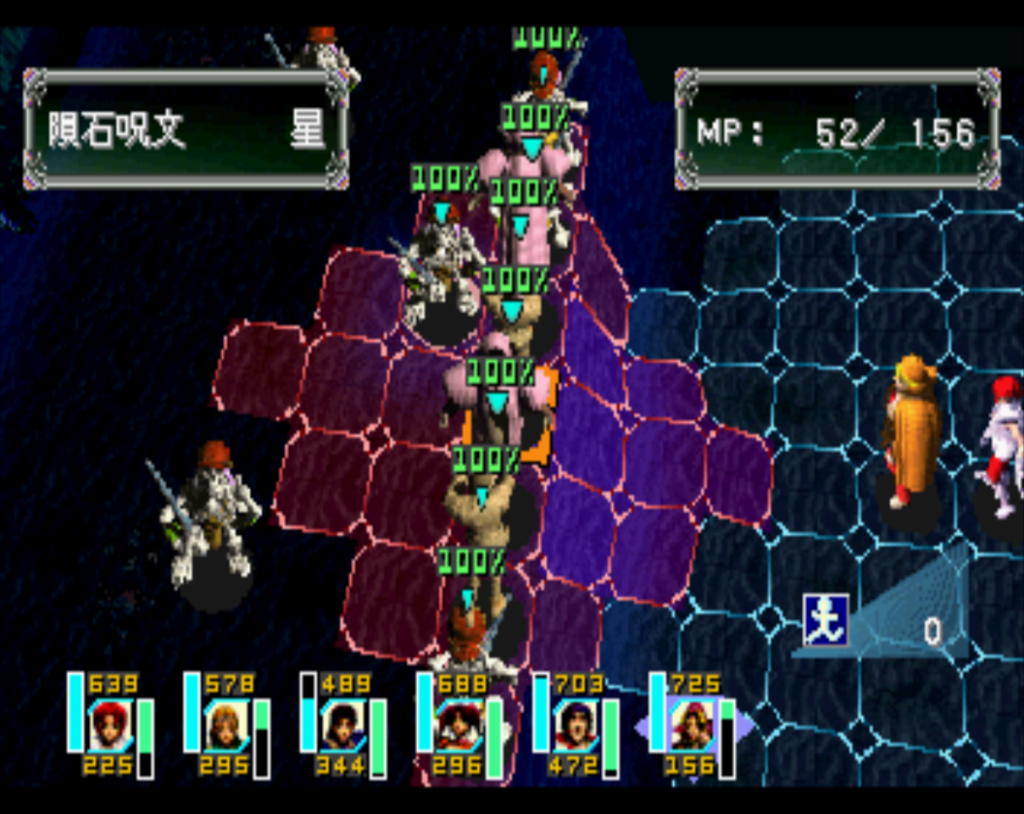
The boss has three forms. The first two are heads that come from the machine, and Lady can get behind them and attack. But the final form is bullshit — it’s stationary at the back of the room, and uses spells that damage everyone no matter where they are. So there’s no strategy or finesse possible, it’s just a question of whether you are high enough level to survive. I think you have to be in the 29-31 area to do it.

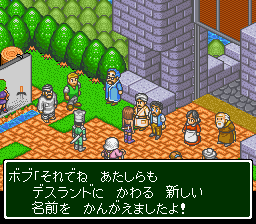
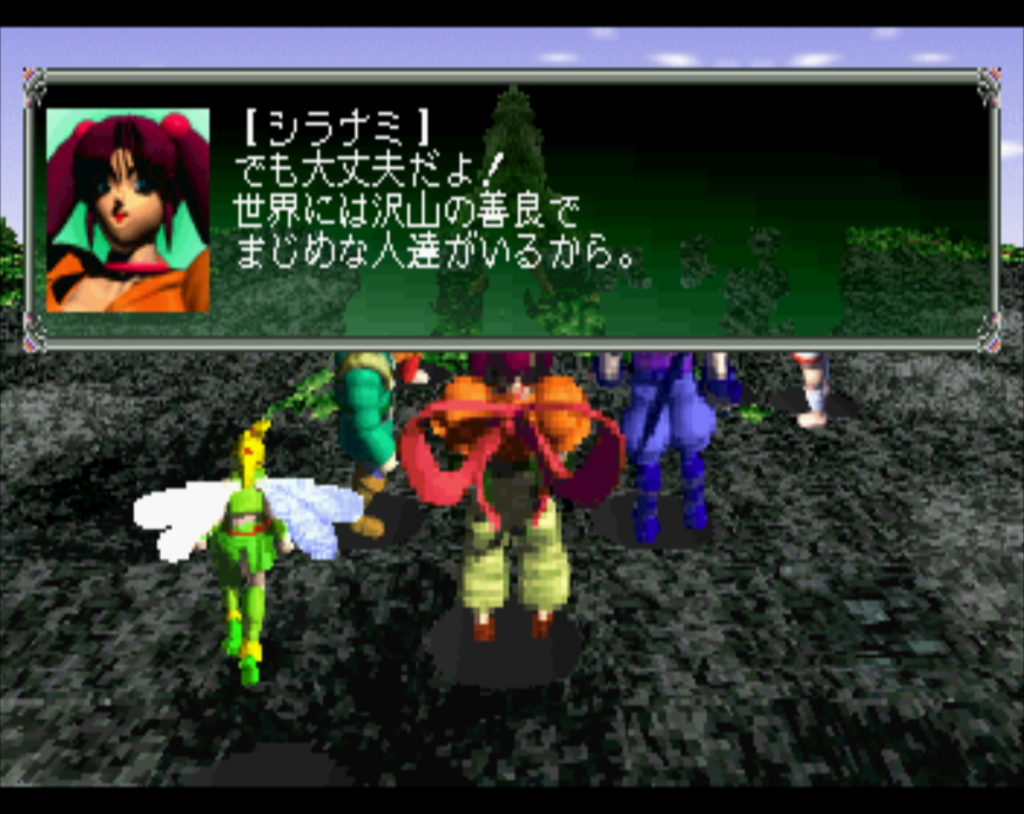
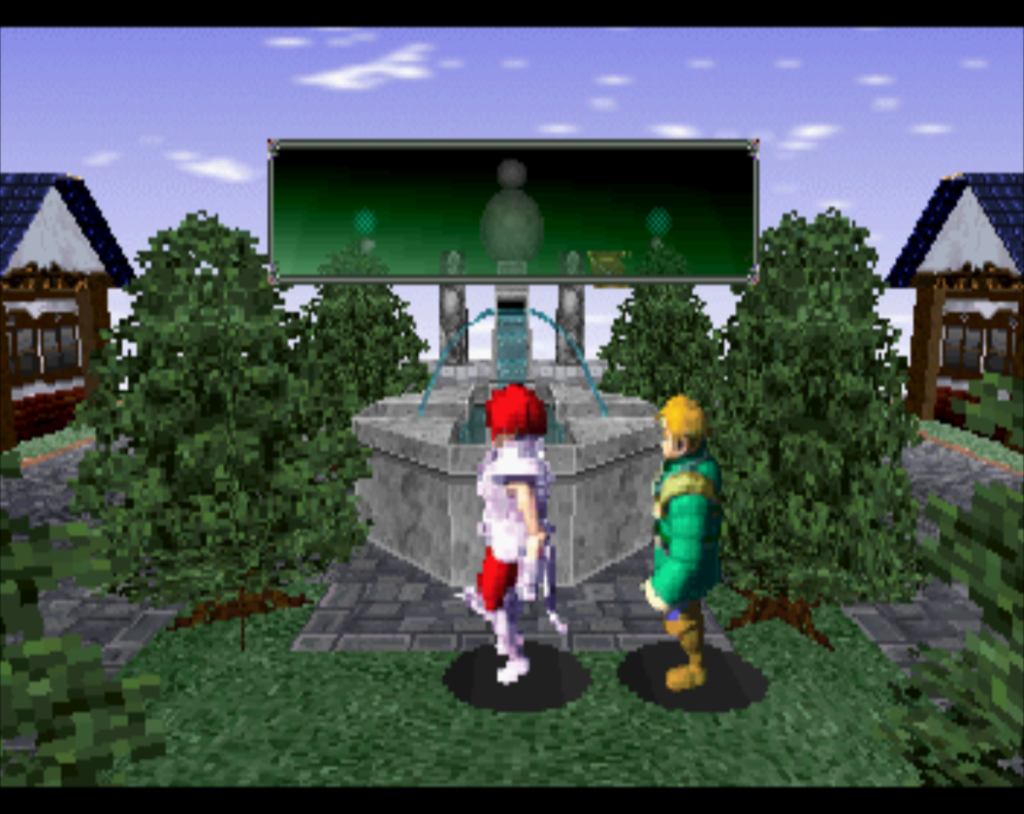
The ending scene is short, and just has the island being turned into an amusement park. Lady makes sure there is a statue of JB at the top (I guess she feels sorry for him being used by King Baron? He still killed a lot of people…)

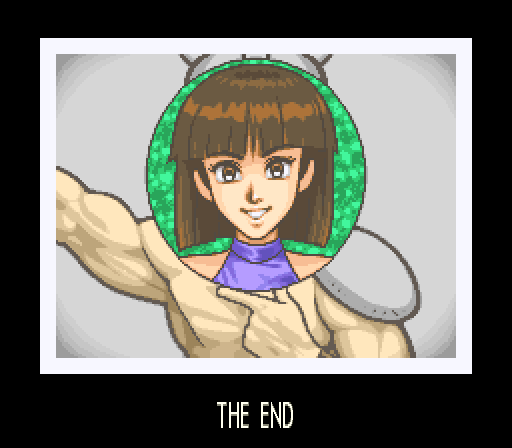
The final image is the photograph that Lady got taken earlier in the game (one of those “put your head through the hole”) pictures.

Overall this was a pretty enjoyable game once I got used to the controls. It’s fairly short but that’s probably a good thing. The occasional interface issues and the stupid final boss are disappointing, but I had fun with it overall.

SRPG Game 64 – Riglord Saga 2 wrap-up/review

  1.  Turn type: Player/enemy turn
  2. Maps: Medium, height affects movement, and you can fall off “slopes”?
  3. Character Customization: Mostly none
  4. Character Development: Standard XP/level system, plus a skill leveling system.Using a type of skill gives you XP in that skill area, and when you level it up you can learn new skills of that type.
  5. Party Size: Max 8 on the map, 9(?) possible characters
  6. Equipment: Weapon and 4 armor slots.
  7. Game Flow: Mostly linear, but a few optional side events. There is an optional challenge dungeon.
  8. Saving: Outside of battle.
  9. Death: Defeated characters are removed from the battle but return afterwards.

One thing I have never done on either of my playthroughs is do numerical ratings. CRPG Addict and many others do have a system where they have a number of categories and give each one a numerical rating. I thought I would try that for this point just to see what happens; I don’t know if this will become a new standard. Each criterion will have a max of 10 points, and 5 represents average (so this is not school type grading where a 5 would be a failure).

For graphics I have to rate this quite low. I can appreciate graphics from most eras of games as long as they are done well — for instance, Just Breed would get a pretty high rating despite being on the Famicom. Unfortunately Riglord Saga 2 just doesn’t look very good.

To me these graphics and blocky and ugly. It’s an unfortunate problem with these early Saturn and Playstation games that they were trying to do some kind of 3D or polygon art but the technology just wasn’t there yet. But even beyond the aesthetics, the poor graphics are confusing when it comes to the terrain — there are many cases where it is impossible to tell whether an area will cause you to slip and fall just from the graphics. They provided a terrain sensor on the bottom right that will tell you, but that seems like a patch over the bad graphics. The worst example of this was the desert map, where I had no idea where I could walk and where I couldn’t; the areas that were too steep to walk over seemed random. So let’s give this a 3.

The Music/sound was pretty good. You can hear the OST on youtube although I was not able to find one particular song that I think was played on the field and had some saxophone. The opening and ending scenes are voiced, but the only other voice is in the battle animations (which are too long so I turned them off). 7

The Story is decent. It’s longer than the first game and does have some twists and turns, although it’s nothing special. 5

The System overall is good. It has two things I always like — each character is very different, and the characters change what they can do as the game progresses. Not every element of the system worked out (I think the “pick up” mechanic of the winged units is basically a failure, and not really needed), but for the most part it’s good. Everything plays smoothly and there’s not big slowdowns. 8

The Map Design is average, I would say. The designers do put some special things on each map which would raise the score but at the same time I have to lower it because of frustrating maps like the Desert and the one where you have to fall down the cliff taking damage. 5

The Balance is pretty good for the game as a whole; there were only one or two times when I was doing “grinding”, and even then the grinding consisted of trying to get as far as I could in the map and then retreating when I had lost several characters, which doesn’t feel as grindy. The characters are not as balanced as they could be, though. In particular, characters with single skills (i.e. Asuka and Anju) tend to advance much more quickly and reach their super-powerful techniques much earlier in the game than other characters who have multiple types of moves. The main character Myu is particularly hard to use because of this, and she was often one of my weakest characters. 6

The Interface overall is good, with one notable exception — you cannot see what the moves do in battle. This is unacceptable in a game with as many different kinds of moves as this game has, especially in 1996. 4

Extras — I didn’t do any of the extra stuff, but there are three optional areas and a bonus dungeon. The game isn’t as freestyle as the first game, with all the story battles being completely linear, but you do have a chance to do some of those extra things. 5

That gives a total score of 43 out of 80, which would put this game just above average — I feel like I had more fun with the game than that numeric score would suggest; I’m often surprised that CRPG Addict’s numbers work out so closely to how much he enjoyed the game. One reason for this is that I gave equal weight to every element, even though (for me) the system, balance, and map design are far more important than the story, graphics, or music. CRPG Addict does not include criteria for graphics or sound (for instance).

If I only consider those three most important criteria it’s 19/30 which is 63% instead of 53%; I would say that is closer to a reflection of how much I enjoyed the game, if we consider 50% to be a level of complete neutrality (That is, a 50% game would be one that I played through and it was fine, but it wasn’t especially good or especially bad. Playable but forgettable). If I went back to Arc the Lad II I think it would get a higher overall score (since the only areas that would really suffer for me would be Balance and maybe a bit of a ding on Map Design), even though in terms of pure personal enjoyment AtL2 would be quite low on the list of games I’ve played so far. But maybe that’s OK because it would show that AtL2 is still a good game despite my personal dislike for it? I don’t know.

I don’t know if I’ll keep doing these numerical scores but it was interesting to see how it worked out.

Next up (after 2 SNES action RPGs) will be Harukaze Sentai V-Force, a 3 CD game that put a lot of effort into the visuals.

SRPG Game 64 – Riglord Saga 2 (Final)

From the library we learn that two things are needed — Malachite, and an Arlon Stone. The Malachite is easily found in the underground lava area but the Arlon Stone is on Samosa Isle in Riglord. Diana takes us there, and now with those items, Falco repairs the Wings.

Now you can go anywhere in the game — I guess I could have gone back to Yamatai to get the optional character. There’s also one or two new places to go (a cave with some treasure, and a town that has the extra dungeon similar to the one in Riglord Saga 1). But I just headed to the Dimensional Road to follow the 7 Council.

The Dimensional Road has three sections. The first one is fine; the second is annoying because you have to get down the cliffs by sliding down them and taking damage (or maybe the pickup by Dragon or Bird-Kamui works). I lost several characters doing this, but fortunately everyone gets restored at the end of this part. At the bottom, the lingering spirits of Galzard and Raglos tell us to beware of the Council and talk about how their inner feelings were exploited or something like that — you all said that literally all living things deserved to die and tried to make that happen, so no redemption arc for you.

One of the Council leaves, but the other 6 Council stay to fight up. They’re fairly strong (and get two actions like a lot of the bosses) but they only come at you two at a time, and if you use Myu’s defense/magic defense fields they can’t really do that much. They also waste some of their turns on Giga Healing (which only restores 400 HP).

Now it seems like we won and saved the world, but Myu sort of saw the 7th Council member leave so they decide to go around the world to see if there are any further problems, starting with the library. Anju’s dad left them a letter which explains the situation — he’s actually the leader of the Council. He and the other six were researching the Chaos power in Cuchuran years ago, but they began to be infected by the Chaos power that awakened their latent ambitions and hatred. Based on this they tried to take over the world and destroy it. Anju’s dad has decided to end his life in the lava below.

Anju tries to stop him, but he throws himself into the lava. But the lingering spirits of the other 6 stop him, and destruction begins to rain over the land as the Chaos power goes haywire. Just then, the crystal that had sealed Chaos before appears and we get drawn into it for the final battle.

Anju’s dad has already become just a disembodied spirit, but he tells Anju to fight against the 7 lingering spirits even if that means his own soul will be destroyed.

This is a harder battle than the last one because there are 7 of them, they’re stronger than the 6 before, and they all come at you at once. Nevertheless I didn’t have too much trouble with it. I started by using Myu’s defense fields. Rusty did Arc Heal every turn and the other people just attacked with their strongest moves, paying attention to what defensive moves the 7 were using (i.e. don’t use physical attacks when they have Counter). Myu died but I was able to revive her. Once you take out one or two of them it becomes considerably easier. Sometimes they get into the defensive fields but Asuka’s Mountain Storm can move them out of it.

The ending scene just has us dropping everyone off at their places. Myu gives the Wings to Diana, who will go with Falco and Hawekeye to start an import business.

Rusty finally confesses his feelings…

And they have a baby.

I didn’t do some of the optional content; my final timer was somewhere around 26 hours which still isn’t that long but it’s much longer than original Riglord. I’ll make a wra-up/review post later this week.

SRPG Game 64 – Riglord Saga 2 (Part 2)

This is a much longer game than the first Riglord; I’m not quite finished with it yet and I think in the end it will be more than double the length of the first game. I also have to correct something I said in the first post — you can rotate the camera in battle with the A button.

We ended with Myu following Galzard to Kadarl, where she is imprisoned and will be put to death the next day. The rest of the group goes to Diana to use her ship to reach Kadarl, which for some reason has some super technology that lets her reach it quickly (instead of in a few months).

In prison she meets Anju, the daughter of the head librarian of the Alectoria Library. Apparently the 7 Council Members are trying to get forbidden knowledge from the Library, which has traditionally been neutral. They’re looking for some kind of old, forgotten magic. Galzard comes by to do a helpful villain plan monologue, but it’s just the same old stuff — the 7 members want to kill everyone in the world so that only chosen people can live there and everything will be peaceful and just.

With Anju’s help we escape the prison and fight our way out. Anju has library magic that is overall pretty good; she’s one of the best characters in the game.

We’re hoping to get a ship from Poporon back to Riglord continent, but the rest of the party has already made it here. We decide that while we’re here we might as well go back to the tower and take out the 7 Council if we can. Diana heads off in her ship and we go back up the mountain. A quick visit to the library and we meet Anju’s father, who tells her to stay at the library and succeed him as head librarian. When she decides to go fight instead, he disowns her and throws us out.

The tower is kind of annoying because it’s easy to fall or be pushed off the path (and of course the enemies just walk off the slopes and kill themselves sometimes). Shiranami’s Steal Tech ability is quite useful to get a few good defensive techniques, particularly Hikikaeshi which reflects damage back on the user (I think this comes later though).

The 7 Council members have already left by the time we reach the top, and Galzard stays behind to fight us.

Galzard isn’t all that difficult, and he blabs on about the 7’s plan before he dies. Now we need to get back to Riglord, but Diana has already left. So where can we pick up knowledge? The library, of course. Diana’s father is gone, and we find a hidden area under his office that has secret knowledge, including information about the “wings of light”, a flying machine that can take us anywhere. Through an underground passage, we come out near a village that contains people who have watched over these Wings for some time. He gives us a key to open the cave where the Wings are, but we need a Garma Stone which is in a “hot place” (the desert).

The underground passage

In the hot desert everyone takes damage every turn. The desert is also quite annoying because the graphics make it hard to tell where you can actually move, and I kept getting trapped in areas or sliding down hills. I also took the wrong exit first which leads to an optional area, the “Dream Maze”. This is apparently where you get an extra character, but you have to solve the dungeon on your first try or you don’t get another chance. I failed and saved before I realized I couldn’t enter a second time — at least I moved up 3 levels from the enemies.

Dream Maze

The other exit leads to the Isis Pyramid, which is the most difficult dungeon in the game. I moved up 8 levels total with all the times I had to retreat and retry it — there are a bunch of enemy spawn points, half the enemies can’t be hurt by physical attacks, and the enemies have some pretty strong moves. There’s also 2 levels and you can’t save between them (although you can use defensive techs to restore HP and MP before you go up the stairs). There’s also a part near the end of the first floor where you have to use Myu’s earth raise/lower techniques to reach the top — it’s just too hard to make sense of the graphics for me to know how to do this well.

With the Garma Stone from the pyramid, we head back to the Underwater Temple to activate the bird. This map makes you search various areas to raise and lower platforms until you can get to the final switch.

Back to Riglord! Unfortunately when we reach there the Wings break and crash. However, we’re close to Dragoon Castle so no problem. The people in the nearby town are pissed off at Myu for leaving without telling them what happened and think she’s a traitor; lets ignore them and head for the castle. There, we find out that the king was (probably) killed, but we do manage to clear out the enemies and free the soldiers that had been captured.

At this point there was quite a bit of imbalance in my characters. Anju, Asuka, and Kamui had already maxed their defense and attack moves because they each only have one type of attack. But the others with more than one type of move were behind and didn’t have as powerful stuff (except for Rusty, whose spells are really good no matter what). For a while I was avoiding using the three that had maxed moves already, but I decided that at this point I was close enough to the end of the game that I could just use whoever I wanted. Kamui is disappointing, and I also feel that Myu is difficult to use because she has the most types of abilities (defend, sword, special magic, and dragon).

Now it’s time to set out for Queensland to try to chase the 7 Council if we can. But there’s a mist blocking our way across the bridge. Fortunately Hawkeye, a bird fighter, saves us and tells us that back in his shop he has a ring that can dispel the mist. His brother has been captured by the Kadarl forces which is why he’s out there.

The town with his shop has been taken over by Kadarl but the enemies are easily dealt with. Back to the bridge, and the mist goes away. Myu’s float technique helps us cross the ravines, and we move on.

Passing a locked cave and an optional forest area with chests, we finally reach Queensland Castle and Raglos’ tower. This area is not very hard.

The second part is a long spiral area where archers shoot at you, but using that stolen tech that reflects damage back on the attacker makes it easier. Raglos himself was pretty weak. But the 7 Council have already left just as we arrived — they are going to the Dimensional Gate to reach the land of Cuculchlan. It turns out that Anju’s dad gave them the knowledge of controlling the chaos power of Cuculchlan in exchange for the library’s safety — it’s another Galman Orb.

A fairy named Luna shows up, telling us that she’s the guardian of the Mystery Forest; the 7 are trying to enter the Chaos Gate from there. Unfortunately we need to repair the Wings first to be able to reach them — fortunately Hawkeye’s brother knows how to repair it, and we now have the key to the cave where he’s kept.

The cave enemies are easy. Falco (Hawkeye’s brother) can indeed repair the wings, but he’ll need some specific items that the library will help us find. So it’s back to Kadarl to visit the library.

I think this is a good point to break off the post — I’m close to the end so I will not wait until next Saturday to post the final update; probably I’ll do it on Monday.

SRPG Game 64 – Riglord Saga 2 (Saturn)

Riglord Saga 2 (リグロードサーガ2), developed by Micro Cabin, released 11/18/1996

This is the followup to 1995’s Riglord Saga (also called “Mystaria: Realms of Lore” or “Blazing Heroes”). It was released only about a year after the first game, so unsurprisingly it’s very similar to that one. Which is not a bad thing; I enjoyed the first game and this is more of the same. Unfortunately this game never came out in English.

The game shares the same strengths of the first game — a good XP system that distributes it evenly among everyone, and interesting skills that give a feeling of character growth and individuality. It also carries over some of the weaknesses — ugly graphics, and some interface issues. For instance, you can’t see what abilities do when you’re selecting them, which is a significant problem given the large number of abilities in the game and the complexity of their use. The ugly graphics are mostly ignorable, but the lack of a camera rotation at times makes it hard to see where things are or where you can move. You can press buttons to adjust the camera angle but this is only of limited help.

The story takes place 100 years after the first game, and most of the characters are descendants of the characters from the original.

The “council of 7” of Kadarl Kingdom is mwaha-ing about the usual evil plan to take over the world. They send two of their top followers, Raglos and Galzard, to carry out the plan (although they don’t get along very well.)

On the Riglord Continent, we’re introduced to our starting main characters. Myu, the daughter of the King of Dragoon (the descendant of Evan/Ashe from the first game), and Rasty, the Prince of Queensland (the descendant of Arthur from the first game). The King sends them on a training battle first to practice. This part of the game is voiced, but there is very little story voicing in the game.

Battle 1 is a training map where you practice Myu’s dragon transformation. I died the first time because I moved in the wrong place, but all you have to do is sit where she is in that picture and use Wind, which knocks the enemies off the cliff and kills them. I believe the way that people can fall off things and die or take damage is a new element in this game, but I might just not be remembering.

After the battle, Galzard shows up with his troops and sacks the castle, forcing Myu and Rasty to flee, telling us to go to Yamatai Continent for reinforcements. The equipment in the nearby town is very expensive (clearly this is where the game will end, or close to it), so I headed south. One other change in this game is that you can now explore the towns; this makes no palpable difference because you’re basically doing the same thing you did when you selected the houses from a menu in the last game.

Battle 2 is with troops at the border, but this is another training. Rasty tells me to use Earth Moll to raise up the ground, which flings everyone off, killing all the enemies.

Now we get a ship with captain Diana and head to Yamatai, to the Iga village. There, it turns out that Kadarl is already attacking. Asuka (the descendant of Raiko) is being attacked, and we come in to save him. The enemies can use control magic which is annoying, especially with so few guys. Generally my tactic is to always use the move that gives the most XP unless I have a reason not to, and to always defend with the most XP defense move — developing your defense moves early is a big help, as some of them are quite good. Power Absorb gives you a 75% chance of an attack restoring your HP rather than damaging (although once it succeeds it doesn’t work until you use it again next turn). There are other defense moves that restore HP, restore MP, counter, etc.

Asuka is the leader of the Tsukigumi ninja band, although his ninjas have been captured by Kadarl. Since he alone came back to town, the town thinks that he is a traitor.

The next stage introduces another new gameplay element. Myu, in her dragon form, can pick people up and carry them across crevasses. But it’s not worth doing unless you have to, because it takes one turn to change into dragon, one turn to “rise”, and then one turn to pick up the person. Now you can start moving, but if Myu gets killed, both she and the person she’s holding will die if they’re over the canyon. I can see what they were trying to do here but having to take 3 full turns to pick someone up with the great danger it brings is not worth it. You also have to be careful where you move, because if you end your turn on a slope you will sometimes fall into the pit or slide down and take damage.

Next up is the ninja base, which Kadarl has taken over. This is a two part map with no saving in between (I never like this). There are a number of traps in the stage as well. The first time I had to retreat because I got charmed and Asuka killed both Myu and Rasty.

After beating the boss here we get a mirror. This is one of three items we need to open a sealed cave that leads to Geden Castle. This is where Genyusai (the main villain of the first game) was, and it’s where Galzard is now. Myu decides that if we can kill Galzard here that will significantly reduce Kadarl’s ability to fight. So we go to find the other items to open the cave.

First I went west, across a barrier with a short easy battle (easy because you can use all of Rasty’s most powerful spells without having to care about MP).

On the other side is the town of Gojo. The owner of the tea shop gives us tea spiked with sleep drug because there’s a bounty on our heads, and we get thrown into prison. But the archer/thief Shiranami helps us. She has all the archer abilities of the archer from the first game, as well as steal abilities. One of them is “steal move”, which can get some techs that can only be gained by stealing them from enemies.

The prison escape stage is long.

You need to hide behind trees so that the many archers cannot pick you off. Moving slowly through the stage is good. There is a boss, but he’s not too bad — he uses a defense move that makes you get hurt instead of him (and lasts the whole enemy phase), but if he uses that you can just defend yourself and wait until he does something else instead. Fortunately this boss also has the next item we need for the sealed cave.

Now as we escape, we have to cross a bridge that gets burned by the next boss, the brother of the boss of the previous stage. This is the very familiar stage design that’s been used in a bunch of games up to now, where you have to move forward while the bridge burns behind you. In the end I didn’t defeat most of the monsters, and Myu in dragon form escaped herself while everyone else died. The tea merchant who poisoned us is very apologetic.

A good example of the poor graphics

Now there are two optional areas to go. One is Nazuna Cave, which I tried but has these annoying crevasses you have to pass over with Myu. The other is Oboro Valley, which has archers on a high point that slaughter you if you’re not prepared. I decided to wait until I was stronger to try them, but I think I waited too long and I lost access to them.

Instead, I headed through the east barrier to find the last item. In the town there, a huge dude named Kamui was sending off another girl to be a hostage; the Seiryobu group of Kadarl was taking a bunch of children and women hostage to force the village to comply.

Of course we can’t let this happen, although the enemies don’t seem to kill the hostages when they have the chance. Anyway, there’s a small battle in town, and they do manage to kill Yukari (the last woman). But Rasty saves her with his great healing power.

Now we have to go up Horai Mountain. This stage has a lot of chokepoints and places you can fall off the cliff; I had to retreat and try again 3 or 4 times before I finally got through (you always get XP when you retreat so it’s a good way to build your party up).

At the base, we have to split into two teams — this doesn’t fight separate battles, but just has one team at the top of the map freeing the hostages. If you search the door of the cell three times the stage is over and there are a lot of chests; I didn’t realize this so missed most of them.

Now we take on the main base and beat another boss — a strange enemy who has somehow been brainwashed into thinking all the children are their own, but we still have to kill them. At the same time we get the final item to open the gate, so it’s time to head to Geden Castle (this is apparently the last chance to do the optional areas).

First off is climbing a big mountain with extra spawning enemies, but it’s not especially hard. Kamui is able to change to a bear or a bird, in addition to using some regular skills. The bear form is nice because it regenerates HP at the beginning of each turn.

At the top is Geden Castle. The first floor is long and has a bunch of traps. I ended up losing Rasty and Myu and was afraid I would have to retreat and do it again, but fortunately after the first part you get healed (although you can’t save).

Now time for the boss, Galzard. He’s not that bad although the freeze attack is annoying. I used Myu’s defense area to raise everyone’s defense.

Once Galzard is defeated, he’s called back to the Kadarl home country by the Council of 7. Myu tries to stop him from going in the teleporter but gets teleported herself. The rest of the party decides to go to Higata town where Diana (the ship captain) is waiting, so we can follow her. My guys are all level 14.

So far I’m enjoying it as much as I did the first game; hopefully that will hold out until the end.

SFC Game List (1995, April through June)

Time for a new post outlining my next set of games. As usual, I took my full list from a variety of sources, some of which are very liberal in labeling something an RPG. There’s also a burst of PCE games in this section. The bolded games are the ones I will be playing.

The first three games on the list are all games that I think qualify as Action RPGs, but I’m not 100% certain about any of them.

  • Lady Stalker: Challenge from the Past
  • Mahoujin Guruguru
  • Rejoice: From Far Aretha’s Kingdom (the last game in the Aretha series)
  • La Wares (This game is notorious as a kusoge)
  • River Fishing 2 (this game may technically qualify but it’s mostly a fishing game rather than an RPG, and I’m not a big fan of fishing games.)
  • PCE Gulliver Boy (This is a different game from the Super Famicom RPG of the same name, although both based on the same anime)
  • Elfaria II (Sequel to the auto battle game I played earlier)
  • PCE Nekketsu Legend Baseballer
  • Princess Minerva (I already played the PCE version)
  • Ruin Arm
  • Der Langrisser (I played the PC-FX version on the SRPG side)
  • Gran Historia
  • Little Master 3 (already done on the SRPG side
  • Tottemo! Lucky Man (I may reevaluate this when I reach this point, but I don’t believe this quite qualifies as an action RPG for me.)
  • PCE Xanadu II (Apparently much shorter and simpler than the first Xanadu game)

No big names in this list. The huge hitter for 1995 will be the last set (October-December), although the next block does have Seiken Densetsu 3 in it.