Seirei Shoukan: Princess of Darkness (精霊召喚 〜プリンセス オブ ダークネス〜), released 6/25/1998, developed and published by Shoeisha Software Solutions
This game is a lazy piece of shovelware garbage that was obviously put out just to capitalize on people buying things with bishoujo characters on the cover. Honestly I feel like that’s all I have to write about this game, but I will put more effort in than the developers did to write a full post.
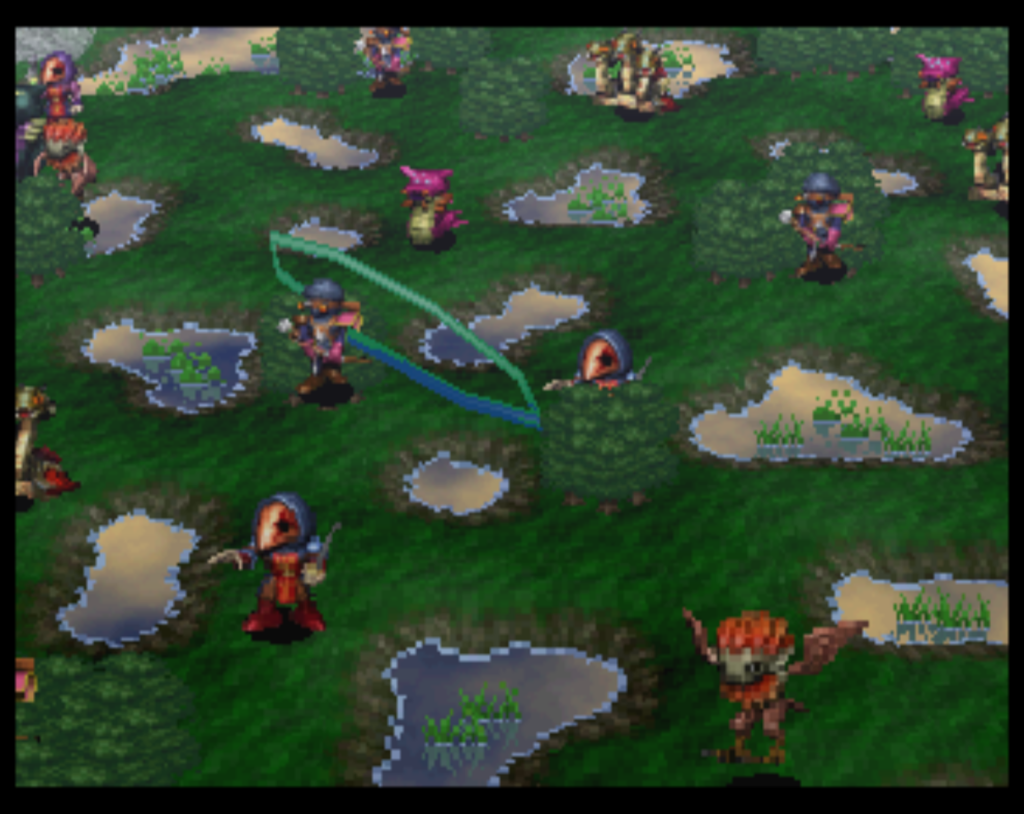
Apparently some players think this character art in the cutscenes is good, but it looks awful to me. In any case, this is the opening scene, where the King of Light’s wife gives birth to twins. But the King of Dark attacks the castle in force. A soldier is able to escape with the two twins, but one of them is stolen by one of the Dark King’s forces. The soldier escapes with the other one (Fitt) and cares for him as a son. 15 years later, the son learns that he is the Prince of Light as the soldier finally dies of his wounds.
The rest of the “story” follows him walking down a road, where he just randomly encounters five elemental spirits that make a compact with him, and kills random servants of the Dark King. They reach the old castle and defeat the monster that originally stole his sister. They continue on down the road and meet the sister, who they beat and then she joins the party. They find a mascot character in a forest. Then the road leads them to the Dark King castle where there’s some philosophical discussion about light and dark needing each other but the party defeats him. The whole thing is only 13 stages and can be beaten in less than 6 hours.
The only thing about the game that shows more than minimum effort is the voice acting, which was done by well known (at the time) professionals like Seki Tomokazu, Ogata Megumi, and Hisakawa Aya.
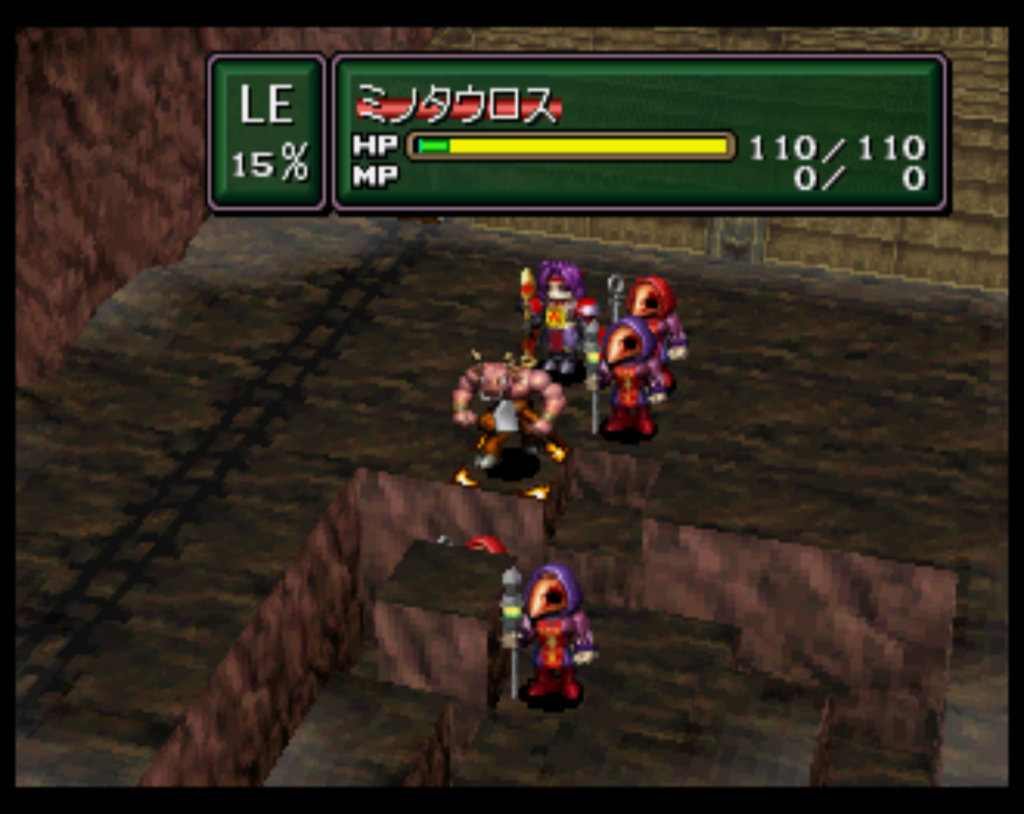
Each character goes in stat order (I guess the WT stat). You have three “orbs” to spend each round to act. You can spend the orbs in any combination you want, but a 3 orb attack is going to be more powerful than three 1-orb attacks. The special moves also get stronger with more orbs. A huge problem with the game is that you can’t move through your allies, which often traps people behind others, especially in the narrow areas that are in most of the battles. You also can’t take back your movement.
“Well,” you might say, “Why not just split up the party so that you don’t get trapped?” You can’t do that because if the spirits get too far away from Fitt, you can no longer control them. This will cause them to either freeze in place for the whole battle, or rush ahead at maximum move into the middle of the enemies.
There are also unskippable battle animations.
If Fitt dies you get a game over, if the spirits die they will come back the next battle and there is a part after the battle where you can increase your “love” points with the spirit by answering a question (which seems to have little effect on the game). Fitt can also use a guard move to take damage for the spirits. The game overall is easy, but if you have trouble you can just retreat (and keep your XP from the fight) and try again.
Outside of battle, there are no towns or shops. You can equip things, and use items.
There is no reason to play this game. Because it’s so short I can’t say it’s my least pleasant playing experience of this blog, but as I said in the opening, it’s an insultingly lazy effort that exists just to pander to the bishoujo fad.
Masumon KIDS (マスモンKIDS), released 6/25/1998, developed by System Soft, released by Toshiba EMI
Master of Monsters is a game that initially came out for Japanese computers in 1988 and was ported to a bunch of different systems — the Genesis and Playstation versions came out in English and so are known to some Western gamers. I’ve never played it, but it seems to be a strategy game based on summoning monsters.
This was apparently supposed to be an easier version of the game that was more appropriate for younger gamers who wouldn’t be able to get into the complicated original game. It barely squeaks by as a strategy RPG under my definition but in the end I didn’t play much of it.
The story, as far as I got, involves tracking down four Holy Knights to join your team in opposing the forces of evil. I didn’t get this far, but the instruction booklet mentions that part of the game takes place in the present day, and you see reincarnations of the characters there. That seems like an interesting concept but I’m not sure how well it’s implemented.
The battle system is based on the MoM roots. You have your main summoner character plus any of the Holy Knights you found so far. There are a couple of summon circles on the map, and if your summoner is standing on them you can summon people for your team. One unfortunate decision (that I saw a lot of Japanese reviews complain about) is that each stage has a fixed set of 3 monsters you can summon. It’s different for each stage, and while the monsters can gain levels, no monsters stick around after the battle, so they’re essentially just meaningless grunts. Only your summoner and the Knights preserve their levels. This is what makes it feel to me more like a strategy game than a strategy RPG.
Each stage seems to work the same way. There is an enemy summoner (or two) that starts on a summoning circle, and will use each round to summon monsters to fill any of the 4 empty spaces around them, and then all the monsters will come attack you. Eventually the enemy summoner will run out of monsters to summon.
All of the summons are pretty weak, but your non-summon monsters are not really strong enough to clear the stages on their own (I was able to sort of do it for the first few maps, but not really). I think the intent is that you keep your summoner on the starting circle and summon lots of monsters until the enemy runs out, and then go in and finish him off.
This takes a long time, though, and I think if you played the whole game this way (especially if you didn’t use emulator speedup) you would be looking at quite a long game. Although there is a youtube playthrough of it that seems to be around 20 hours so maybe it’s not as long as I think.
Summoning the monsters requires gems, which you can buy at a shop between levels or recover from battle by stepping on a square where a summoned monster died (you or the opponent). You can also buy spells as well, which is the only thing you can equip on your summoners. The spells have a certain number of uses, and I think when they run out you have to buy a new one.
So this game really wasn’t my cup of tea; I certainly didn’t want to play 31 stages of it. I looked around at Japanese reviews and it seems like a lot of people complained about the same things I did, but I think if you are more tolerant of these kind of “grunts vs. grunts” games you might get more out of it than I did.
Stage 31 – This is another one like the “escape fire” stage from earlier where you just have to take a few units up to activate switches while the rest wait for the reinforcements.
Stage 32 – This is Rainforce’s last stage. Ballistas in this game are much weaker than they are in previous games. I never fully learned how they worked; they can’t fire every round but there were also times for me when they couldn’t fire for several rounds. Their move was so low in any case that I usually just went with high elves instead if I wanted some ranged units. This is not a bad map since Rainforce never moves so you can clear out the rest of the enemies and then get him.
Stage 33 – I made this stage a lot harder on myself than it had to be by misreading the goals. I thought you had to defeat Glob within 20 turns, but the goal is to either defeat Glob or wait until turn 20 (and don’t let the Technician die or get blocked in so he can’t reach the device in time). As turn 20 hit I was afraid I had to repeat the stage again but I got the victory.
At this point I had pretty much given up on making Mariandell and Clarett good — I was told that the magic users were overpowered but I really struggled to use them well. They were occasionally useful to Decline + Magic a tricky boss, but in general I found that the other units (even Alfred!) were far more useful to me. By the end I had everyone in 4th class except Sigma who was a Hero (5th class).
However, this meant I did not get Teleport.
Stage 34 – Even when glob breaks the bridge, as long as I moved fairly slowly and took out the enemies as I went, the meteors I got hit with weren’t a big deal.
Stage 35 – This is an interesting scenario where your guys are split between multiple paths and have to fight on their own. Clarett and Alfred couldn’t deal with it and had to retreat. I also had to reload a few times when I moved too far too quickly and got creamed by magic spells, but in the end even with the 20 turn limit I was fine. By now I was mostly just going for the enemy commanders.
Stage 36 – The last stage is not especially difficult, and Omega is not really a final boss. You start with just Sigma and have to release your trapped companions (although they can release each other too). There aren’t very many enemies, and Omega will get distracted fighting the guardians. I took him out with Decline-Magic before he even attacked my own forces and then cleaned up the remnants.
It’s been a while since I beat a Langrisser game so I forgot how brutal the endings are for your characters if they got killed even once. Clarett turns into a dictator and her people turn on her. Alfred dies at sea due to pirates. Brenda also died (I forget how). Langford and Sigma are the only ones who had happy endings.
So that’s the end not only of L5 but of the “real” Langrisser games. I would say I liked this one better than 4 and much better than 3, but that 2/Der is still my favorite. This one had a weird plot that jumped all over the place and involved spaceships, and I just prefer the traditional grid format to what they did here.
I’m going to be on vacation for a few weeks so I don’t know what posts (if any) will be up; I’m hoping to do a Langrisser retrospective and then I am currently playing Rhapsody: A Musical Adventure. I should have a post up next Saturday at least.
I was out of town for a few days and I hit a tough stage so I’m not done with L5 yet; should be done by next weekend. I’m not saying much about the storyline because it’s all over the place — the parts don’t really fit together that well and it’s constantly jumping from one thing to another and introducing new elements out of nowhere.
19 – I believe this is the first stage with undead. Clarett’s monks didn’t work as well as I had hoped, but they still did OK. It’s not that hard to protect the villagers, and the boss will run out of bodies to summon eventually.
20 – This is another “protect the NPCs while they leave the map” stage. You can destroy bridges to try to stop the enemies but I don’t know how much of a difference that makes. I think protecting all of the NPCs is really difficult but you can let one or two die and it’s OK.
21 – Nothing tricky about this stage.
22 – I had a really hard time with this stage, to the point where I considered using level select to level up. The DeathLord that starts in the middle of the stage seemed unkillable by even my most powerful units. What eventually did work was to use Decline on him and then have every character that could, use damage magic on the DeathLord. Even after that the stage isn’t a cakewalk (there are a lot of units, with reinforcements, and annoying magic/arrow units that are difficult to reach) but it was manageable.
23 – This is the end of Gilmore. You have to beat this big robot thing first, but he’s very slow and his attack doesn’t do that much damage even though it works on a large range. I believe I used decline/magic to beat him as well. You have to be careful of Gilmore’s ballistas that can sometimes target a weaker commander (like Mariandell) and take her out, but as long as you can get within attack range and not die they go down pretty easily.
24 – This is the “find Langrisser” stage (wasn’t there one of these in a previous game?) There are a bunch of chests, and once the Langrisser is found you have to leave the stage with it. I think I could have beaten all the enemies but I basically got Clarett down to near the bottom of the stage, got all the treasures and beat Omega, and then left (I think only two groups of enemies were still there).
25 – This stage just takes too long — you have 20 turns but it’s plenty of time. What takes forever is moving up the mountain, especially since there are so few enemies. You also have to sit through Landius and Langford wasting their turns.
26 – As long as you know what is going to happen in this stage it’s quite easy; just have someone near the statues to deal with the (very slow) reinforcements. If some units were left at the bottom that helps in stopping Alvis from reaching the stairs (he’s pretty slow).
27 – Even though all the enemies rush you at the beginning here, I didn’t find it very difficult. Pikemen deal easily with the horses, including the boss.
28 – The goal is to beat Ferakia before she reaches the crystal, but she’s so slow it’s not very hard to do (she also got stuck behind some of the other enemies).
29 – This is another long “wait until the NPCs leave the stage” map. Omega becomes a lot stronger starting here and he can take out almost any unit from a distance. I used Langford’s horse units to take him down. I did not try to defeat Rainforce and the other reinforcement, I just escaped.
30 – You start with just Mariandell and Sigma, but I found they could hold their own against the enemies. Langford dealt with Omega again, and I had enough pikemen to deal with the horses.
Only 6 stages left. I believe that all my characters are at 4th class (Clarett might still be 3rd).
Langrisser V: End of Legend (ラングリッサーV 〜The End of Legend〜), released 6/18/1998), developed by Career Soft, published by Masaya
This is the last “real” Langrisser game, in a sense. Perhaps the subtitle of the game suggests this was already planned, but after this game, Career Soft went on to develop the Growlanser series. There were a few more games with the Langrisser name but none of them seem to be well regarded (I’m not sure the DC one is even a strategy RPG).
The system of L5 is essentially the same as IV, with some refinements. The biggest change is that troops now take turns with their commander, rather than having their own place in the turn order — this is a welcome change that is a big improvement. 4 and 5 were first released on Saturn, and then ported to the Playstation. Whereas 4 was remade to match 5’s system, 5 was more or less a straight port so I decided to play the Playstation version instead.
In some ways L5 is scaled back: like 1, 2, and 3, there are no branching paths. Also there are only six commanders in the game for you to have in your party.
The storyline begins near the end of Langrisser IV. The main characters at the start (Lambda and Sigma) are magically-modified/developed humans, made in Gizarof’s lab (the main villain of L4). The beginning questions that establish your character are done by Lambda asking about the character. After my messup with L4’s class paths I’m mostly answering whatever I feel like in the questions and going for the Hero class which you can get regardless of your answers.
Stage 1 – This is everyone’s favorite “run away” Langrisser starting stage. Their lab is attacked, and Lambda and Sigma escape, while another one of Gizarof’s projects (Omega) is defeated by the enemies.
Stage 2 – This is also a “run” stage although I did manage to beat the grunt enemies first. Serena and Wiler (from L4) show up as well.
Stage 3 – Finally I have some pikemen from Alfred, so I sent him upwards while everyone else went around.
Stage 4 – In Stage 4 you are pursuing Wilar up to the top of the map; it seems at first like you might have to hurry but Wilar moves quite slowly until you attack him the first time so you can take your time.
Stage 5 – Brenda arrives here in the middle. Even though horsemen are a bit hard to use in this game because of their size (and the slow speed of the commanders), they’re quite helpful at least in the early stages. She is the key to doing this mission.
Stage 6 – Alfred seems like he is in big trouble trapped in the fort, but when you get near him he can open the gate and escape, at which point you can clear the enemies easily.
Stage 7 – This stage starts everyone off in gas that lowers your HP, but despite that (and having no heal spells yet) I didn’t find that it hurt them enough that it affected their fighting. This is around the stage where Langrisser IV ends; up to now, Lambda and Sigma were doing a mission for him but now with Gizarof gone they decide to go after the Langrisser for their own purposes but soon go to the continent from the original Langrisser games for a totally different purpose.
Stage 8 – This stage has Emily (from L4) as enemy reinforcements. I tried to fight her but even my pikemen couldn’t hurt her so I just fled south on the bridge after beating all the other enemies (which is the victory condition).
Stage 9 – This is a classic “save the villagers” stage. Our fourth party member Clarett appears here although doesn’t join yet. You get bonus love points for all the girls if you can save all the villagers; I lost one villager which still gets you a few points.
Also how stupid is Jessica? The enemy takes some people hostage so she gives them both Langrisser and Alhazard, and then just heads back to the continent!
Stage 10 – This is an annoying stage because of having to save both Jessica and Clarett as NPCs. At some point don’t SRPG designers figure out that “save the NPC with dumb AI” isn’t good game design?
Stage 11 – Pretty slow stage, I had the villagers take the top way around. We’re trying to help Clarett take back her kingdom, and also the past life of Sigma and Lambda are involved.
Stage 12 – I split my force into two here. The goal is to get the tax revenue stealers before they escape the stage. I was a bit worried that I hadn’t done things right but fortunately the tax stealers need to reach the top right before they flee.
Stage 13 – We’re freeing some “liberals” from the prison, but then the enemies decide to open the cells and kill them instead. I told the prisoners to stay put and nobody even got into the castle to harm them.
Stage 14 – We use an ancient flying machine to get the drop on the enemy forces. This is a sky stage with all flying units but it’s not too bad.
Stage 15 – In this stage, you’re supposed to retreat when the reinforcements come, that’s what I did but I had Alfred near the edge to deal with the horsemen — I think I might have been able to defeat all the enemies but I decided to leave.
Stage 16 – One of your characters has to be at the top right but I don’t understand the purpose of the person, they just have to waste their turns. We’re supposed to protect a hostage from the enemies but the enemy AI was messed up; they attacked me instead of heading for the prisoner.
Stage 17 – Nothing much here, just took people forward and fought.
Stage 18 – This is the halfway point of the game, where Clarett takes back the kingdom from the usurper and pledges to start a democracy. Now the idea is that we are going to travel back to where we started the game (we’ve been seeing how things are going there — Lanford from L4 is having to deal with a rebellion). But things will intervene to stop us.
Overall this is a decent game so far. I would prefer the L1-2 grid style and the game can be slow moving at times. The characters are good and the story is entertaining as well. Lambda turns out to be a princess and Sigma is the resurrection of a knight who was killed by Clarett, although he hasn’t recovered his memory yet so there’s still some ambiguity there.
I had initially planned on two posts, one covering disc 1 and the other disc 2. However, I think the story is too long for me to cover it in detail, and I’m not sure there’s much purpose to a short description of each chapter. Instead I will just talk generally about the story in this post.
As I said before, the game takes place among these high schoolers (this is Maria, their English teacher and homeroom teacher — her full name is Maria Alucard. Aren’t people wise to this trick by now?). All five of the core characters discover that they can call on a certain “power”, and they sometimes have memories of past lives (or maybe their ancestors) in the Edo and early Meiji periods.
The other characters that join also have the same power, which manifested at the same time in a previous year.
Uramitsu, one of the characters who can join
The story as a whole is episodic in nature. The episodes often play off of common superstition or urban legends, such as groups of crows attacking people, or water demons. The enemies even include Lovecraft’s Cthulhu demons (explicitly so, not just ones that resemble them) and Neo-nazis. There’s also a lot of mythology and historical occultism, as well as feng shui and other Chinese mystic practices. It seems sort of like they just threw everything into the pot.
On the first disc, it becomes clear that all of the incidents are centering around a group called the Kidoshu, headed by a mysterious figure that is also a high school student gifted with the “power”. Many of the enemies in this section are normal people who have been gifted with (or forced to take) a demonic power that even turns them into Japanese-style ogres.
The final episode of the first disc involves the fight against Kozunu, who is the leader of the Kidoshu.
However, it’s probably not a huge surprise that this is not the real final enemy (since you have another disc to go). Kozunu was being manipulated by someone else.
Disc 2 begins with some interval stories — a class trip where we fight against yakuza trying to shut down a traditional village, and then a shrine festival where we fight the lingering spirit of the disc 1 boss.
The final wrapup of the storyline involves the attempt to release a sealed dragon (sealed by the ancestor of the main character, and protected by other ancestors or past lives of the other characters).
The final fight is pretty tough — you have to defeat these balls, but the dragon (who can’t be attacked) can hit you with a huge area attack.
In addition to this broad storyline, there is a lot of high-school stuff and little side stories to amplify the bare outline. One thing I did not manage to get was the date “Christmas event” in chapter 20; it involves a lot of flags and specific things that I didn’t know about. However, it sounds like on the extra disc (which I’ll get to in 1999) you can see the events even if you didn’t fulfill the conditions.
I’m actually not quite done with the game because once you finish, there are several Gaiden chapters that fill in some gaps of what went on in the game.
Overall I am going to give this an A because it did hold my interest to the end. The battle system has some flaws but is overall interesting. I think my biggest complain with the battle system is that you often don’t get much time or leeway to fight; instead you end up having to finish the battles in 2-3 rounds because the enemies can do so much damage that you can’t afford to let them survive for very long.
I would recommend this game if you like visual novels. I think that if you are not so much a VN fan, the battles alone may not keep your interest.
As I said above, there’s an extra fan disc in 1999, and the series continues in 2002 with a second game set in the Meiji period with the ancestors (or former lives) of the main characters. There was supposed to be a third game that would have taken place in between the two, but for whatever reason development was cancelled.
Next I am going to play Ys VI — I was looking back over some old posts and I mentioned in my Ys V review that I bought the game for PS2 about 20 years ago but never played it. Now seems like a good time. I will then try the next Famicom game (Mirai Senshi Jarvas, which is supposedly a kusoge so I probably won’t play it for too long). The next SRPG is Langrisser V.
Tokyo Majin Gakuen: Kenpucho (東京魔人學園剣風帖), released 6/18/1998, developed by Shout Design Works, published by ASMIK ACE
This game is part of the “Tokyo Majin Gakuen Kiden” franchise, which includes two Playstation games and then a bunch of remakes, fan discs, and adaptations. There was intended to be a third game for the DS announced in 2008, but for whatever reason it never came out.
Kenpucho was especially popular, generating drama CDs, anime, novelizations, manga, as well as a fan disc add-on.
I’m going to do three posts on this game. This post will be an overview of the system. The next post (on Wed.) will be disc 1, and the last post (next weekend) will be disc 2.
The game is essentially a combination of a visual novel and a strategy RPG. You spend most of your time in the visual novel part, but the SRPG part is decently implemented and is not just a lazy add-on.
The main way that the VN aspect is done is through the emotional responses, which you can see above. By pressing the directional keys (for negative responses) and the buttons (for positive responses) you can choose how your main character responds. For instance, in the above picture you are meeting Kyouichi for the first time, and he says “we’re in the same class, so let’s be friends.” On the left side, you can get angry at him, be sad, respond coldly, or react with uncertainty. On the right side, you can react happily, you can react with love, with friendship, or you can simply agree without any particular emotion.
What these responses actually do, though, is a bit hard to tell. There are no branching story paths, extra stages, different combats, or anything like that. As far as I can tell you will be in this core friend group even if you are constantly angry or cold to them, and the instruction manual doesn’t indicate that the friendship levels do anything in combat. It will change the immediate response they make (and perhaps the people around them). In some cases you will get some items by making certain choices, and outside of the core 5 people, there are a large number of extra characters that join if you are friendly to them.
From what I can tell, “friendly” is basically the default response and if you responded that way in every case, you would end up with the majority of the extra characters and scenes. So I think this response matrix is more for just trying to define your avatar in the game for your own purposes, rather than as a true strong gameplay element. If you are a complete asshole to everyone you might just have the main 5 characters and it would be interesting to see if the game could be completed that way without grinding (I think it probably could).
I think the art is pretty good and they went with a more VN-style of art than anime. The dialogue is not voiced, although the characters do have small voice clips (like greetings), and in-battle voices for their attacks.
The game is made up of 23 chapters across two discs. Each chapter has one or two battles in it. After the third chapter you can also go into the “old school building”, which is essentially a grinding dungeon — you do 5 levels at a time, and once you clear a set of 5 levels you can start from there next time. Or you can repeat the first levels, because if you stay in the dungeon without leaving, you get bonus XP for your next 5 floors.
At the end of each chapter, you can choose activities for each of your characters except the main character, which will change their stats.
The choices are club activity, study, rest, have fun, and talk. The last one just lets you talk to the person and change their friendship level. The other four have effects that differ per character, but in general Study is going to raise spirit (for magic attack/defense), rest will raise HP, have fun will raise movement points, and the club activity differs for each person.
Of course movement points are a big thing you want but as you can see in the picture above, “have fun” always lowers stats as well (though different stats for each character). This makes a big difference per character — I found that some characters I could do “have fun” almost every time without a huge drawback, whereas other characters seemed to give up a lot to do it. You can choose activities for all your people, even ones who didn’t participate in the combats for that chapter. (One thing I don’t like is that once you’ve chosen an activity you can’t change it).
The battles take place on a 3/4 grid view that you can’t rotate, although there is a button that will show you where everyone is if they are hidden behind an obstacle (fortunately this is rare).
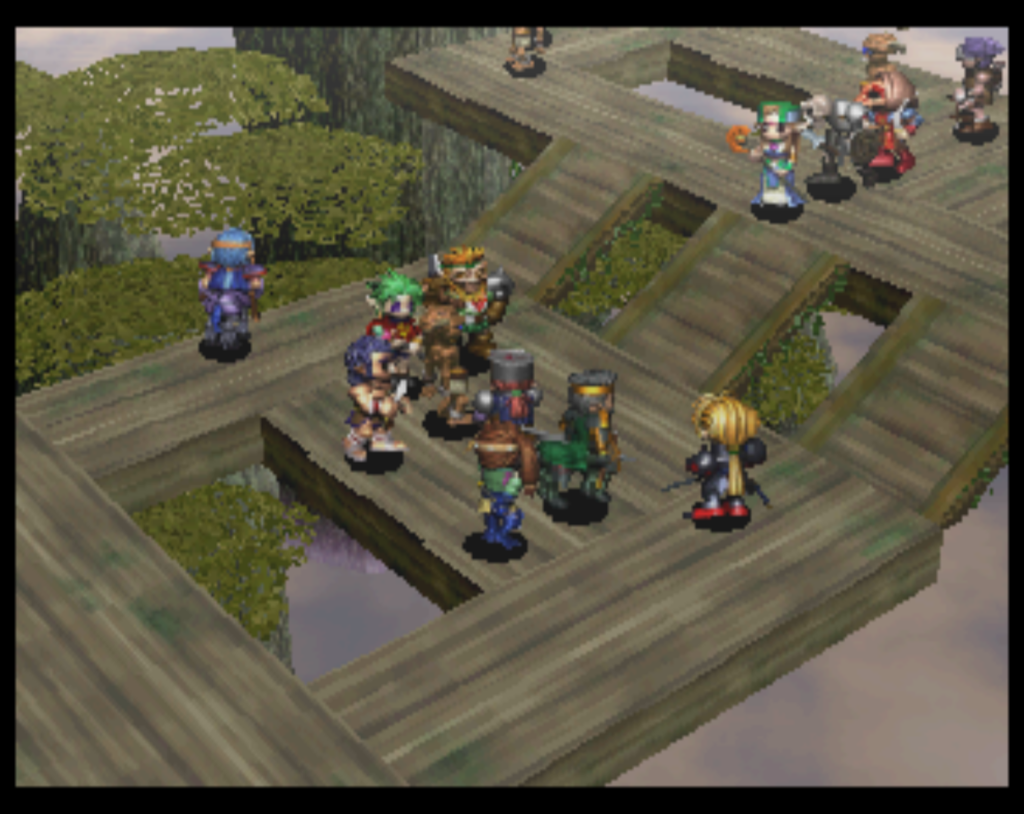
You always begin with your core 5 characters, unless there is a story reason why some of them are not there. Some battles will have additional characters that are dictated by the story, and then you can fill that out with the extra characters — usually to a maximum of 10 but sometimes it’s lower.
The core characters will be there at the start, and the extra characters come in at round 2. You’ll be able to place them where you want, which can help a lot.
The game then goes in a player turn-enemy turn system. You can do your characters’ actions in any order and even take part of a character’s turn and then switch to another person. Each person has action points. Walking takes a certain number of points based on the terrain, and it costs points to change facing as well. Each attack or ability costs a certain number of points as well. There are no limitations on how many times you can use an ability each battle (i.e. no MP or TP), it’s just up to whether you have the action points left over to do it.
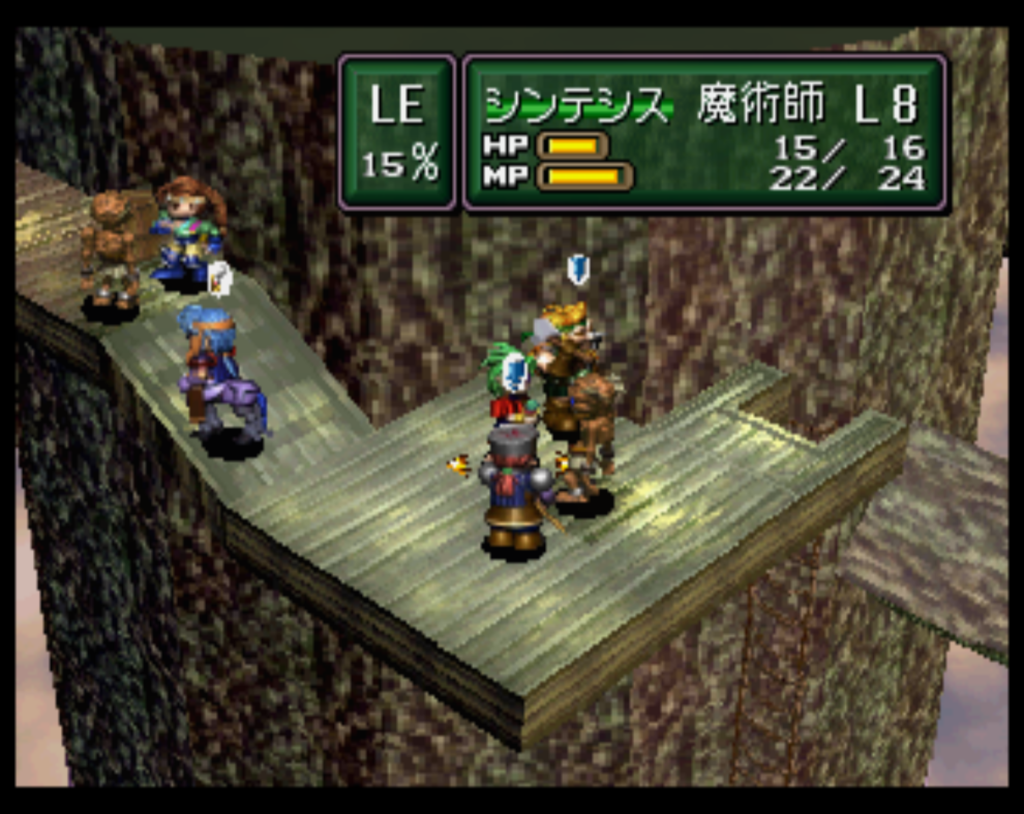
Each character has a “field of view” that affects their attacks — in this case Daigo can use his moves on people to the front or sides of him, but not back. Right of that is a 3×3 grid that shows where the character’s weak points are (red is weak, blue is strong). If you look at the list of attacks to the right, you can see what part of the grid they attack, which you want to line up with their weak points. Each move also has a strength, an action point cost, and a range (although the range is just where you activate the move, it’s not about the area of effect).
All of this makes it rather complicated to tell which attacks will be effective (there’s also an elemental system), mercifully the designers show you the damage that will be done with the attack so that you don’t actually have to think it all out on your own. Many of the moves also have knockback effects; if you knock a character into another character, they will both take some damage.
Death is not permanent, although if your main character dies you get a game over (ugh). Anyone else that dies it just lowers their friendship value — as I said before it’s hard to know exactly what effect this has. The only place you want to make sure you don’t do this is when you have guest characters in the battle that might join your party later. I already missed out on one character because he died in the battle where he was a (controllable) guest.
I’ll end this post with some info on the four core characters (aside from the main character). They’re all 3rd year high school students so they’re 17 or 18.
Misato Aoi is on the student council; she has healing and buffing moves in battle for the most part. She seems to be the basic default love interest for the main character.
Sakurai Komaki is a more tomboyish person who uses a bow in battle.
Daigo is a martial arts fighter; he’s also very serious and restrained.
Horaiji Koichi is on the kendo club and is constantly flirting and has a very free personality.
The basic story involves these people discovering that they have supernatural abilities and getting drawn up into various supernatural events. I’ll go into the plot more and introduce some more of the characters in the next post.
If you didn’t see my last post, there was a problem with a cache plugin that made the previous couple of weeks unviewable to anyone not logged into the admin account (i.e. everyone but me, which made me not see the problem), so you may need to go back further to catch up.
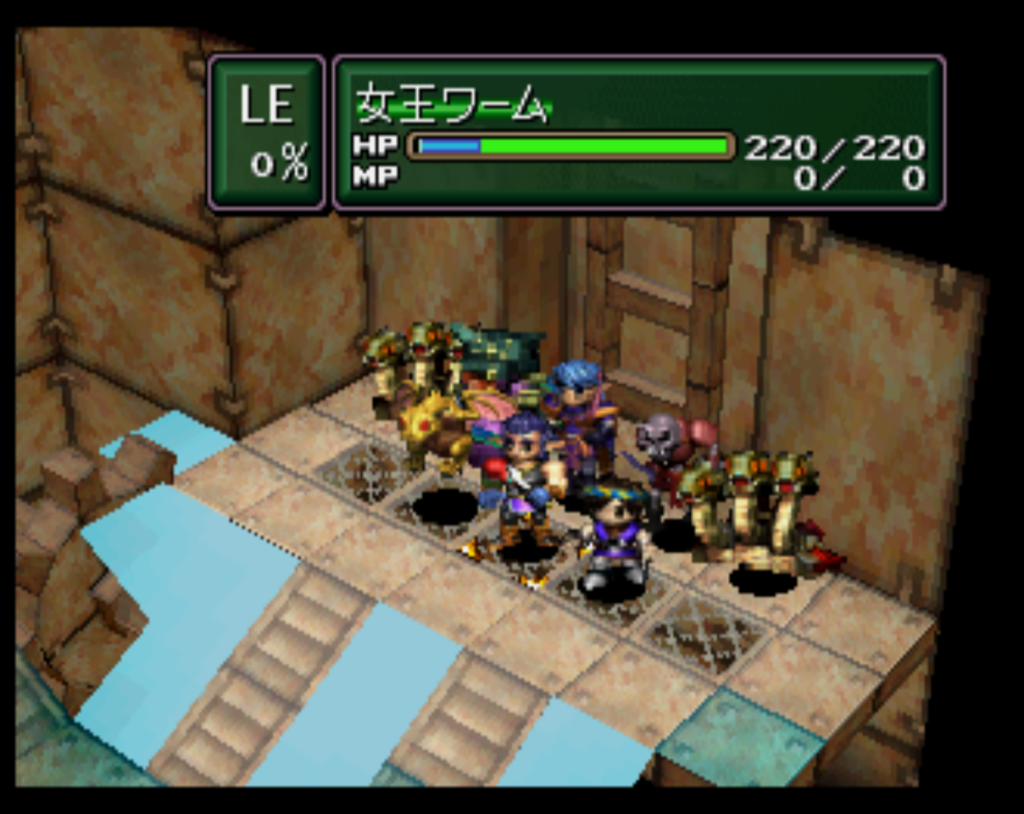
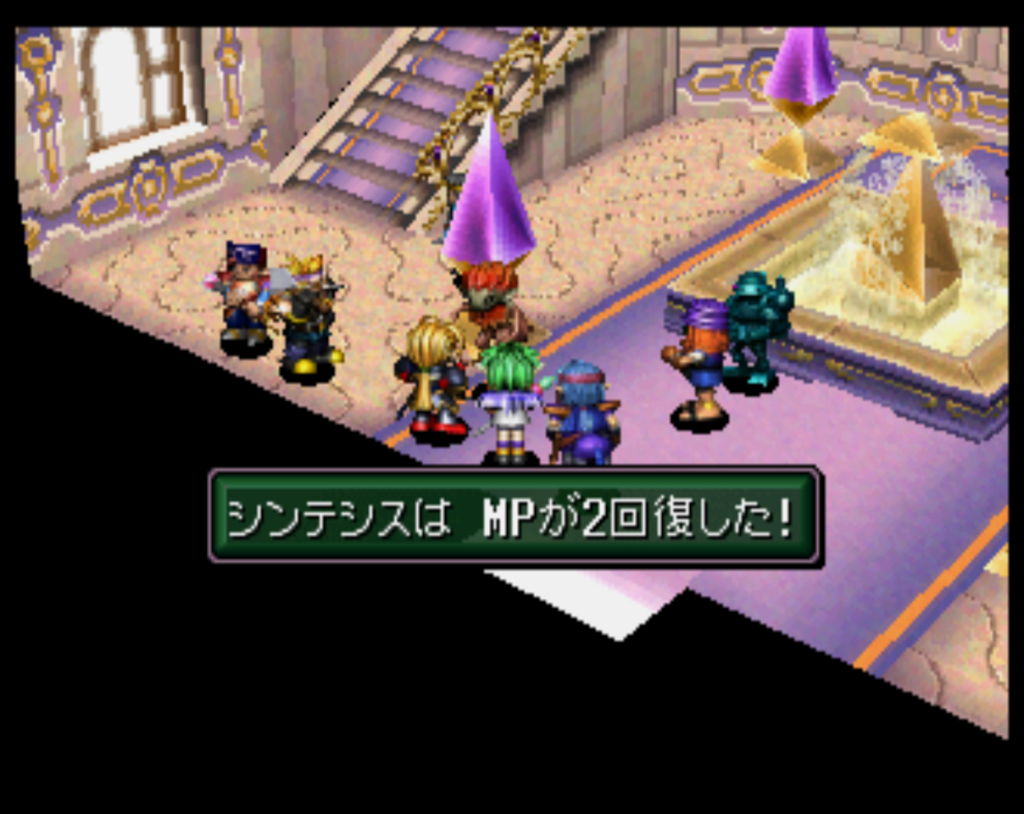
In the first battle we’re still protecting King Dominate. He takes a somewhat unpredictable path and most of the enemies don’t move until you get near them; even so I never found that Dominate himself was in much danger. This is similar to the battle in scenario 1 with the Queen Worm.
Next up is this stage where you have to navigate these platforms that rise and sink every few turns. It slows down the battle a lot. The only plus is that Dominate won’t really move beyond the first area, and so the only enemy that will go after him is one harpy thing that can be easily dealt with by his entourage.
After this we reach the last town and can finally use the blacksmith to make some nice weapons. I didn’t have much money at this point but that soon changes.
The next stage is rough. You have a bunch of initial enemies to deal with that are made somewhat annoying by having to go down a narrow stairway. But the big problem is the boss. These enemies will not move until you’re in their range, and then they all come at you and cast damaging spells. Resist would help but Hera wasn’t high enough level to use it — honestly I’m not entirely sure how I did it in the end; I kept getting screwed but then one time I guess my positioning was just lucky and most of my characters survived long enough to use Aura and take out the spellcasters. Once it’s down to just Deathhelen it’s not very hard.
After this stage, the ancient ruins open up which are pretty much the same as in the first game although I didn’t find it quite as easy to level. I got my main party up to the 13-15 range, which also earned enough money to get a bunch of blacksmith weapons. There are only two more stages left after this.
This second to last stage is annoying. You are forced to split your team into your main squad, and then your leftover characters who will be headed by David. Your main force holds off endless reinforcements on a different map while David’s squad deals with enemies inside the tank, ending with a 330 hp boss than regenerates 20 hp a round. Your normal David squad will only be a few characters, so what you have to do is either level them up to a ridiculous point, or use a character called Puppets that you get from the town bar, who can capture monsters in the bonus dungeon.
Personally I consider this bad game design. I don’t mind the team split, but they should let you split the team however you want, rather than forcing you to use this tiny squad that you have to supplement by grinding the bonus dungeon. In general I’m not a big fan of games that let you freely choose your characters for 95% of the game but then have one stage where it’s suddenly “surprise, you have to use the characters you didn’t level at all!”
In any case, once I went back to the bonus dungeon and recruited a Queen Worm, two Hydras, a skeleton knight, and a Wyvern, the stage wasn’t too bad.
The final stage is considerably easier than this, as long as you don’t send Medion out ahead to get killed. You first have to fight Symbios’ side characters from the first game, who for me were all very weak and could mostly be taken out in a hit (although I did get Medion killed from full HP by a lucky critical move, which is why I am glad to use save states on successive battles where you can’t save). Once that team is gone, you just have the two final bosses with two weak grunts — Yasha can cast level 3 spark but Aura was able to deal with that pretty easily.
So that’s SF3 part 2. To be honest I did not enjoy it as much as scenario 1. I thought that a fair number of the creative battles they tried (like the ship cannon one, or the split party one I mentioned above) were not well designed, and especially since you still can’t skip battle animations the turns seem to go pretty slowly.
We’ll finish up Shining Force III later in 1998 with scenario 3.
Still not quite done, but this post will go to the end of chapter 5.
Chapter 4 starts with a “save the NPC” mission — what’s nice about SF3 is that you can control the NPCs so you don’t feel like you are having to fight against stupid AI. Another weird thing is that there is a thief among the refugees, and if you want all the bonus items you have to intentionally get the thief killed by moving him into the enemies. I lost one villager but decided not to retry. Mainly I just moved the villagers towards my troops and used the monk to hold off one of the enemies.
The next stage is pretty annoying. There are these lightning towers that can damage both you and the enemy, but where they shoot is hard to tell and predict, so I just took damage as I moved forward. There’s also a ruins with an optional robot character you can get, but it’s frustrating as well.
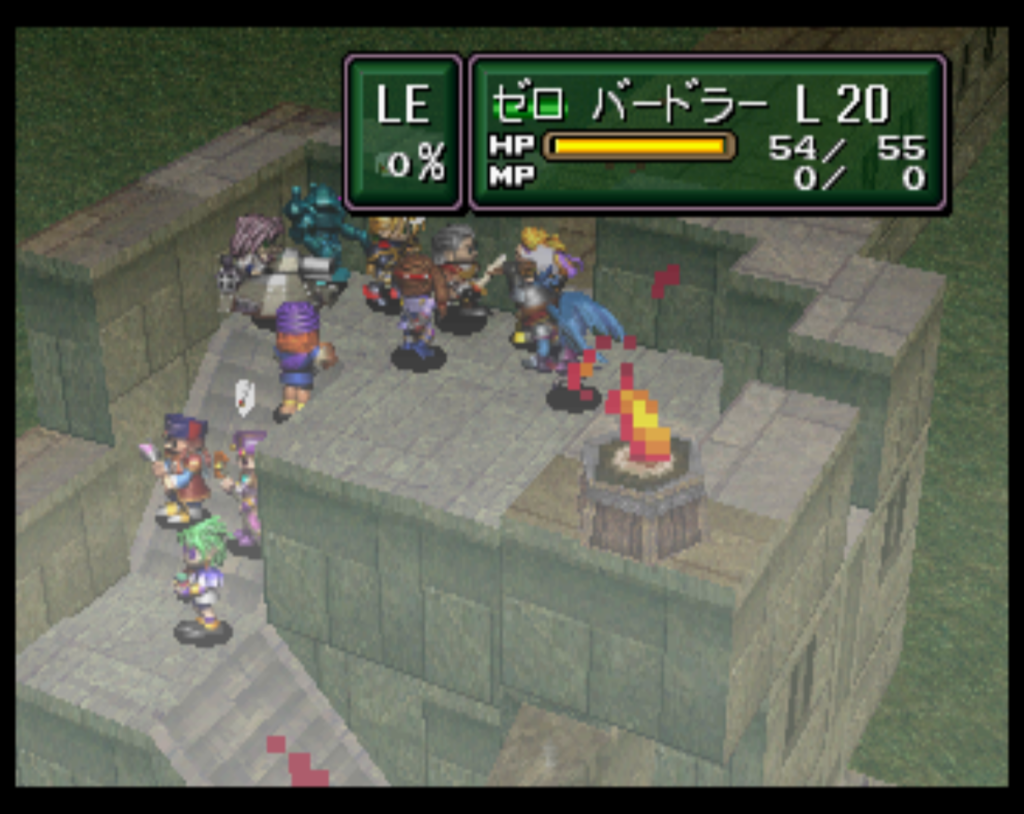
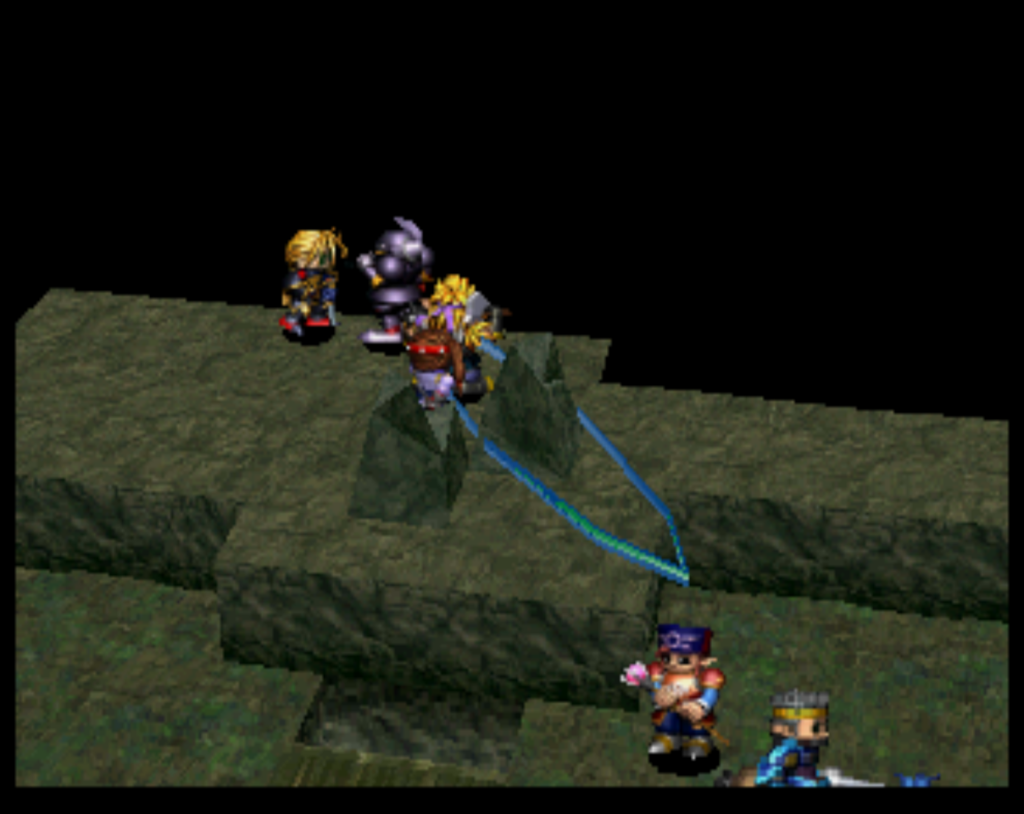
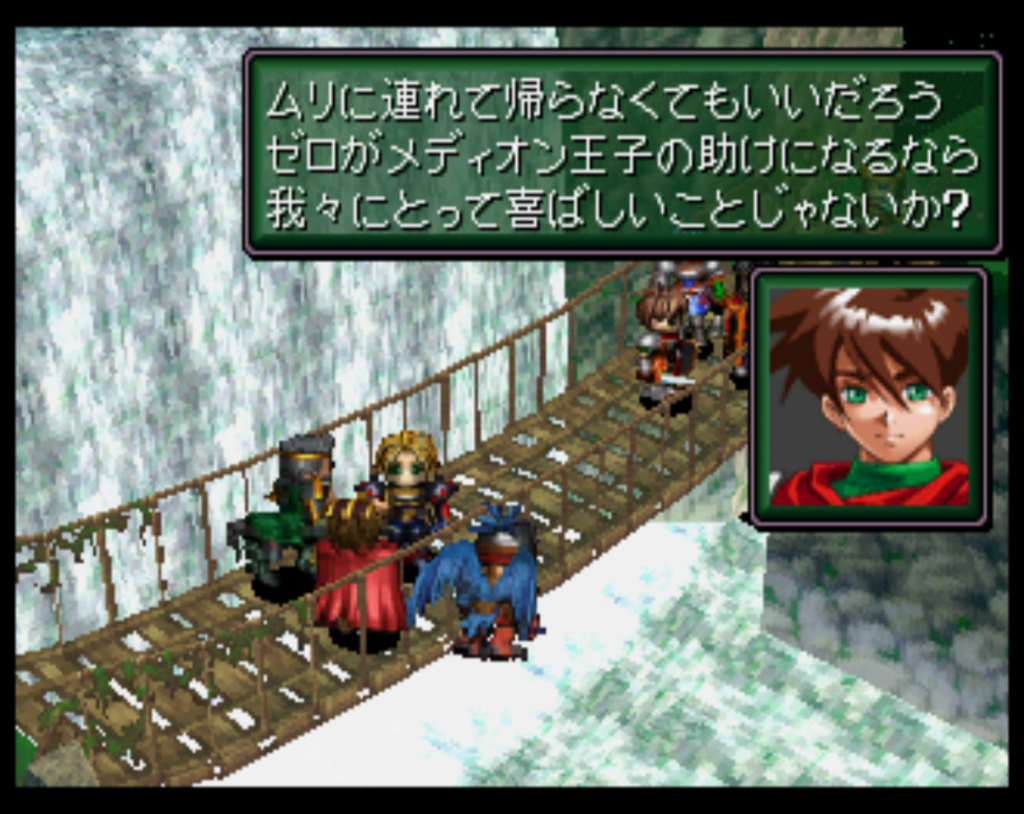
You have to use Zero to reach two switches (which don’t even look like switches on the map) that open doors for the rest to go through. If you don’t have Zero ready, or do the switches in the wrong order, you may run out of time to reach the thieves and the robot character.
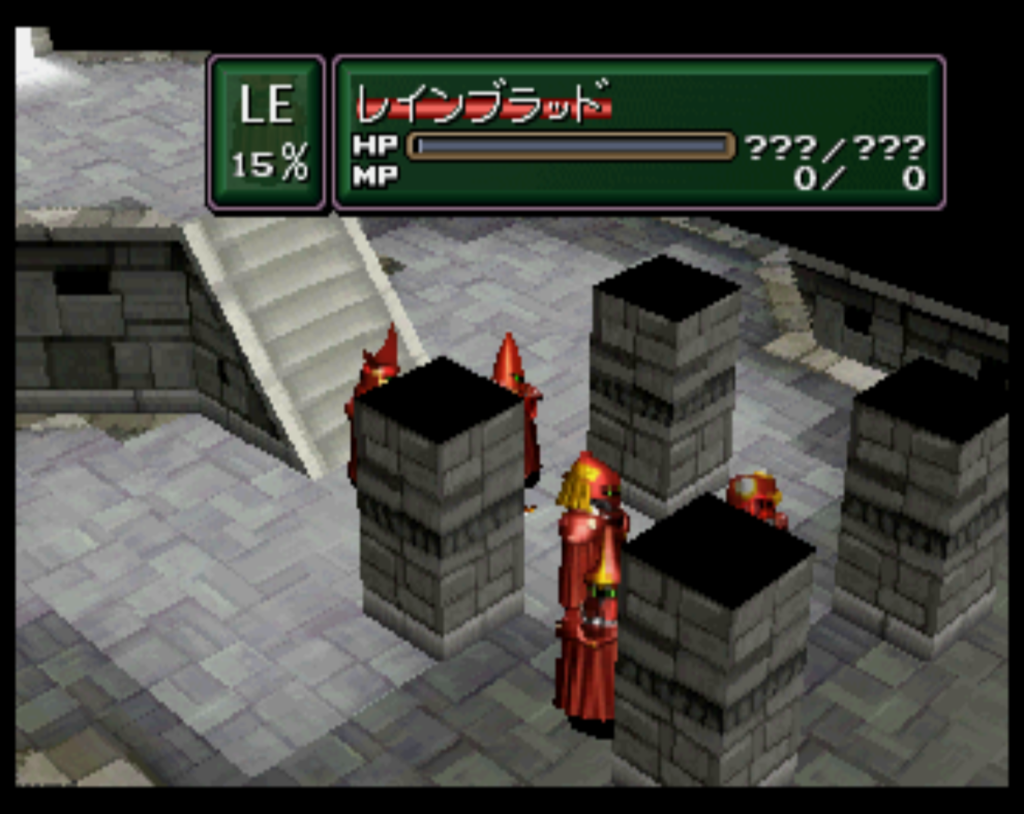
The next stage has King Dominate’s “Rainbloods” fighting against the enemies; you can mostly ignore them but you do have to be careful because the enemies will still attack you if they can. You also have to freeze an area of water to cross over, but the person that actually does the freezing can’t cross before it melts so you lose that character.
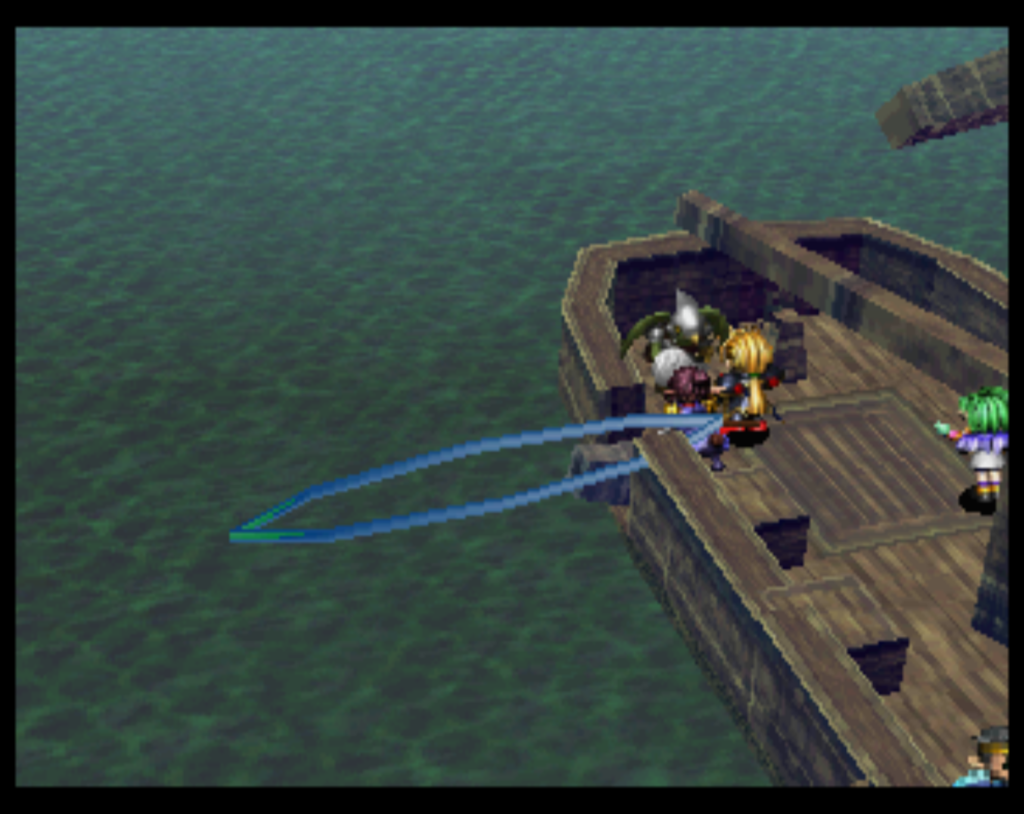
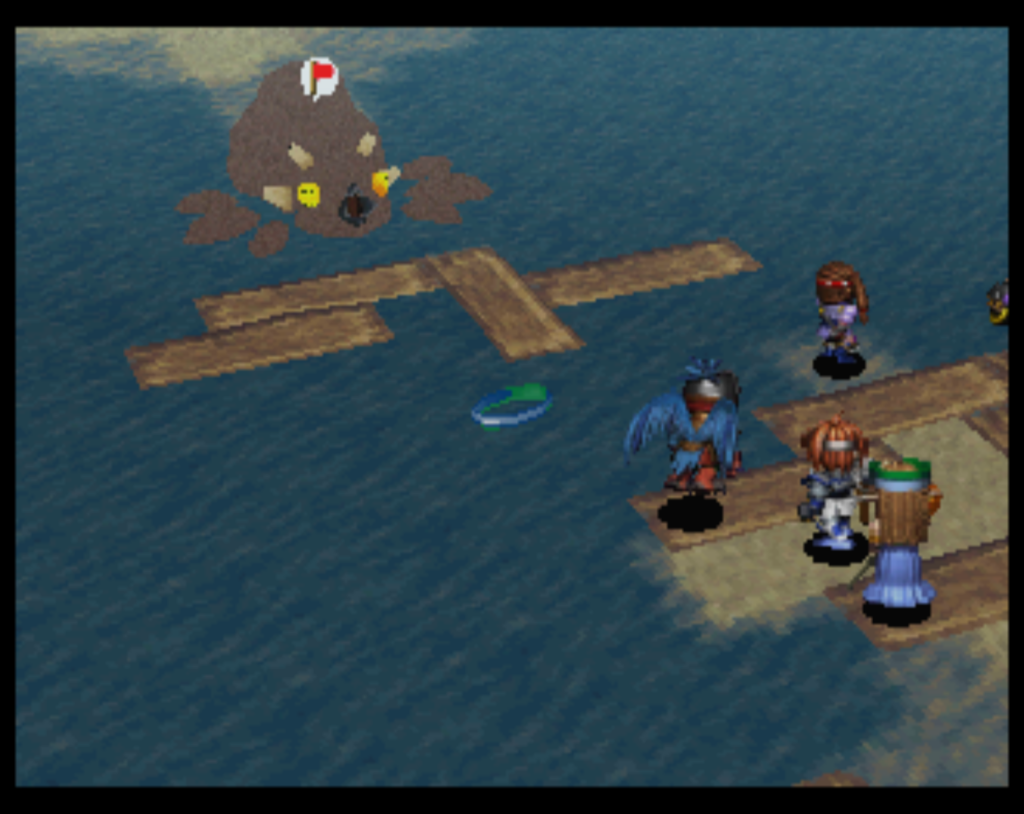
This next stage sucks. You have to use ship cannons to attack the cannons of the other ship; the rest of your guys can’t do anything except fight a couple of bird enemies that will visit, and just sit and get hit. What was especially dumb about the stage was that after the first person I had in front of the cannon died, the NPC Donhote moved into that spot to attack an enemy. He would not move at all after that, or use the cannon, so I lost the use of that cannon for the rest of the battle which made it impossible to destroy all the enemy cannons.
Fortunately you do not have to destroy them all to move on to the next stage, it’s just some bonus XP. Chapter 4 ends with a battle on the ship itself — some of the grunt enemies on the stage are quite difficult but the boss himself isn’t too bad and a lot of the enemies won’t move even if you are in their range.
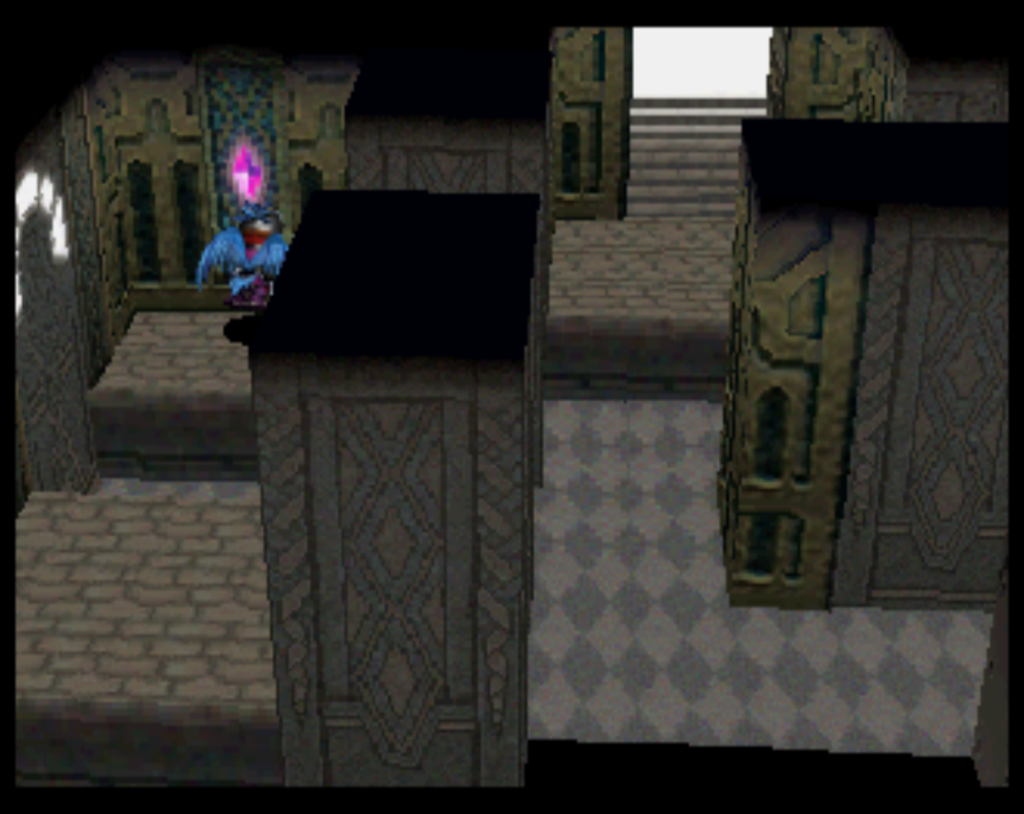
Next you have to break out your guys from prison using only 3 characters. First off it’s hard to find the secret door to get to the prison — you have to remember a scene from the beginning of chapter 1, and given how complicated the town map is for this I had to use a video walkthrough to find it, and even then it was difficult (see my Grandia posts for my hopelessness navigating 3D maps).
Once in the prison, you have to steal a key from the enemy, then one by one open up the jail cells. The freed people have to first go to a table to get their stuff. There are reinforcements that come out of two doors; they are fairly limited, but I still found it easier not to free everyone, just to free enough people to go towards the boss. (There’s a bug you can exploit in this stage also; if you use Return in this battle any items you used will be back in the inventory. You can use this to get lots of stat ups or tons of money)
The next stage has multiple maps; first you have to kill all the outside enemies then go into the big mansion and beat the enemies there. Once again the enemy AI is a bit weird and they won’t always go for you when they can, and King Dominate is there with some soldiers to draw some of the enemy attacks.
Now for the next 4 or 5 stages, you have King Dominate with you, and if he dies it’s game over. For the most part this isn’t too problematic since he tends to move slowly and not jump into dumb places. What it does is slow down the game a lot — the game is already slower than it should be with the unskippable animations but having all these NPCs makes it crawl more.
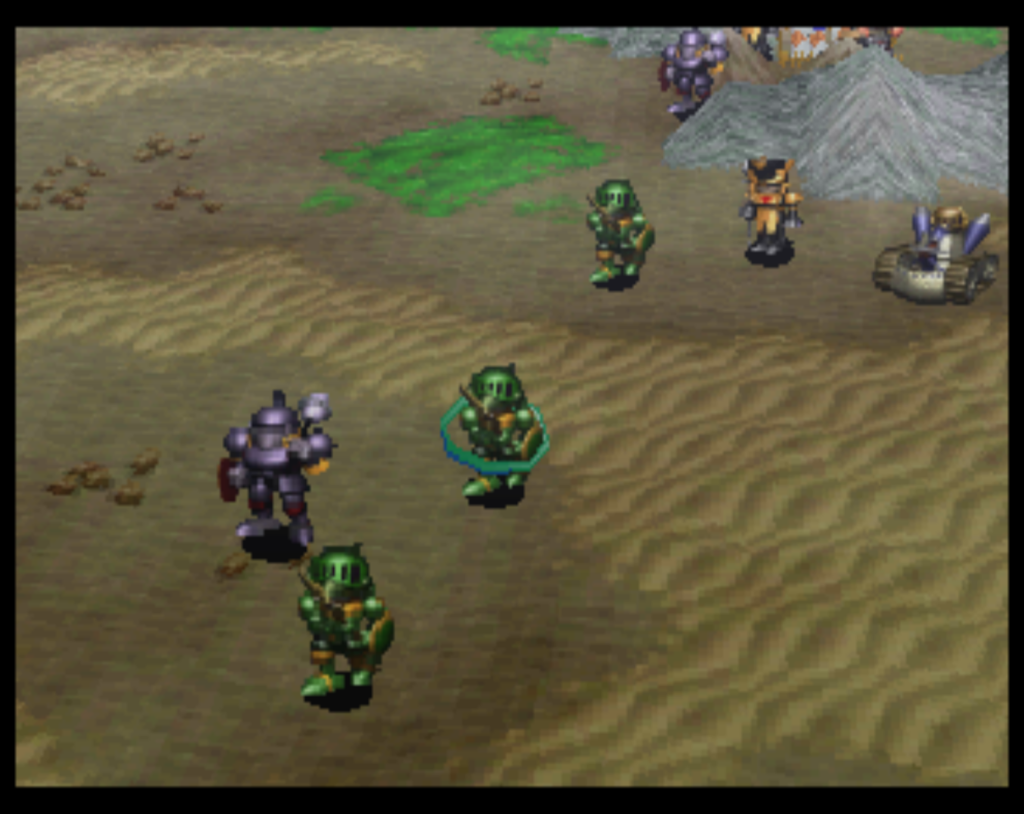
This next stage starts the appearance of these tank-like shooters (you also get one on your team).
The last chapter 5 stage is in a cave against some bosses — this is probably the most dangerous stage for King Dominate but as long as you don’t rush all your guys forward immediately it’s not too hard to protect him.
David is completely useless at this point; I can’t even level him up enough to make him useful so he’s benched. Hevda dies in one hit to everything but she can still cast some useful spells so she’s fine.
I’m partway through chapter 6 so I should almost certainly be done with this game by next weekend; it’s taking me much longer than I wanted it to.
The rest of chapter 2 is not too bad. Chapter 3 takes place mostly in this wooded area that has a very annoying map to traverse, especially when you retreat and have to make your way back to the battle.
New people join here. First up is David, who is not very good (apparently you should wait to promote him until level 14 and he gets a bit better). We’re going after his lover Hevda; this is apparently a reference to David and Hevda, an Israeli singing duo from the 1970s who were quite popular in Japan.
The next battle is probably the toughest of the game so far. Hevda is controlled by the enemy and if you want her to join your team you can’t kill her, so you have to leave her to use Freeze on your guys. There are also a bunch of spellcasting units clustered at the end that can lay waste to your force. The boss moved ahead to cast a spell on Medion, and thanks to that I was able to sacrifice the majority of my force to keep Medion alive long enough to kill the boss (ignoring the other enemies) to end the battle.
Hevda is not very good either (at least for now), her HP and defense are so low that she often dies to one hit of anything, which makes it hard to keep her alive long enough to actually do anything useful.
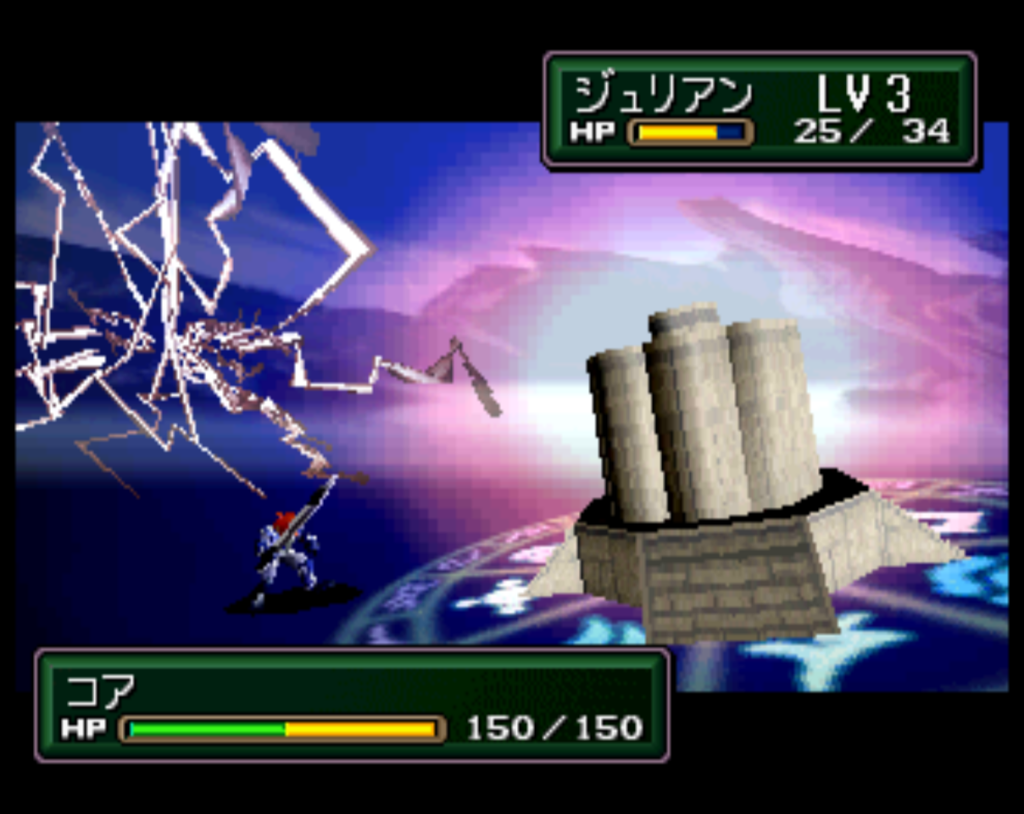
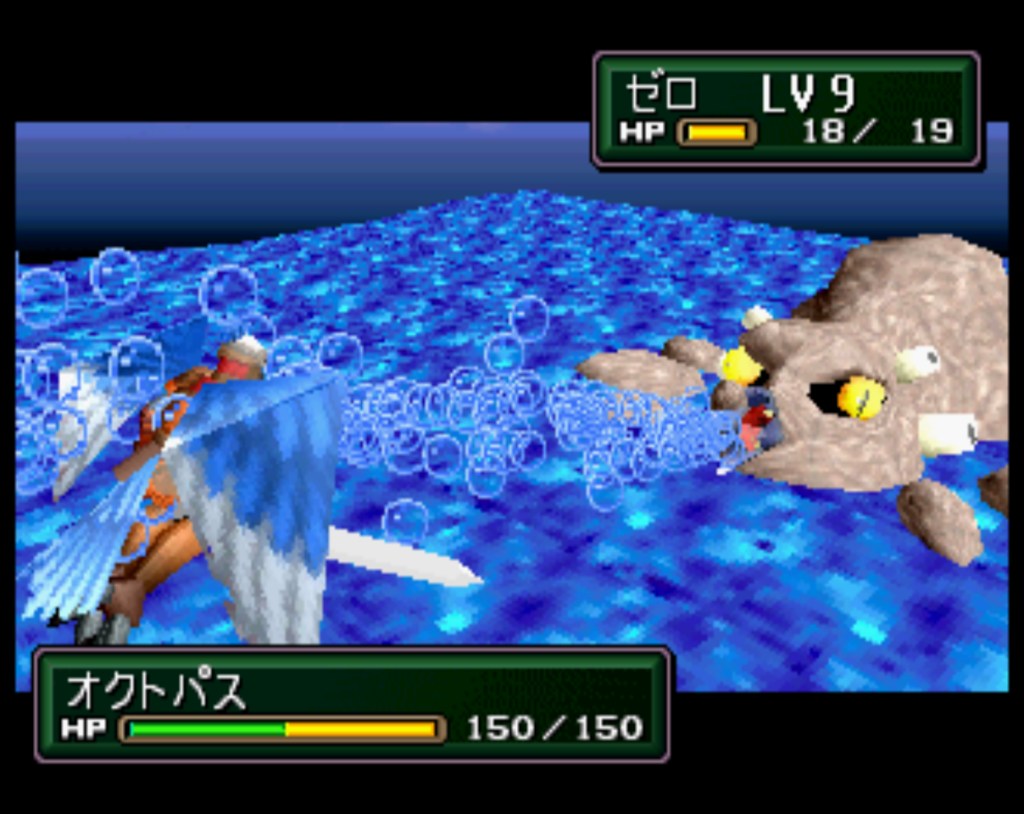
This NPC “Don Hote” (I guess a reference to Don Quixote) accompanies us for a while as we head down to the shores to cross at low tide. The final chapter boss is a big kraken. Julian joins here as well, and can come with items you left him with in chapter 1.
For the most part I’ve thought SF3’s graphics are decent given the other examples of this kind of polygon graphics of the period, but that Kraken monster is pathetic — it’s at RONDE levels of garbage.
It has the most HP yet and Zero has to use an orb on him to remove a barrier. Only one character can move close enough to do a range 1 attack, but with a combination of spells and ranged attacks he wasn’t too tough (he had some AoE attacks that could have been quite damaging but he tended to aim single hit attacks at Medion instead).
So this is only about half the game; I’m hoping to finish the game by next weekend but we’ll see.