Riglord Saga 2 (リグロードサーガ2), developed by Micro Cabin, released 11/18/1996
This is the followup to 1995’s Riglord Saga (also called “Mystaria: Realms of Lore” or “Blazing Heroes”). It was released only about a year after the first game, so unsurprisingly it’s very similar to that one. Which is not a bad thing; I enjoyed the first game and this is more of the same. Unfortunately this game never came out in English.
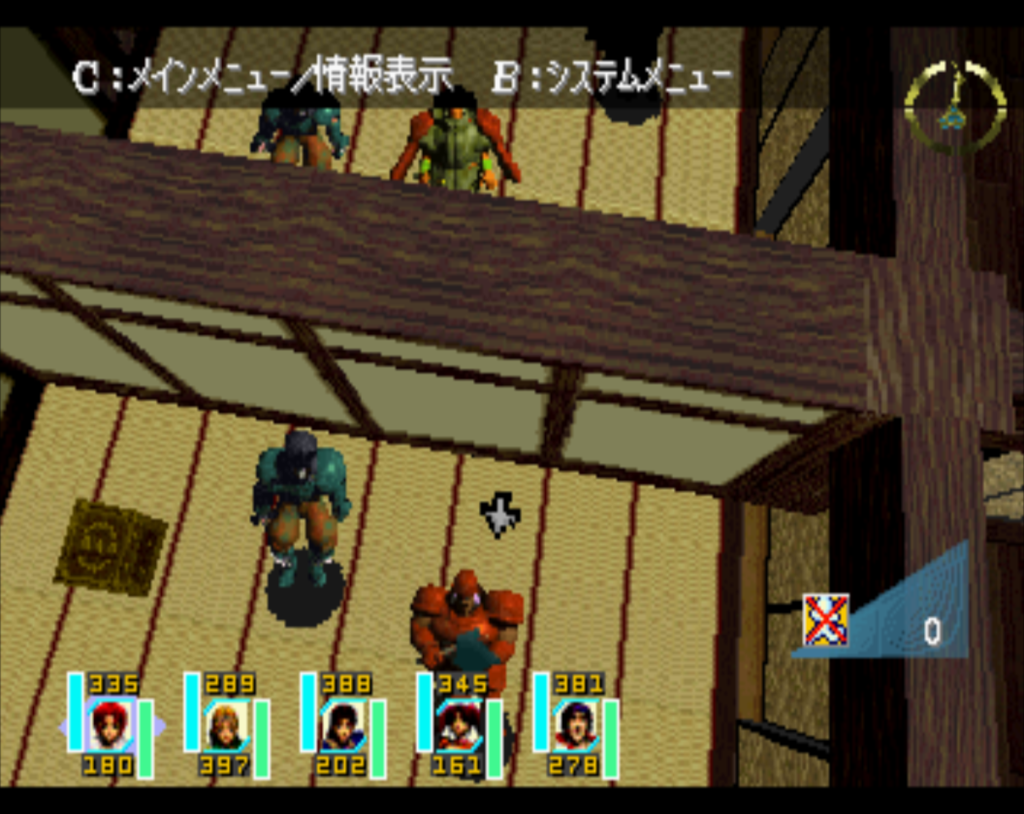
The game shares the same strengths of the first game — a good XP system that distributes it evenly among everyone, and interesting skills that give a feeling of character growth and individuality. It also carries over some of the weaknesses — ugly graphics, and some interface issues. For instance, you can’t see what abilities do when you’re selecting them, which is a significant problem given the large number of abilities in the game and the complexity of their use. The ugly graphics are mostly ignorable, but the lack of a camera rotation at times makes it hard to see where things are or where you can move. You can press buttons to adjust the camera angle but this is only of limited help.
The story takes place 100 years after the first game, and most of the characters are descendants of the characters from the original.
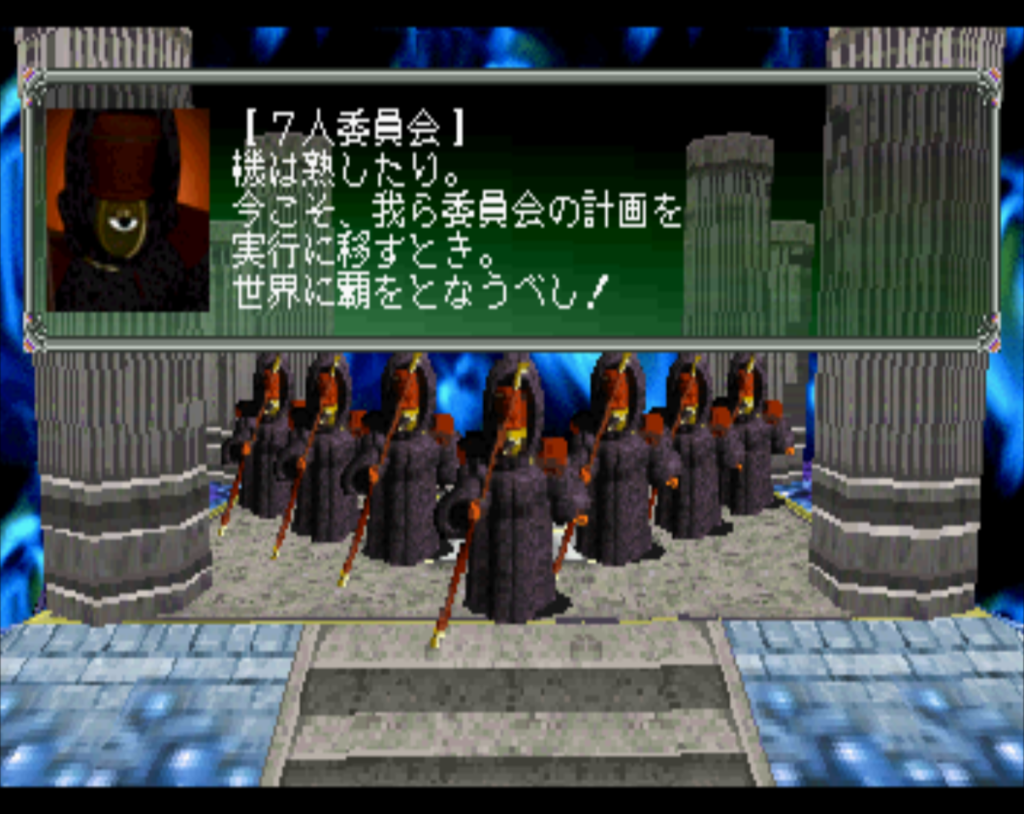
The “council of 7” of Kadarl Kingdom is mwaha-ing about the usual evil plan to take over the world. They send two of their top followers, Raglos and Galzard, to carry out the plan (although they don’t get along very well.)
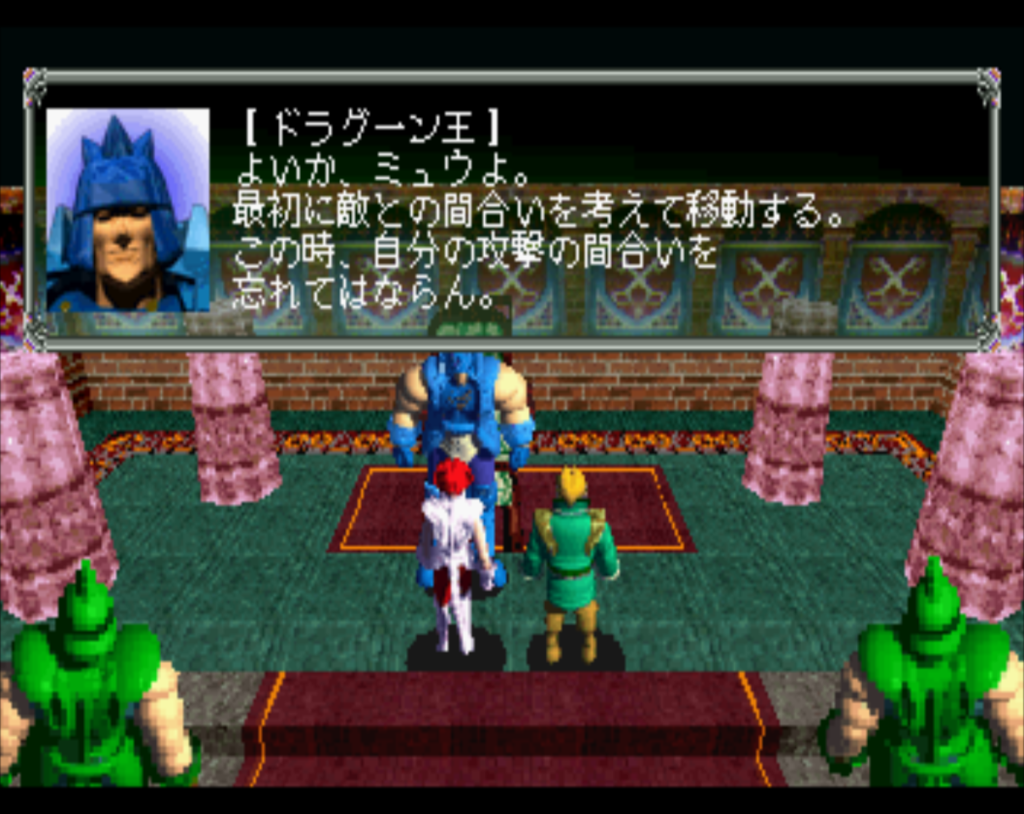
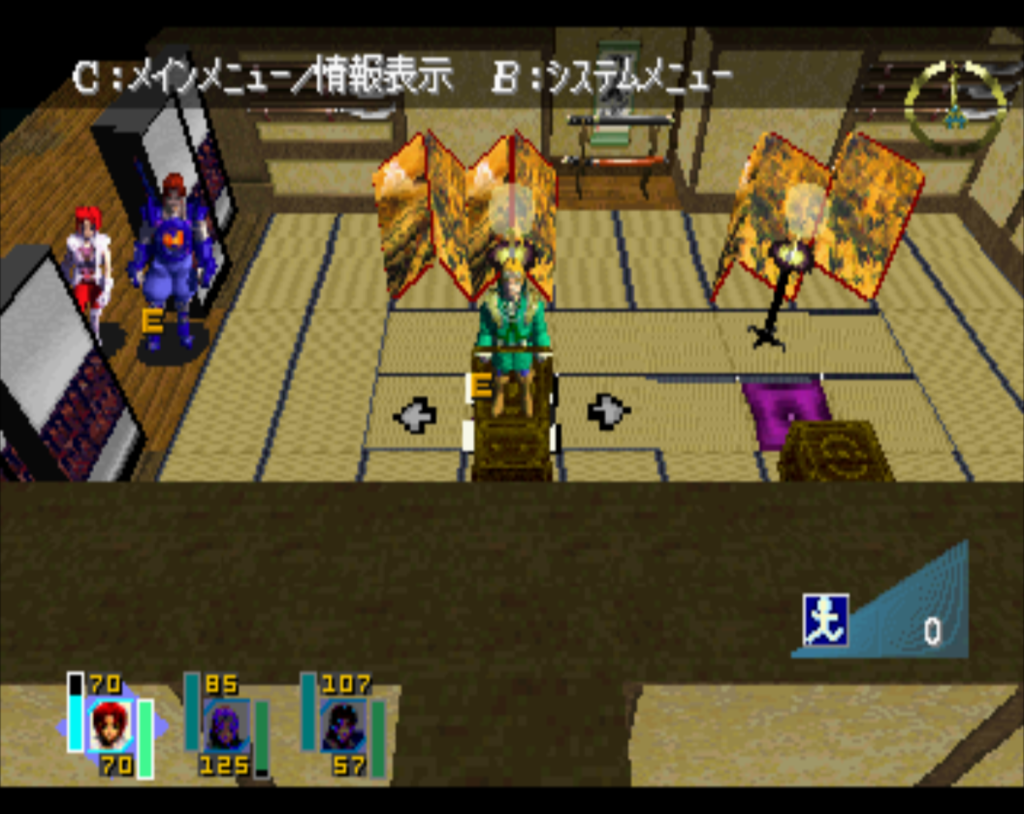
On the Riglord Continent, we’re introduced to our starting main characters. Myu, the daughter of the King of Dragoon (the descendant of Evan/Ashe from the first game), and Rasty, the Prince of Queensland (the descendant of Arthur from the first game). The King sends them on a training battle first to practice. This part of the game is voiced, but there is very little story voicing in the game.
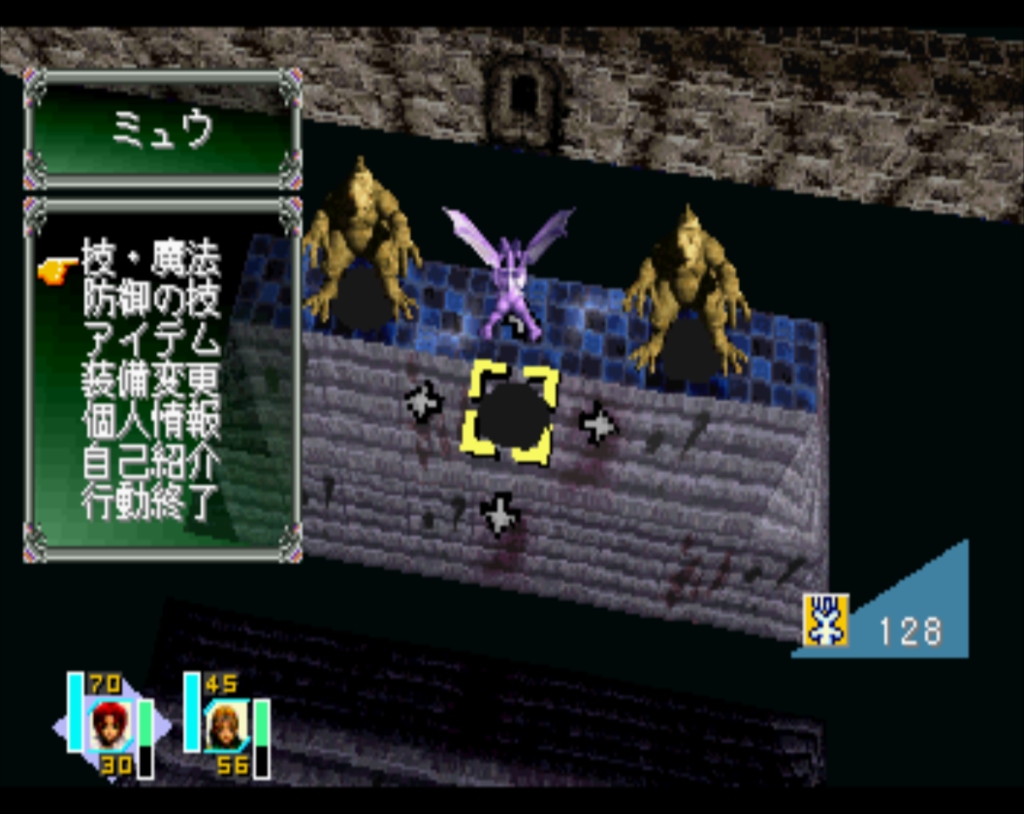
Battle 1 is a training map where you practice Myu’s dragon transformation. I died the first time because I moved in the wrong place, but all you have to do is sit where she is in that picture and use Wind, which knocks the enemies off the cliff and kills them. I believe the way that people can fall off things and die or take damage is a new element in this game, but I might just not be remembering.
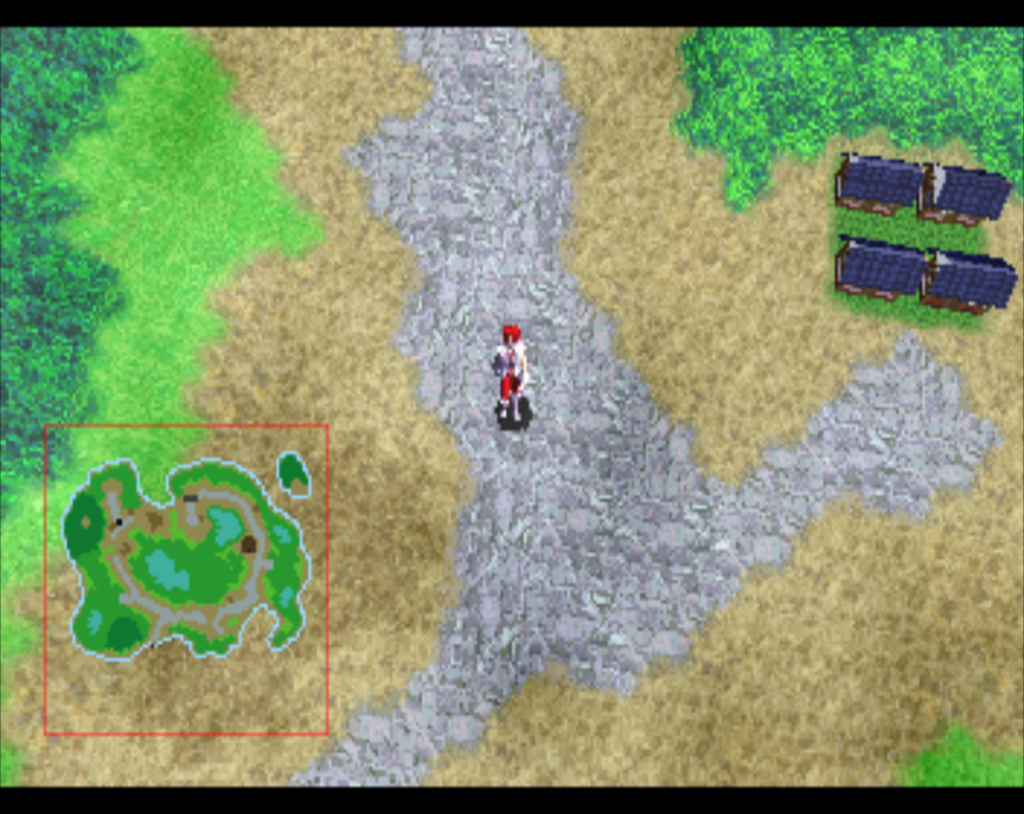
After the battle, Galzard shows up with his troops and sacks the castle, forcing Myu and Rasty to flee, telling us to go to Yamatai Continent for reinforcements. The equipment in the nearby town is very expensive (clearly this is where the game will end, or close to it), so I headed south. One other change in this game is that you can now explore the towns; this makes no palpable difference because you’re basically doing the same thing you did when you selected the houses from a menu in the last game.
Battle 2 is with troops at the border, but this is another training. Rasty tells me to use Earth Moll to raise up the ground, which flings everyone off, killing all the enemies.
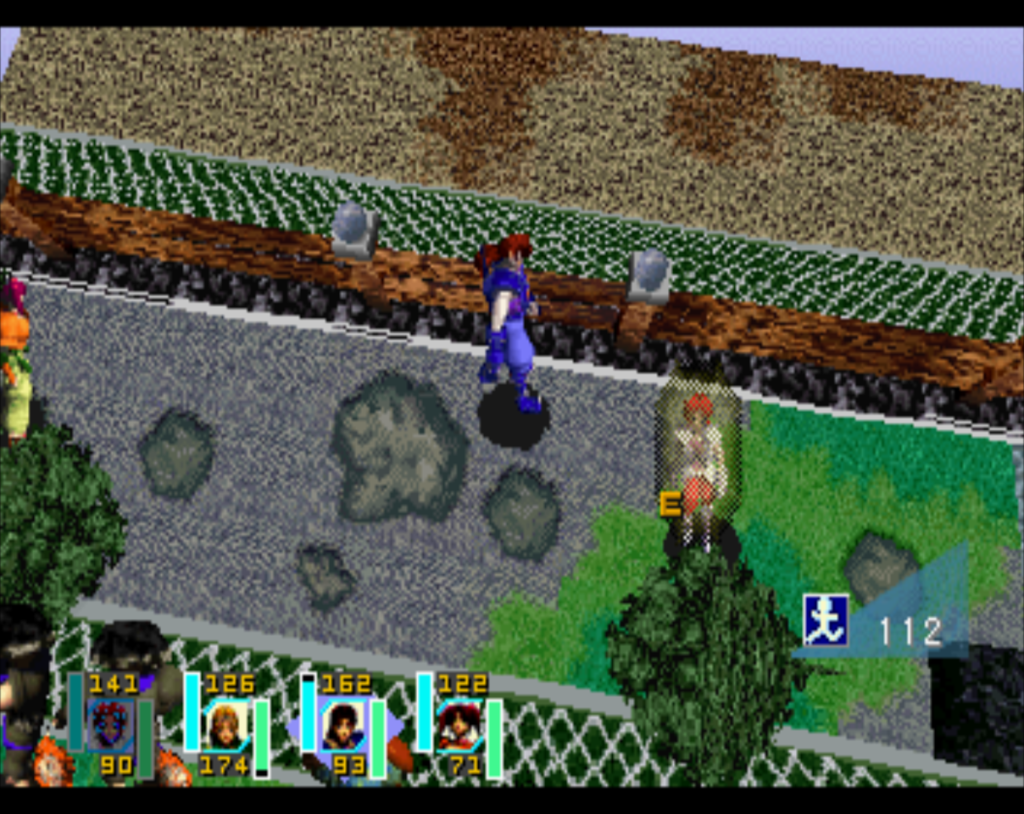
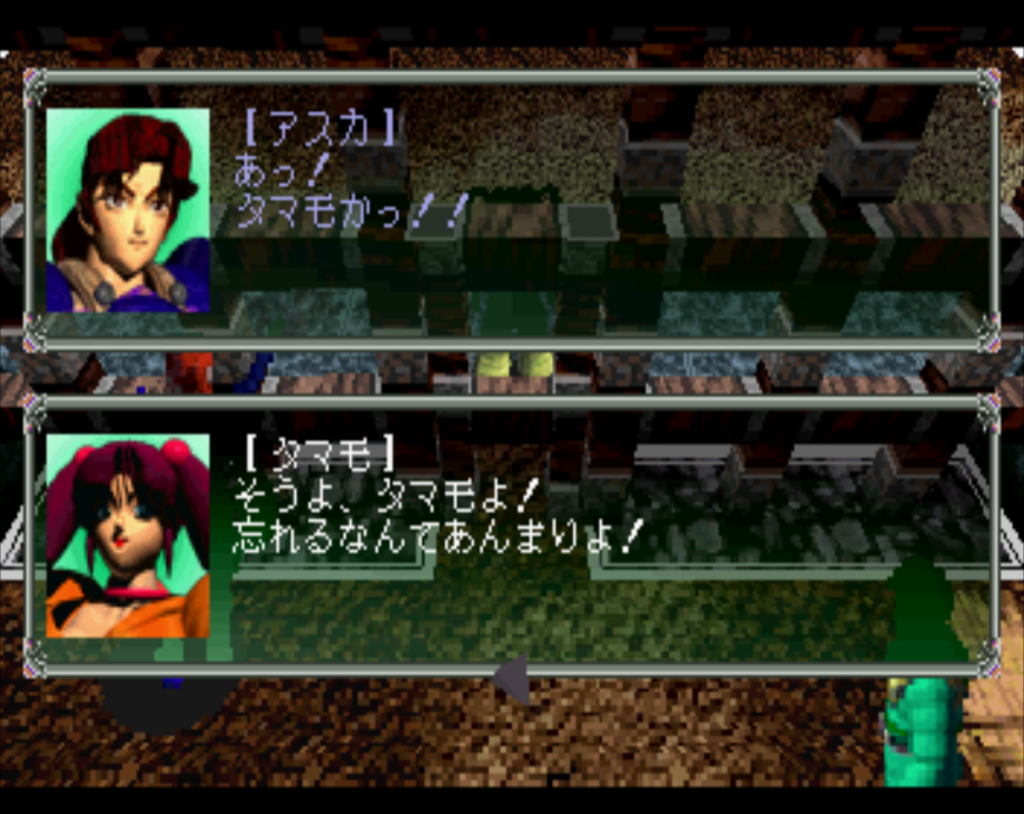
Now we get a ship with captain Diana and head to Yamatai, to the Iga village. There, it turns out that Kadarl is already attacking. Asuka (the descendant of Raiko) is being attacked, and we come in to save him. The enemies can use control magic which is annoying, especially with so few guys. Generally my tactic is to always use the move that gives the most XP unless I have a reason not to, and to always defend with the most XP defense move — developing your defense moves early is a big help, as some of them are quite good. Power Absorb gives you a 75% chance of an attack restoring your HP rather than damaging (although once it succeeds it doesn’t work until you use it again next turn). There are other defense moves that restore HP, restore MP, counter, etc.
Asuka is the leader of the Tsukigumi ninja band, although his ninjas have been captured by Kadarl. Since he alone came back to town, the town thinks that he is a traitor.
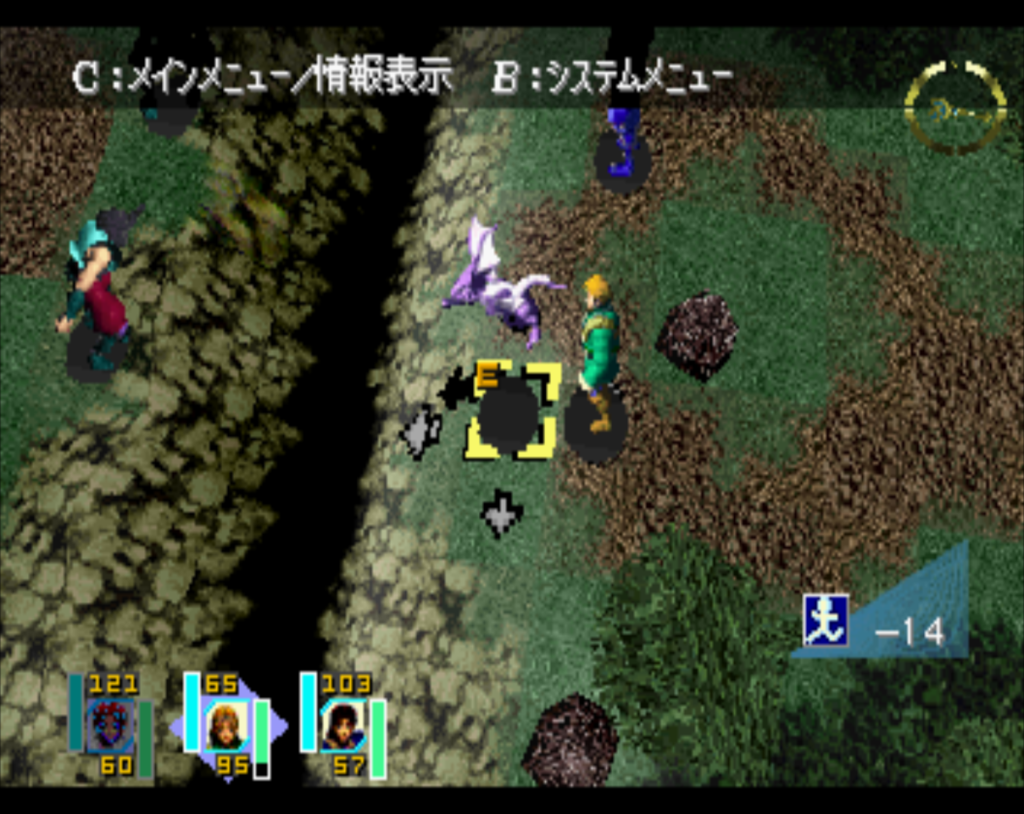
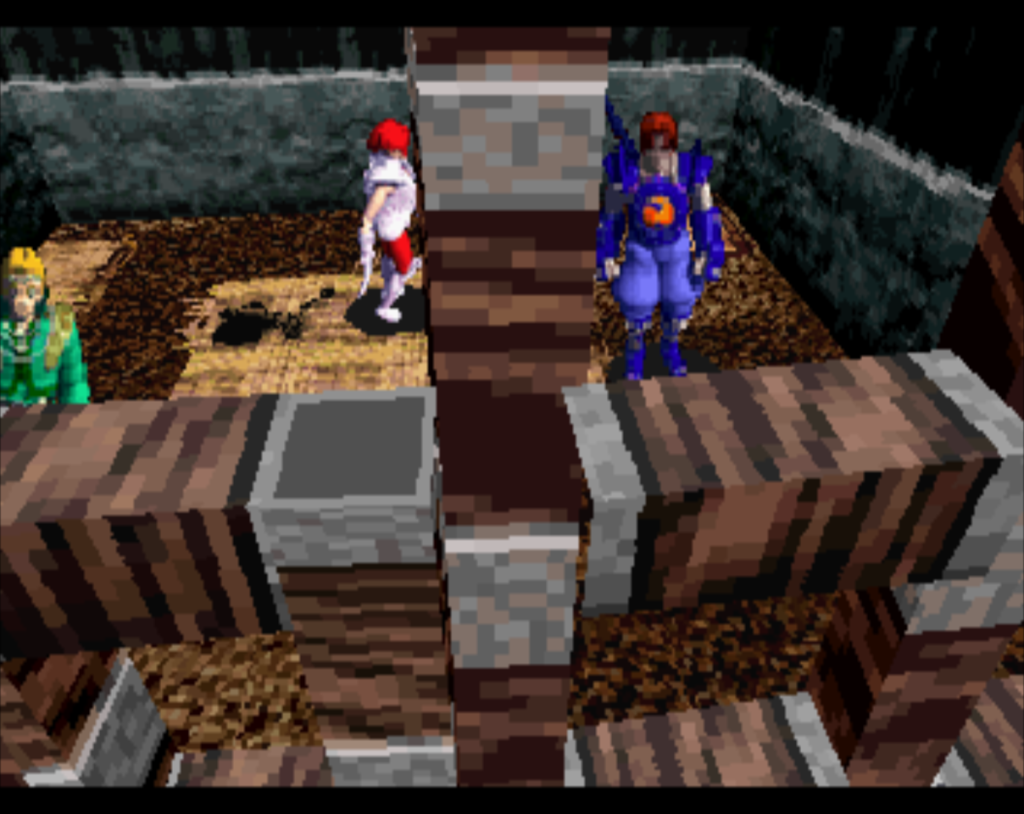
The next stage introduces another new gameplay element. Myu, in her dragon form, can pick people up and carry them across crevasses. But it’s not worth doing unless you have to, because it takes one turn to change into dragon, one turn to “rise”, and then one turn to pick up the person. Now you can start moving, but if Myu gets killed, both she and the person she’s holding will die if they’re over the canyon. I can see what they were trying to do here but having to take 3 full turns to pick someone up with the great danger it brings is not worth it. You also have to be careful where you move, because if you end your turn on a slope you will sometimes fall into the pit or slide down and take damage.
Next up is the ninja base, which Kadarl has taken over. This is a two part map with no saving in between (I never like this). There are a number of traps in the stage as well. The first time I had to retreat because I got charmed and Asuka killed both Myu and Rasty.
After beating the boss here we get a mirror. This is one of three items we need to open a sealed cave that leads to Geden Castle. This is where Genyusai (the main villain of the first game) was, and it’s where Galzard is now. Myu decides that if we can kill Galzard here that will significantly reduce Kadarl’s ability to fight. So we go to find the other items to open the cave.
First I went west, across a barrier with a short easy battle (easy because you can use all of Rasty’s most powerful spells without having to care about MP).
On the other side is the town of Gojo. The owner of the tea shop gives us tea spiked with sleep drug because there’s a bounty on our heads, and we get thrown into prison. But the archer/thief Shiranami helps us. She has all the archer abilities of the archer from the first game, as well as steal abilities. One of them is “steal move”, which can get some techs that can only be gained by stealing them from enemies.
The prison escape stage is long.
You need to hide behind trees so that the many archers cannot pick you off. Moving slowly through the stage is good. There is a boss, but he’s not too bad — he uses a defense move that makes you get hurt instead of him (and lasts the whole enemy phase), but if he uses that you can just defend yourself and wait until he does something else instead. Fortunately this boss also has the next item we need for the sealed cave.
Now as we escape, we have to cross a bridge that gets burned by the next boss, the brother of the boss of the previous stage. This is the very familiar stage design that’s been used in a bunch of games up to now, where you have to move forward while the bridge burns behind you. In the end I didn’t defeat most of the monsters, and Myu in dragon form escaped herself while everyone else died. The tea merchant who poisoned us is very apologetic.
Now there are two optional areas to go. One is Nazuna Cave, which I tried but has these annoying crevasses you have to pass over with Myu. The other is Oboro Valley, which has archers on a high point that slaughter you if you’re not prepared. I decided to wait until I was stronger to try them, but I think I waited too long and I lost access to them.
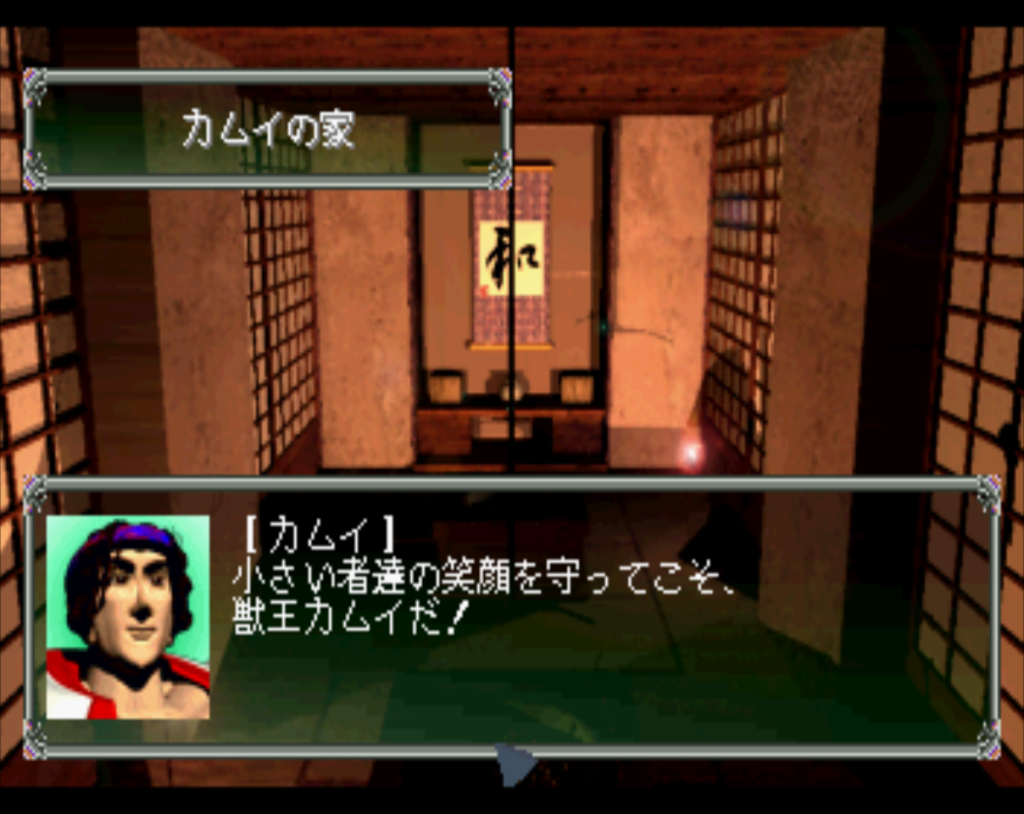
Instead, I headed through the east barrier to find the last item. In the town there, a huge dude named Kamui was sending off another girl to be a hostage; the Seiryobu group of Kadarl was taking a bunch of children and women hostage to force the village to comply.
Of course we can’t let this happen, although the enemies don’t seem to kill the hostages when they have the chance. Anyway, there’s a small battle in town, and they do manage to kill Yukari (the last woman). But Rasty saves her with his great healing power.
Now we have to go up Horai Mountain. This stage has a lot of chokepoints and places you can fall off the cliff; I had to retreat and try again 3 or 4 times before I finally got through (you always get XP when you retreat so it’s a good way to build your party up).
At the base, we have to split into two teams — this doesn’t fight separate battles, but just has one team at the top of the map freeing the hostages. If you search the door of the cell three times the stage is over and there are a lot of chests; I didn’t realize this so missed most of them.
Now we take on the main base and beat another boss — a strange enemy who has somehow been brainwashed into thinking all the children are their own, but we still have to kill them. At the same time we get the final item to open the gate, so it’s time to head to Geden Castle (this is apparently the last chance to do the optional areas).
First off is climbing a big mountain with extra spawning enemies, but it’s not especially hard. Kamui is able to change to a bear or a bird, in addition to using some regular skills. The bear form is nice because it regenerates HP at the beginning of each turn.
At the top is Geden Castle. The first floor is long and has a bunch of traps. I ended up losing Rasty and Myu and was afraid I would have to retreat and do it again, but fortunately after the first part you get healed (although you can’t save).
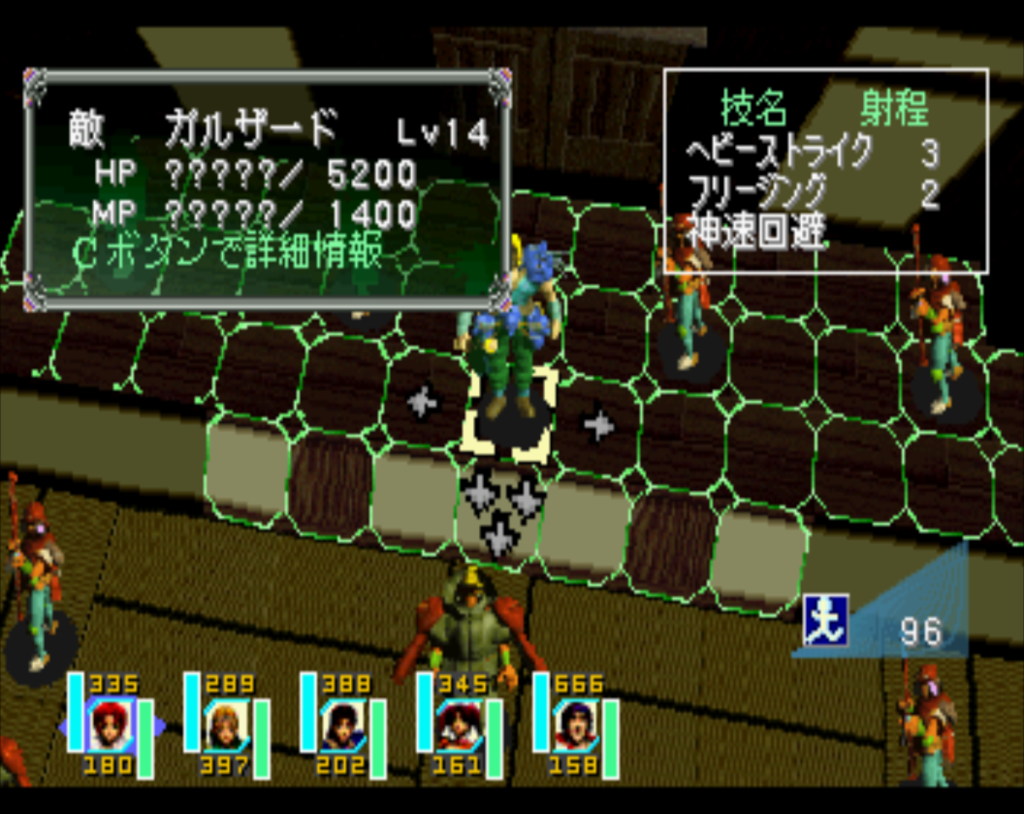
Now time for the boss, Galzard. He’s not that bad although the freeze attack is annoying. I used Myu’s defense area to raise everyone’s defense.
Once Galzard is defeated, he’s called back to the Kadarl home country by the Council of 7. Myu tries to stop him from going in the teleporter but gets teleported herself. The rest of the party decides to go to Higata town where Diana (the ship captain) is waiting, so we can follow her. My guys are all level 14.
So far I’m enjoying it as much as I did the first game; hopefully that will hold out until the end.
Mt. Horai… do you have to go there at the behest of a certain Moon Princess, in order to retrieve a jeweled branch?
The slope/elevation stuff sounds new. I don’t recall that being in the original Mystaria.
Mount Horai shows up in a lot of stuff (it’s the Japanese version of Mount Penglai from Chinese myth).
The enemy AI doesn’t seem to take the slope into account at all; they often move onto the slopes and then either die or take big damage. Also the more I play the more I think the system wasn’t all that well implemented. It’s very hard to tell from the graphics where you slip and where you don’t, so you have to rely on a picture at the bottom right, which is a bit awkward. Also even if Myu and Mukai are in the Dragon/Bird forms, they still slip down the mountains, which doesn’t seem to make much sense (they take 0 damage, but they still fall).