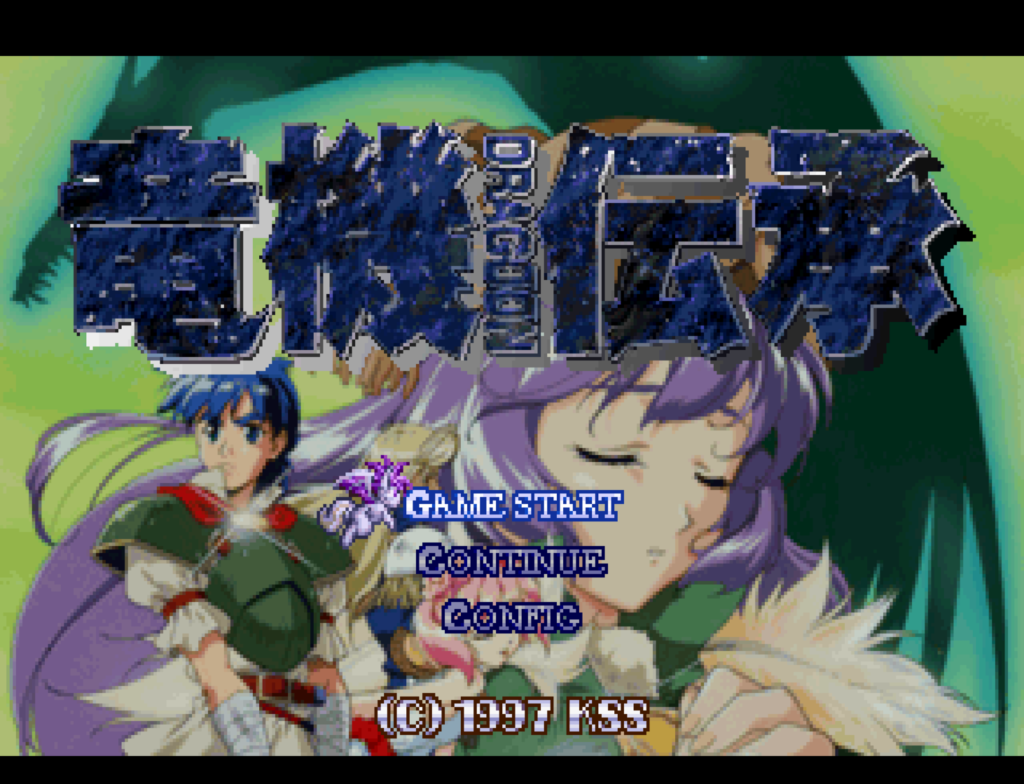
Sakura Taisen 2 (サクラ大戦2), released 4/4/1998, developed by Red Company, published by Sega
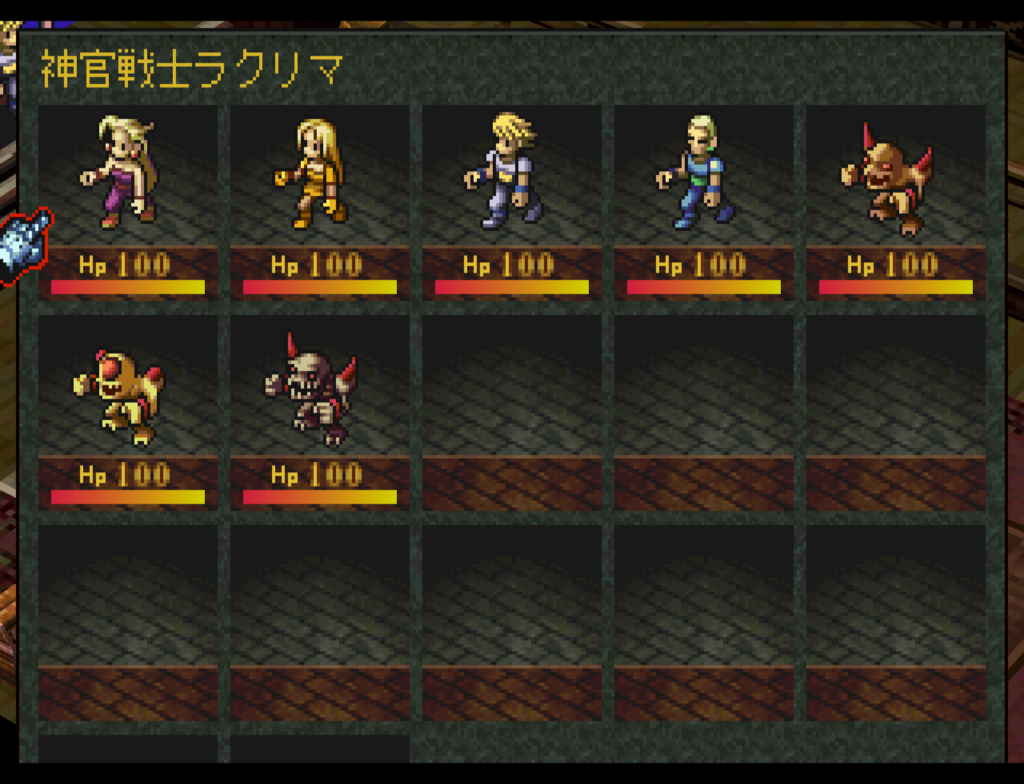
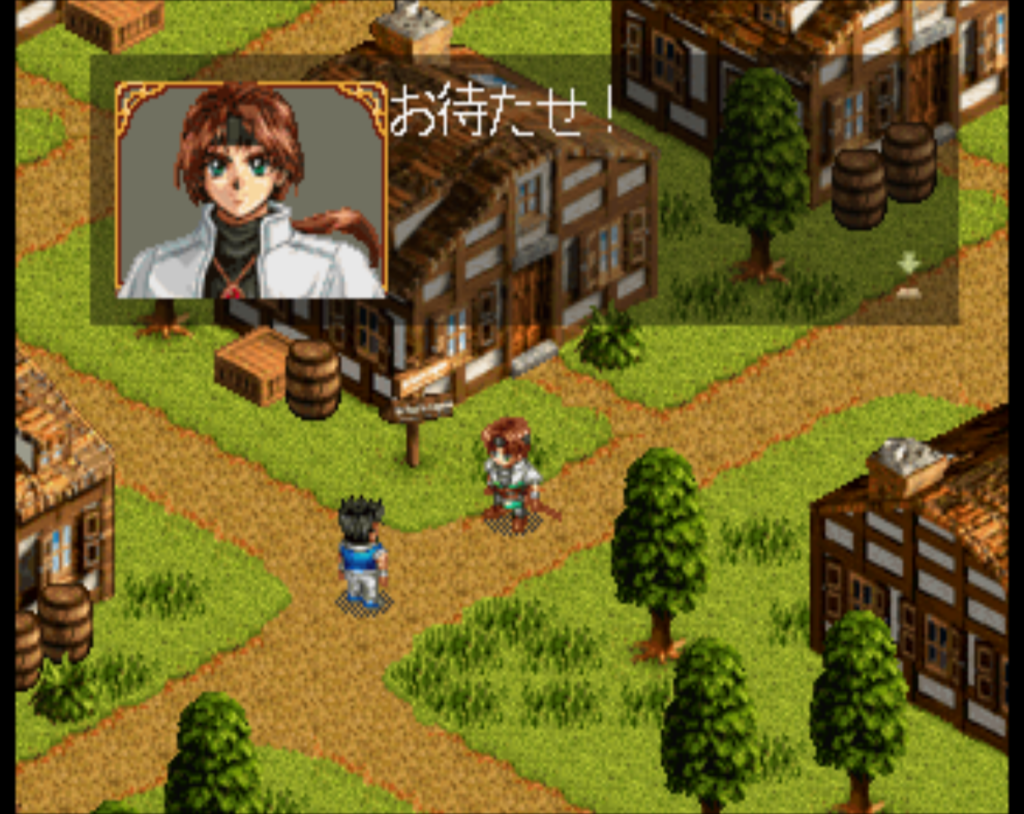
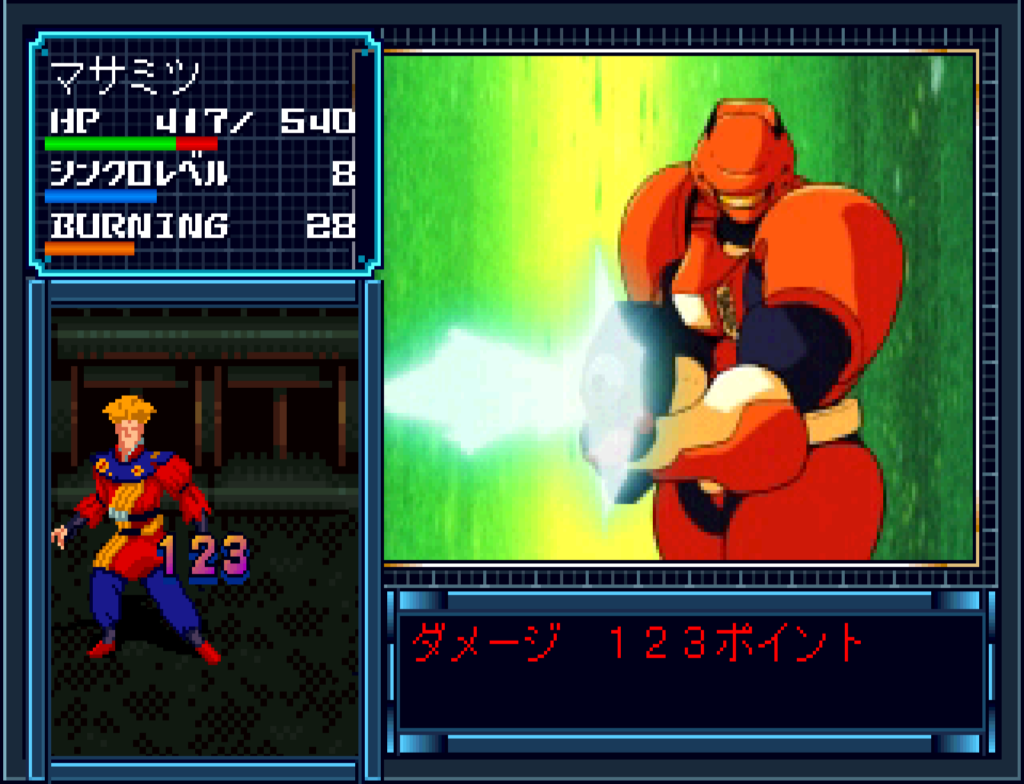
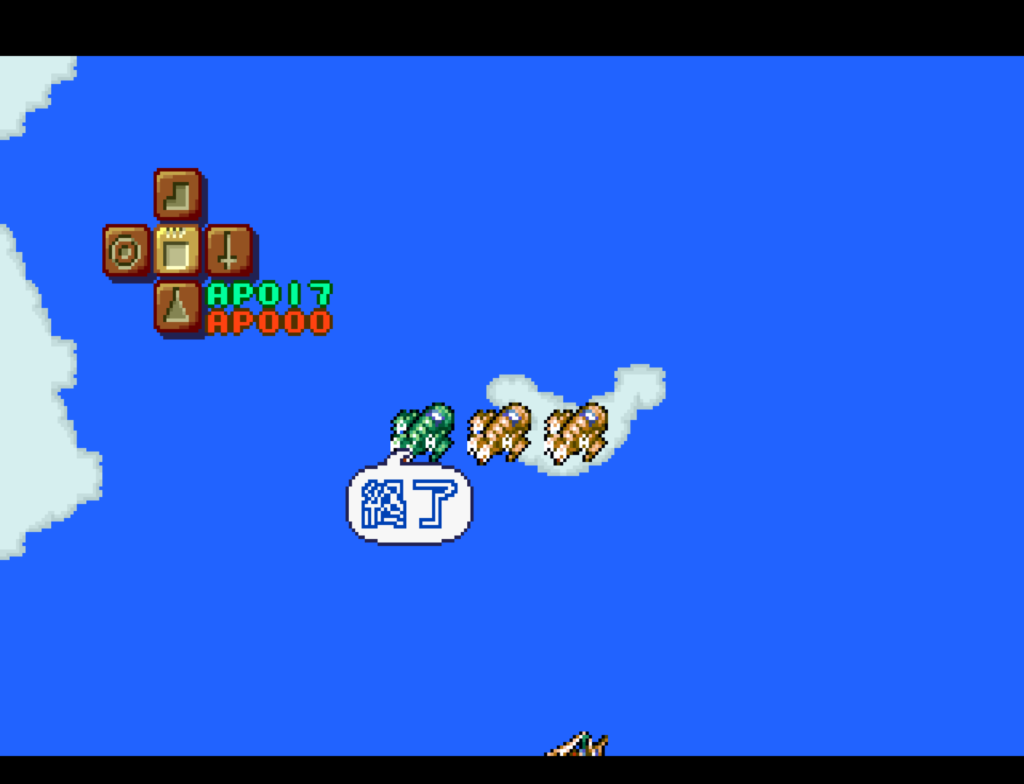
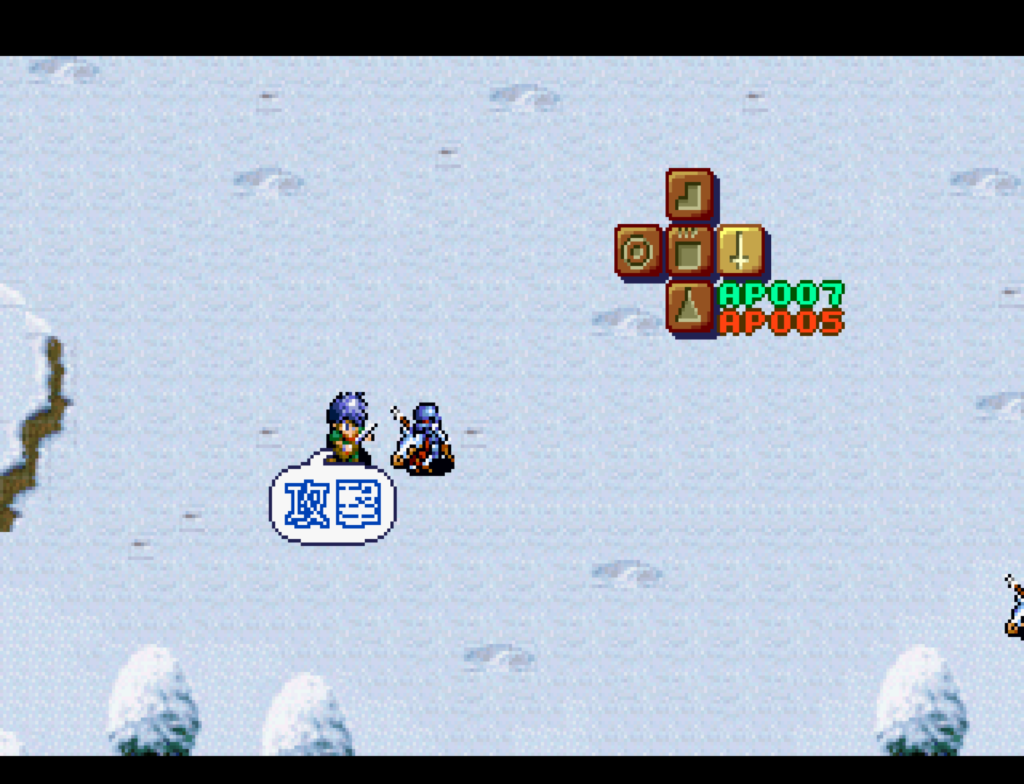
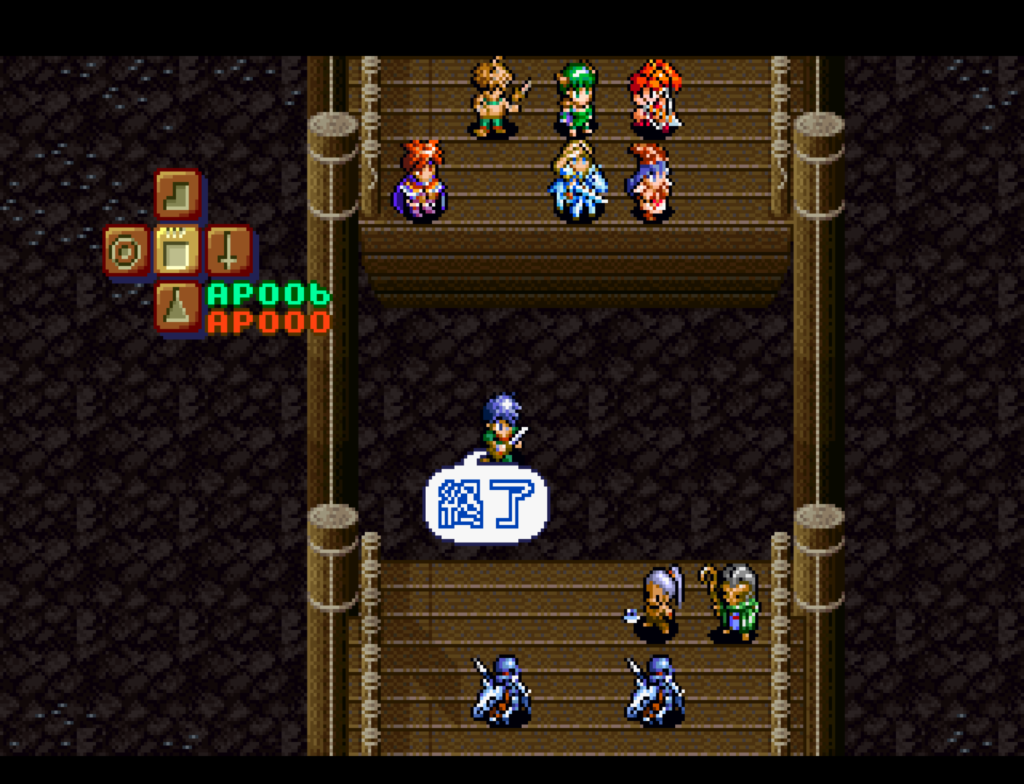
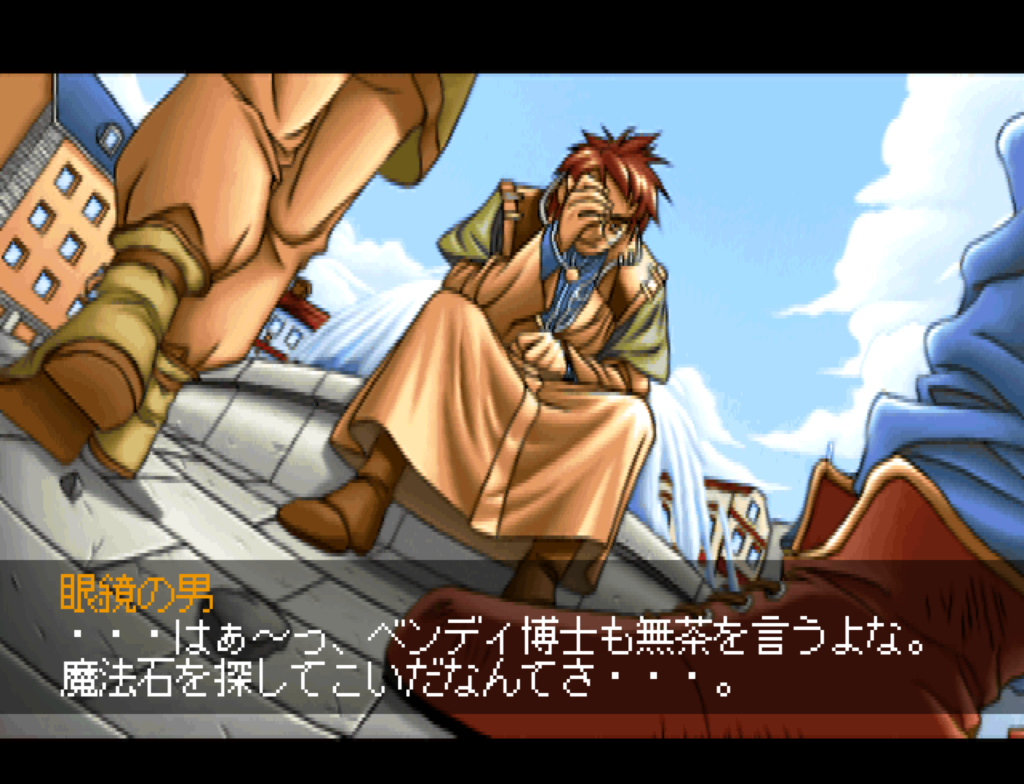
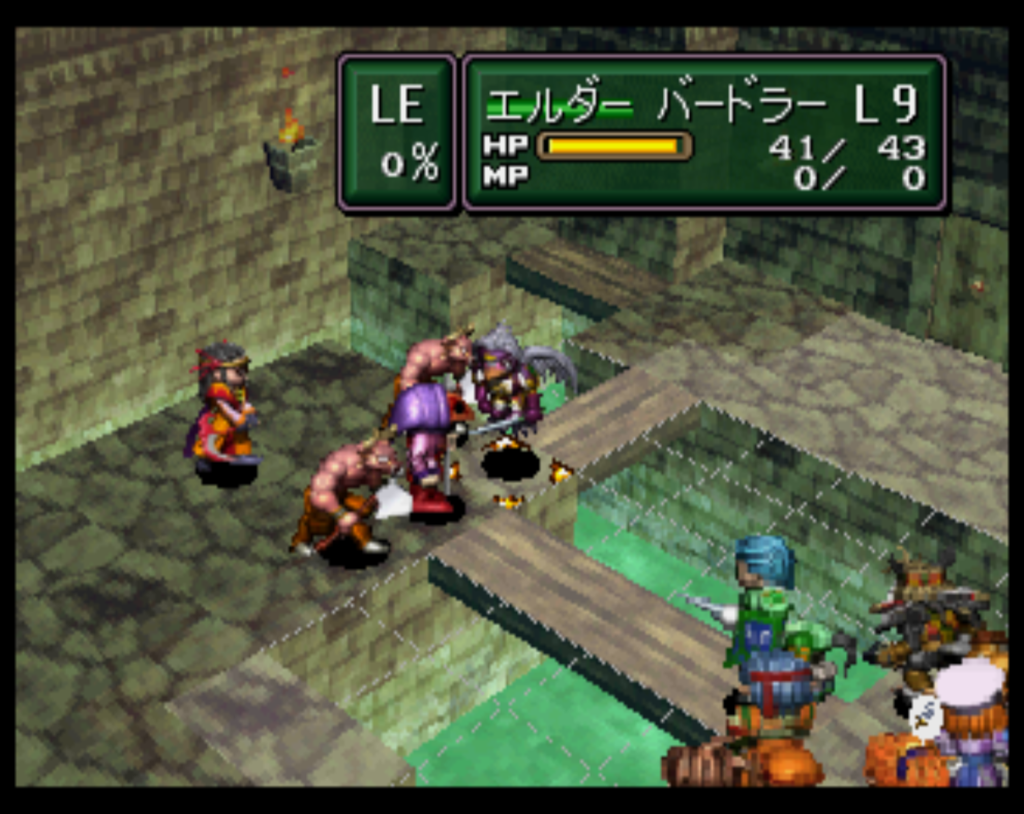
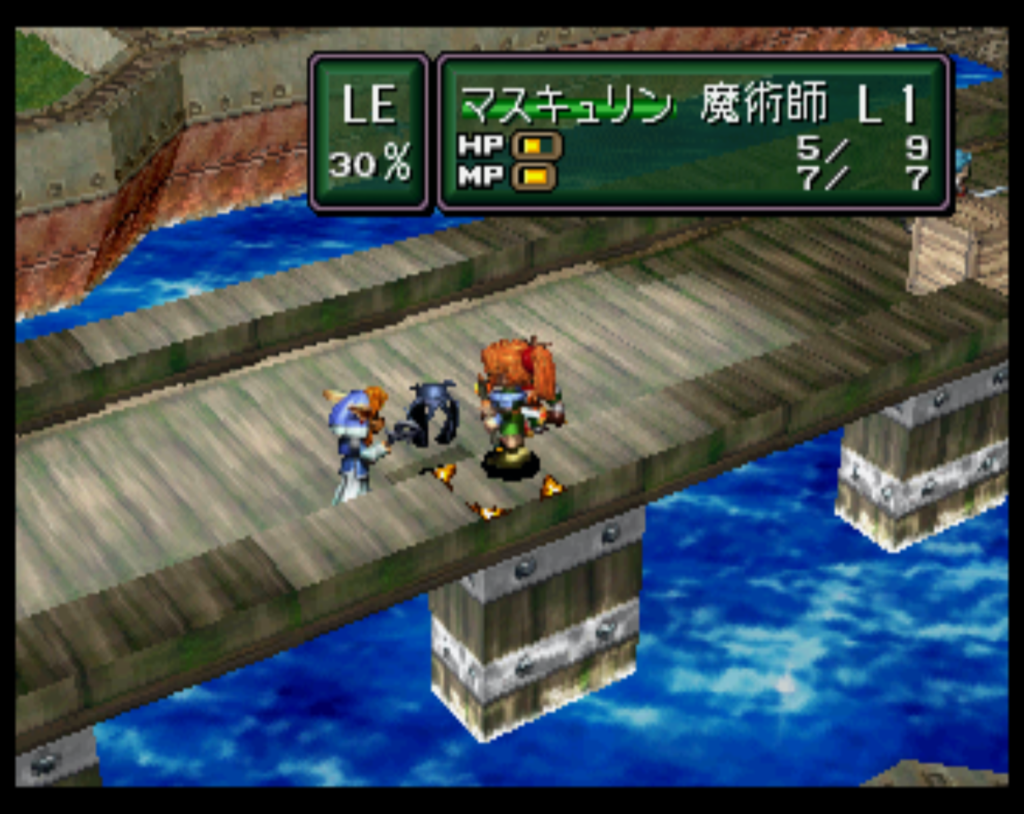
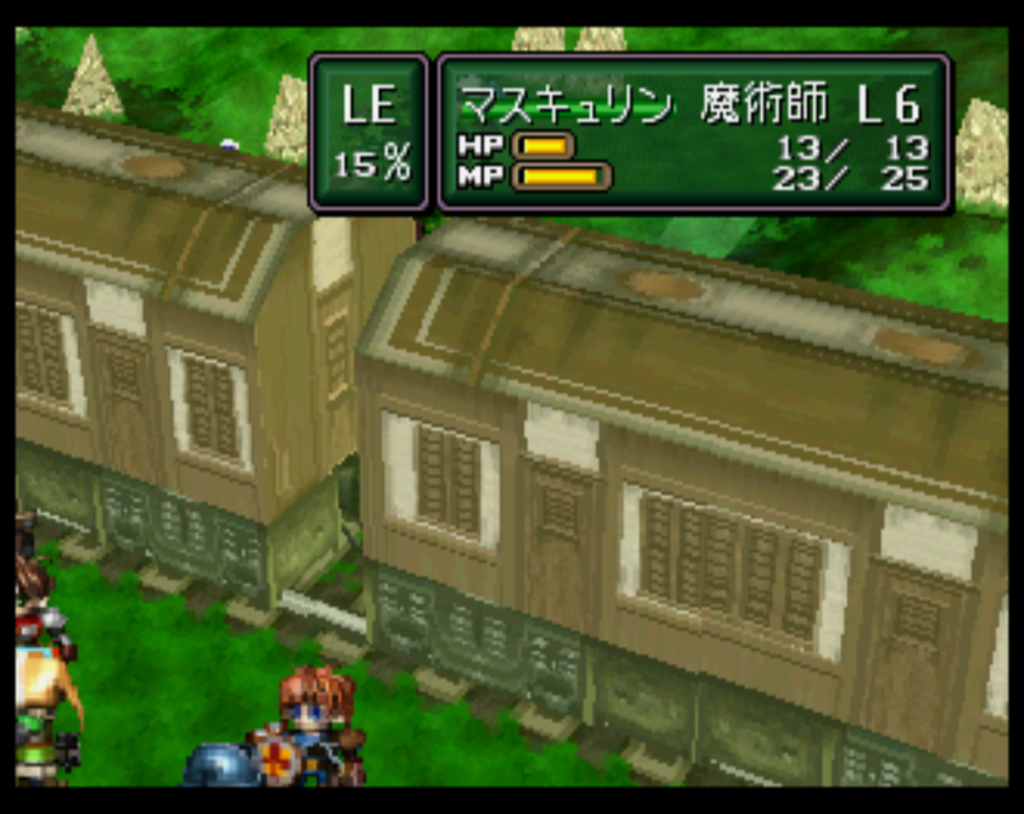
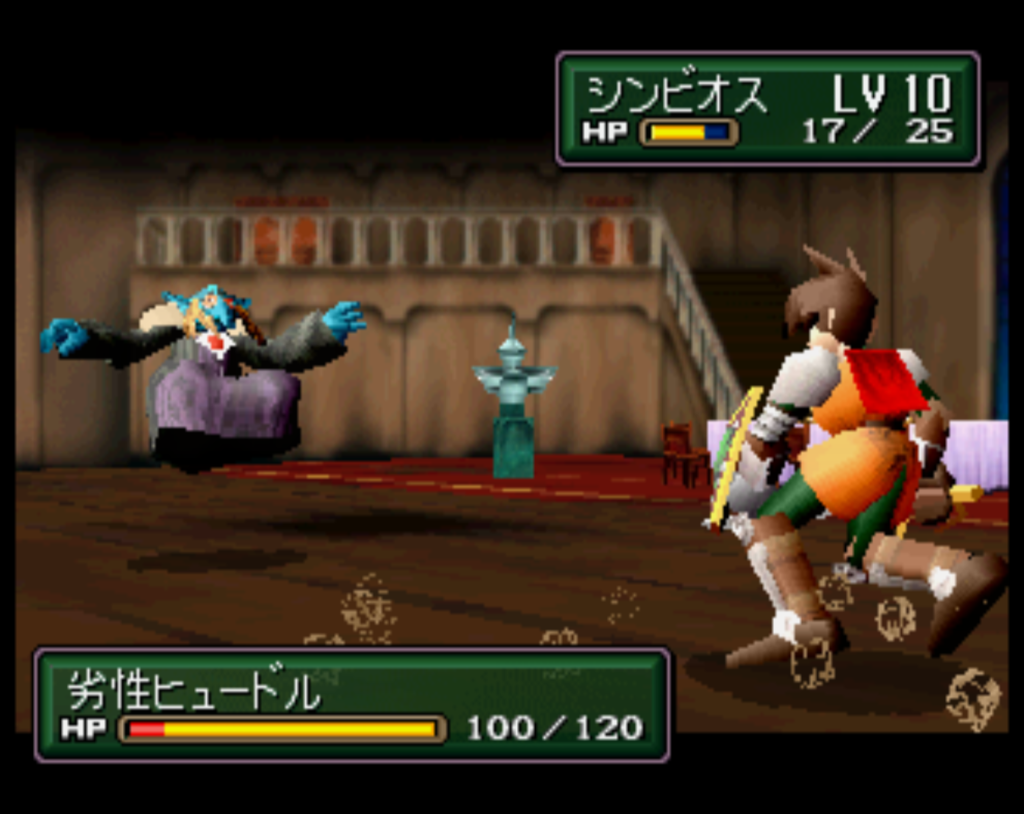
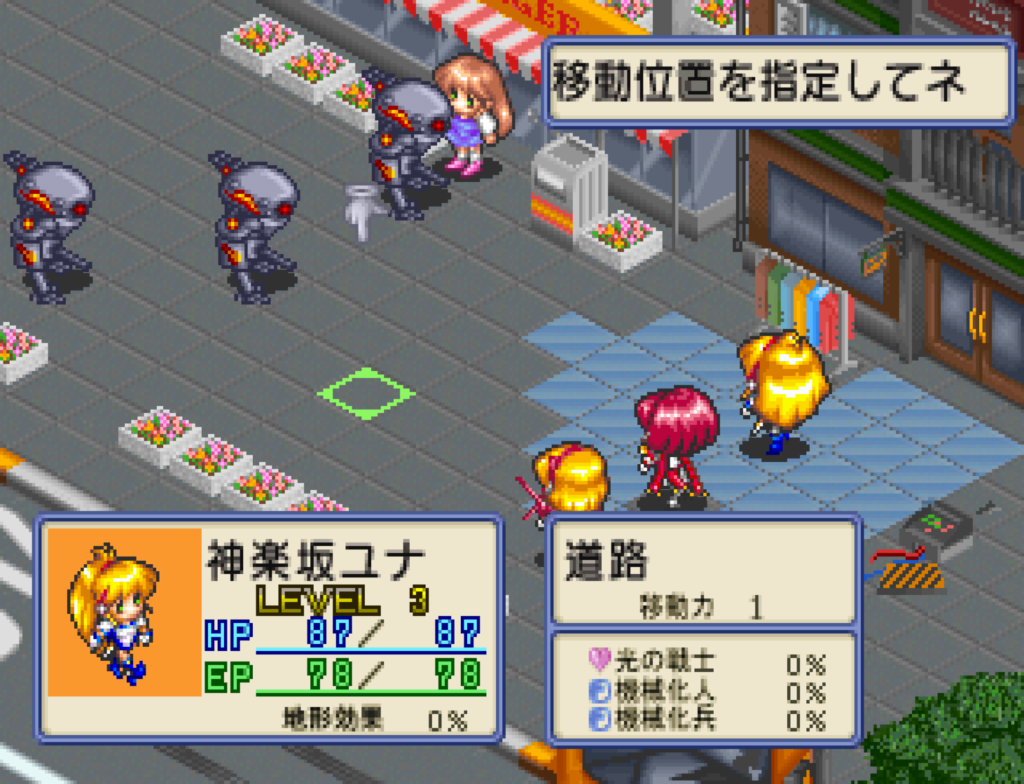
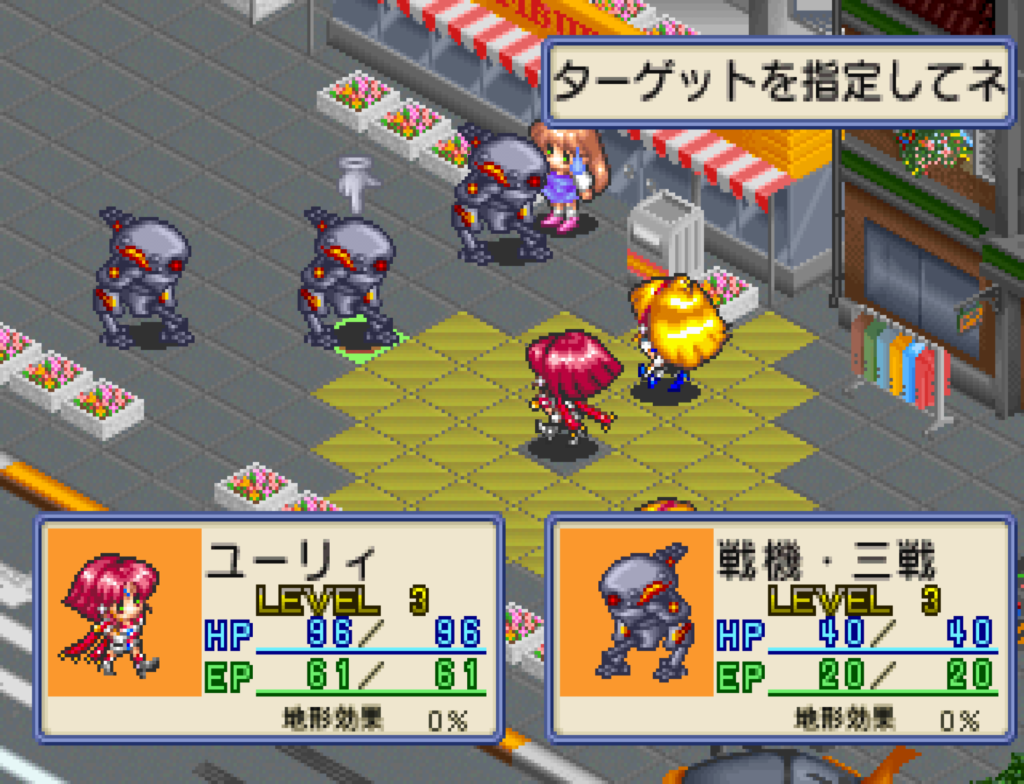
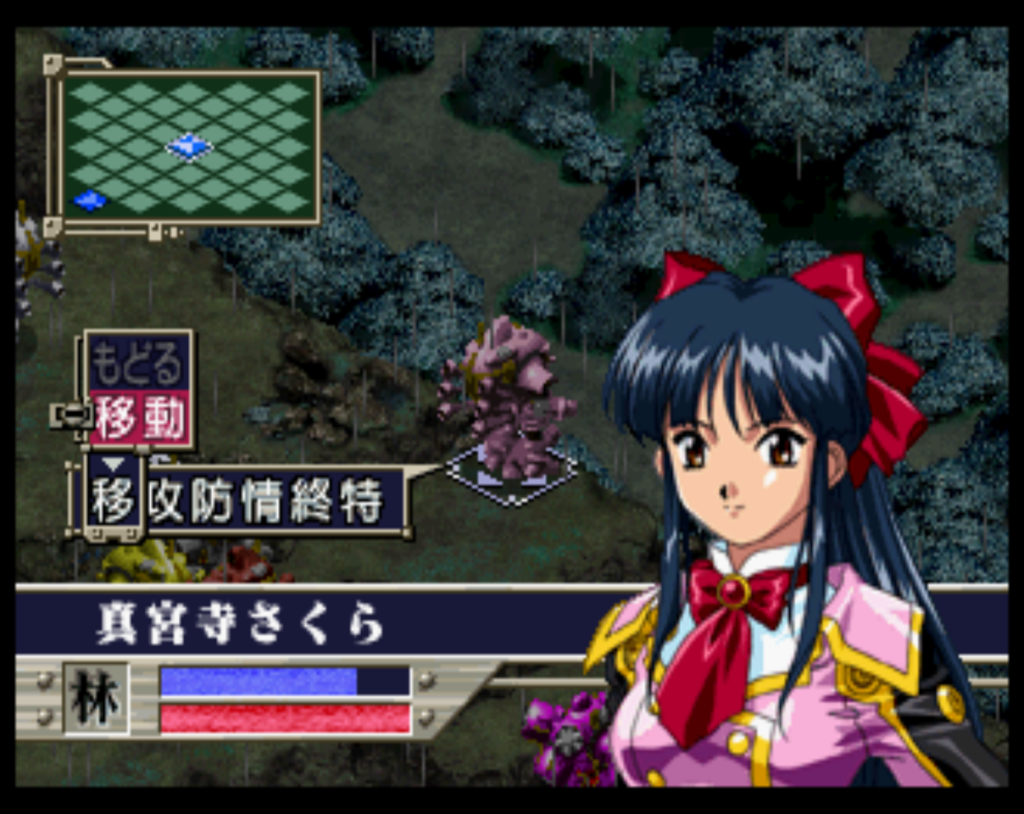
This is the sequel to the original Sakura Taisen, which I covered earlier — the game is essentially the same as the first one so I won’t go over the basics again. There are only a few new features in the battles. There are combination super moves (which I never found useful), and then if two of your characters are both in range of an enemy there’s a random chance that they will join together in a combo attack. Finally, Ogami can change the overall tactics of the group which raise or lower move, attack, or defense. This last one is the only new feature that I found really changed the in battle tactics.
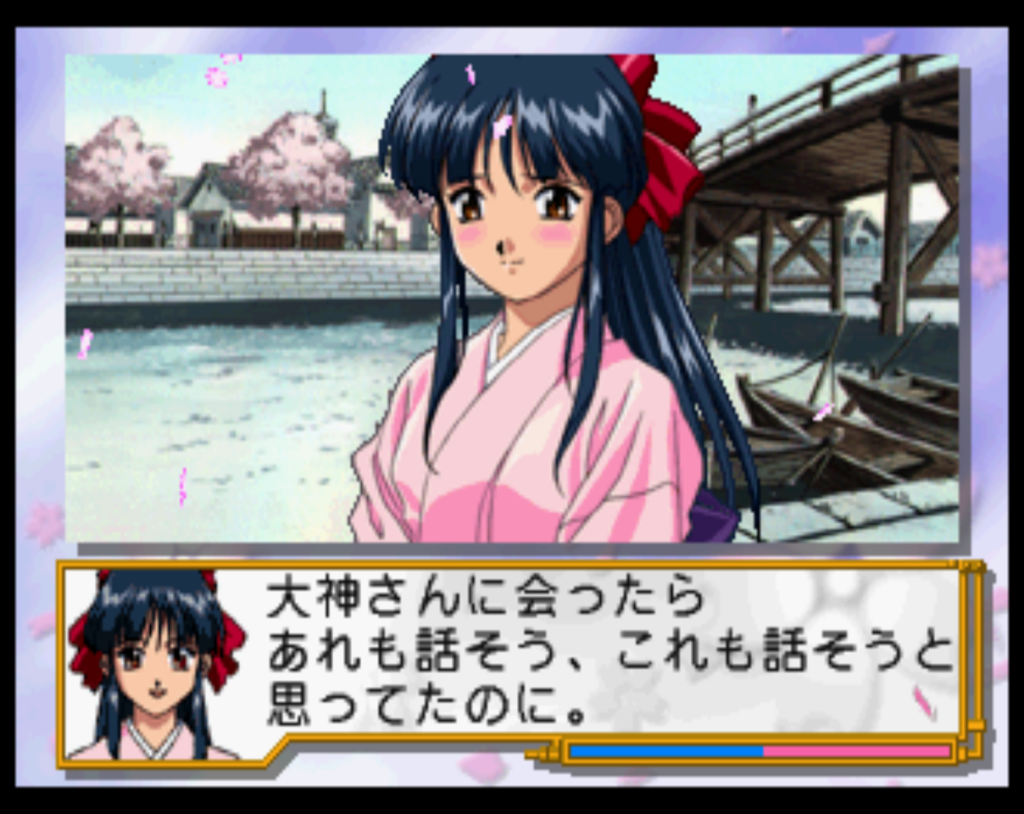
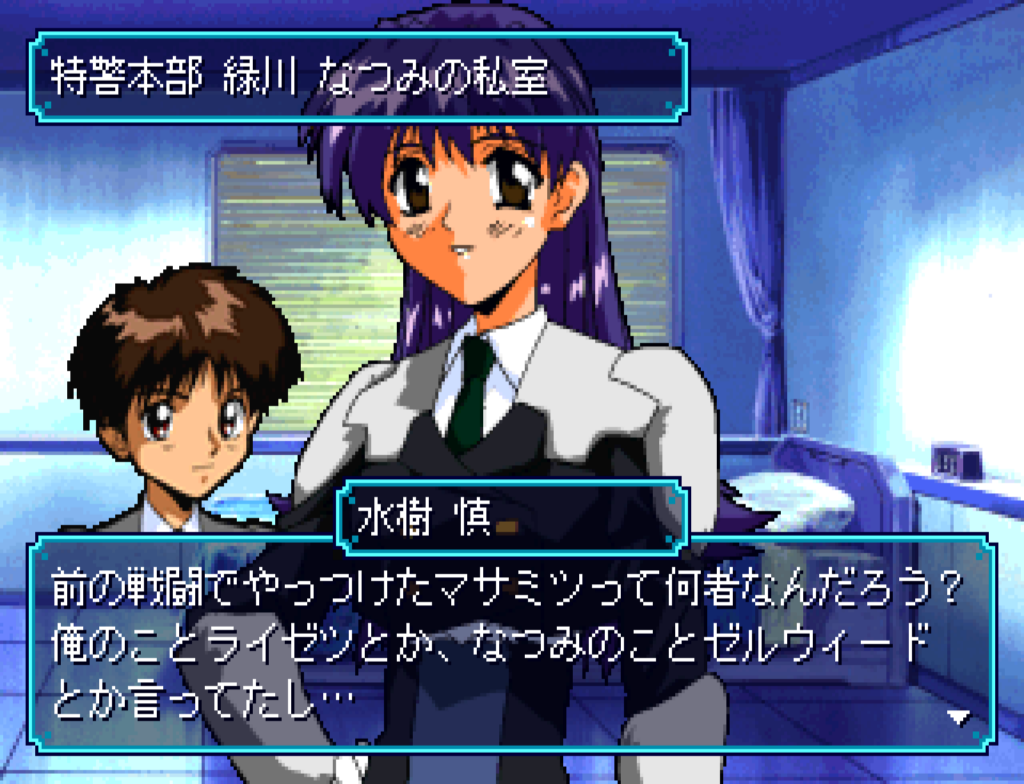
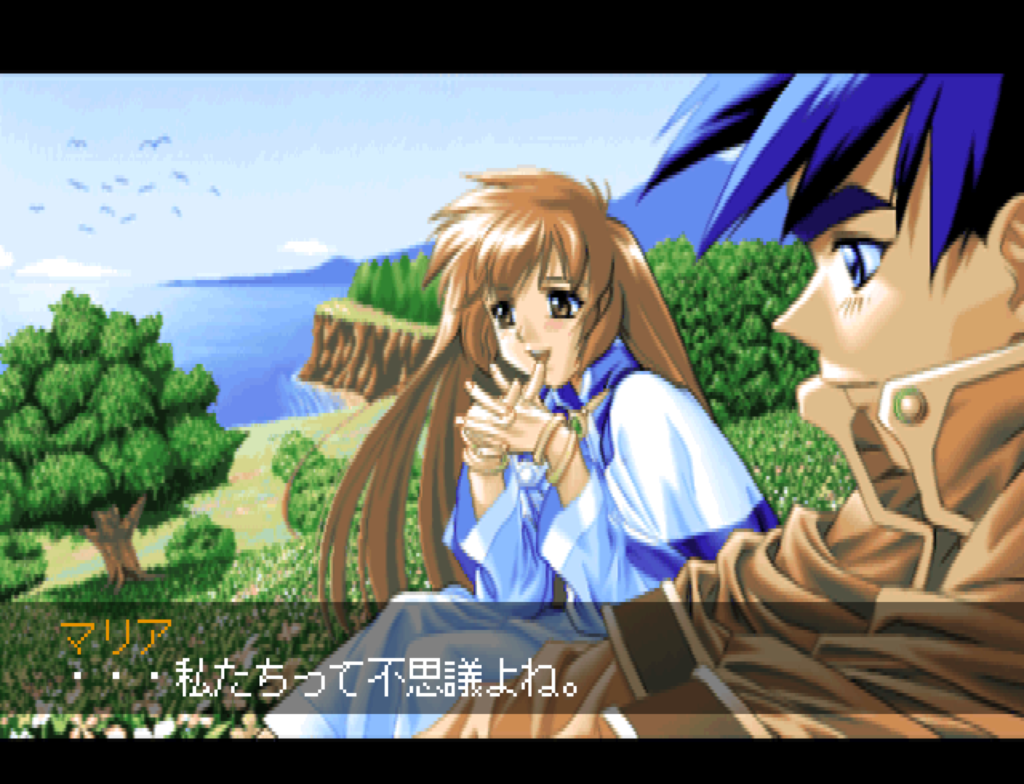
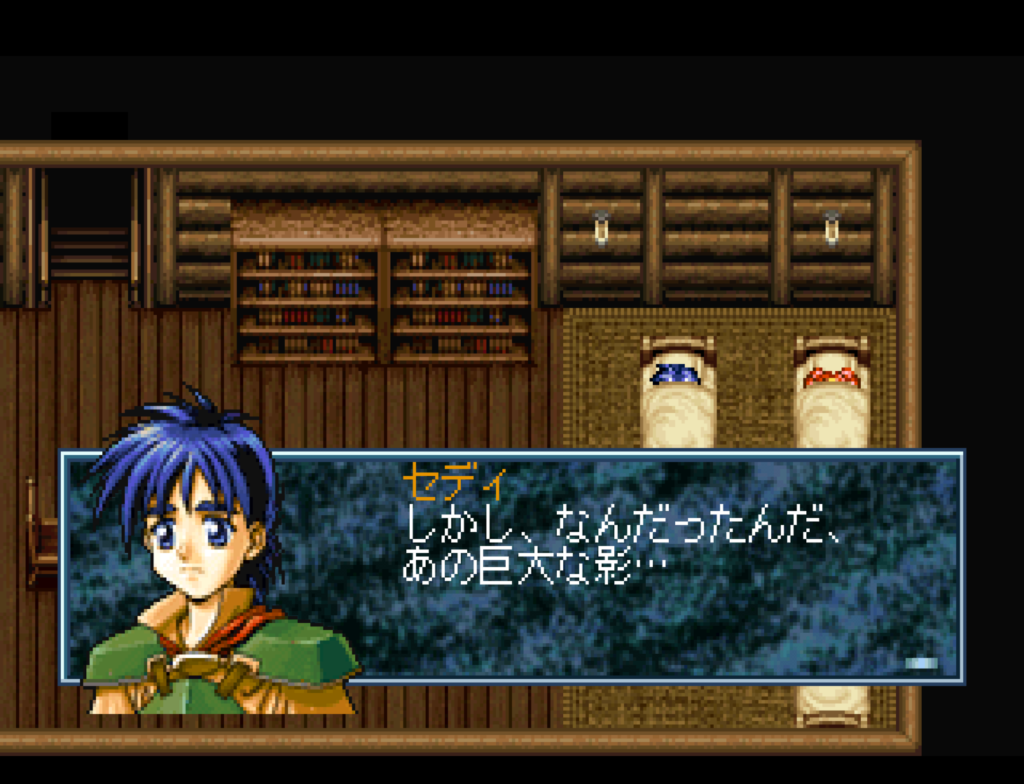
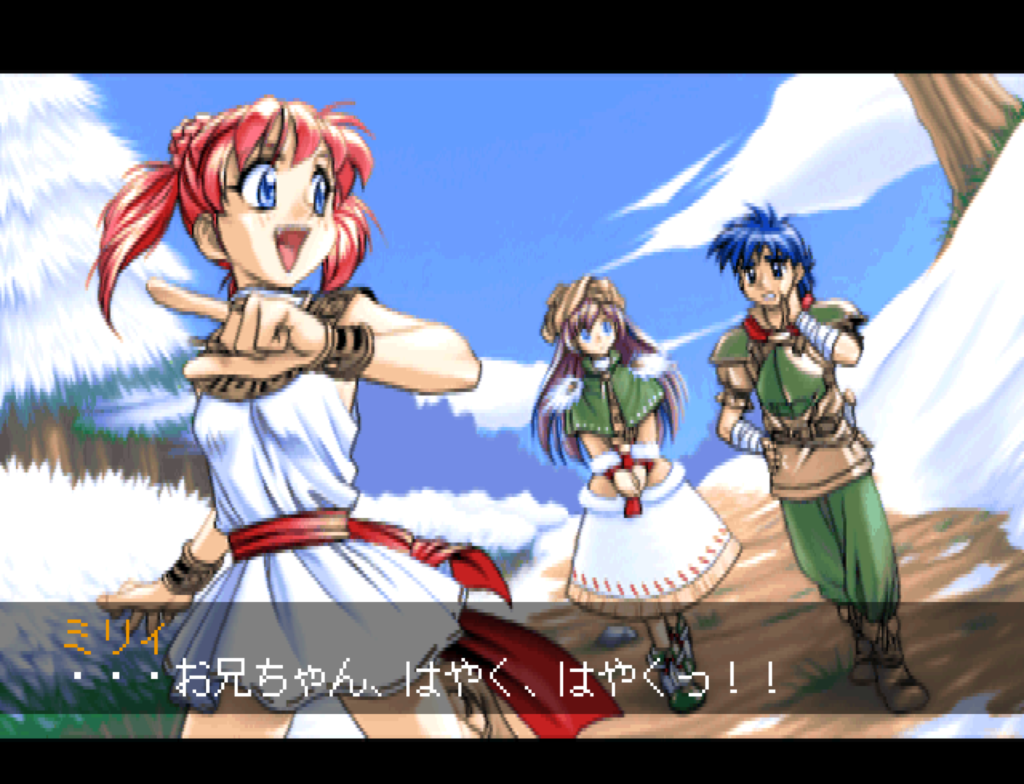
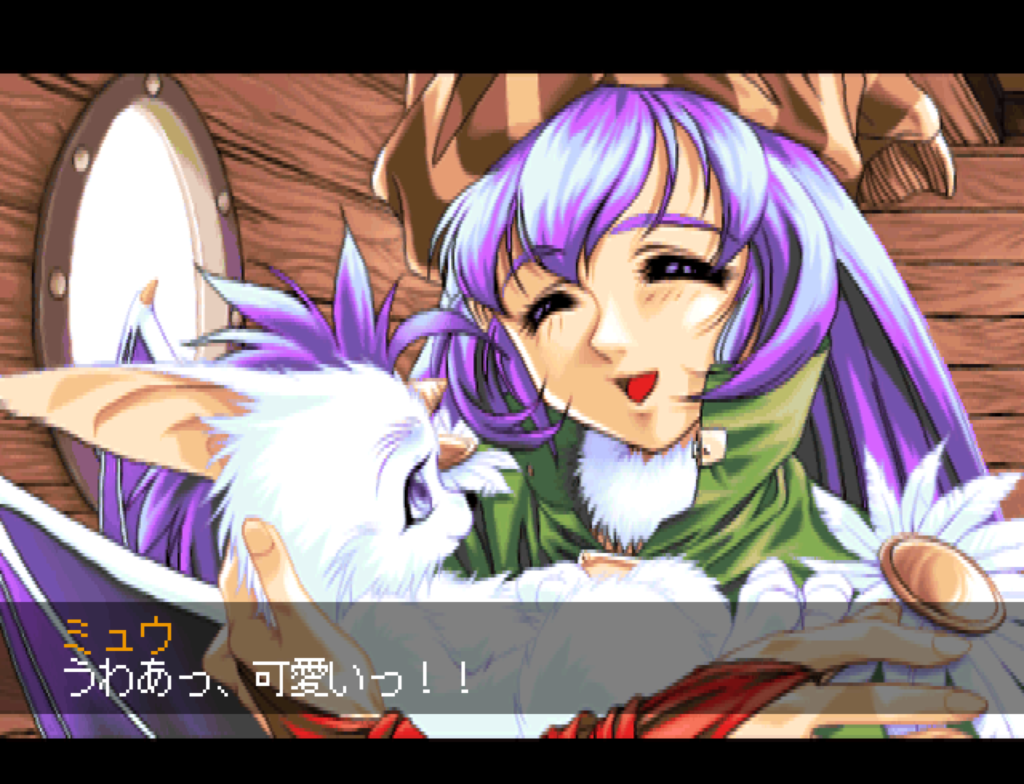
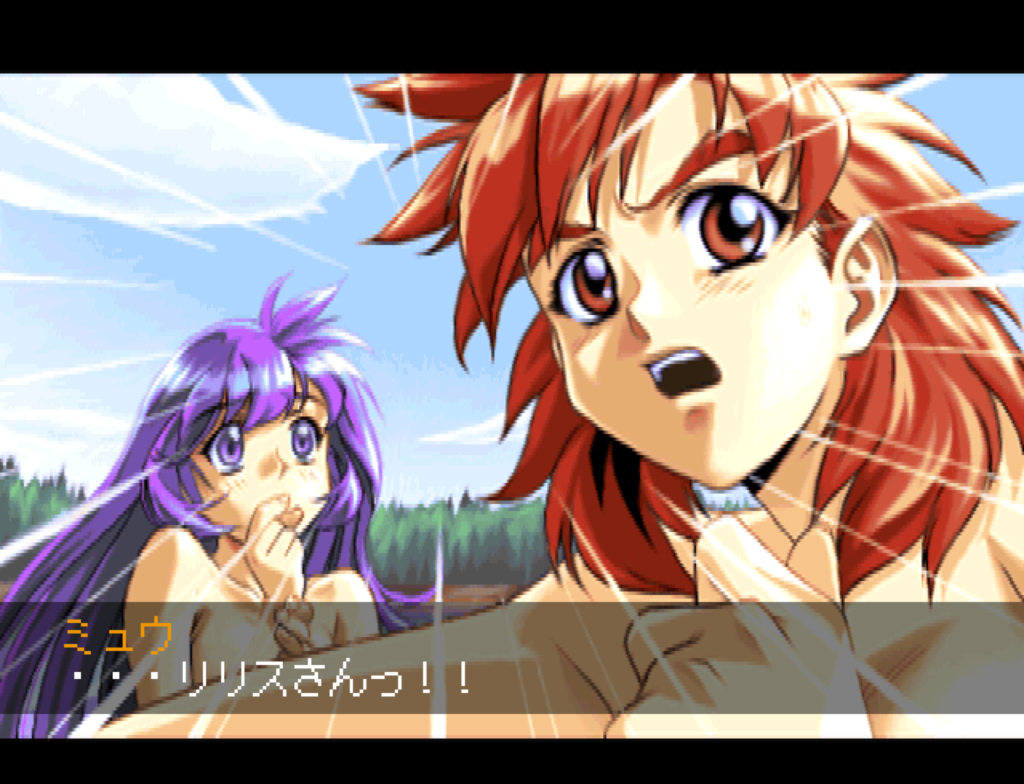
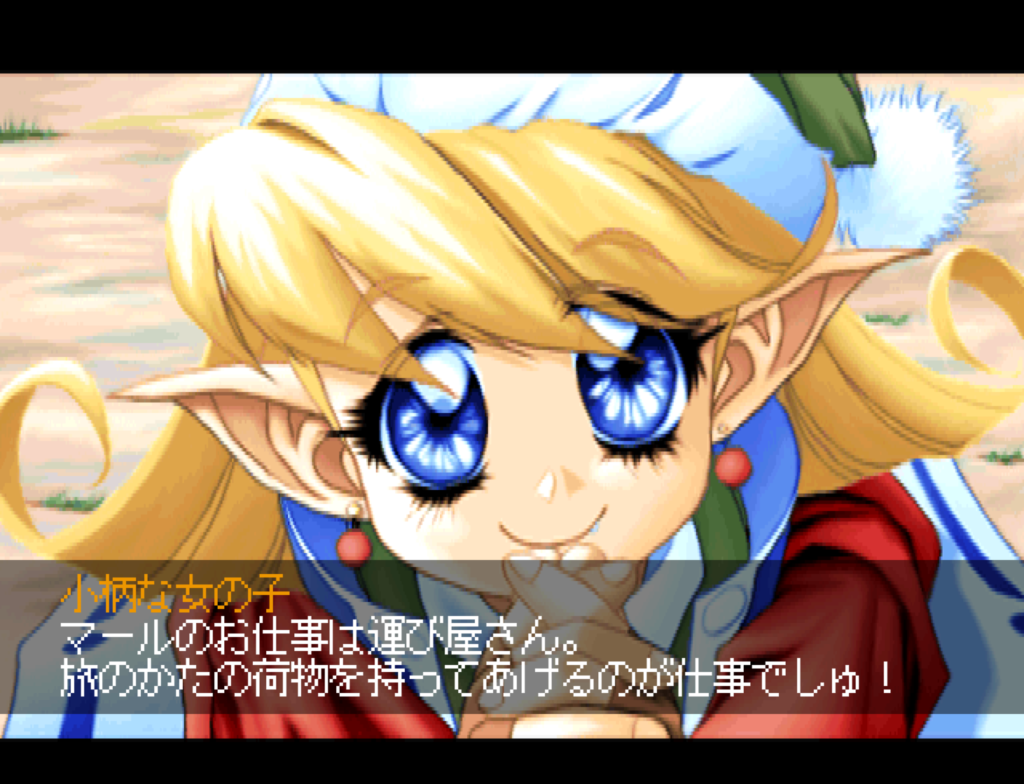
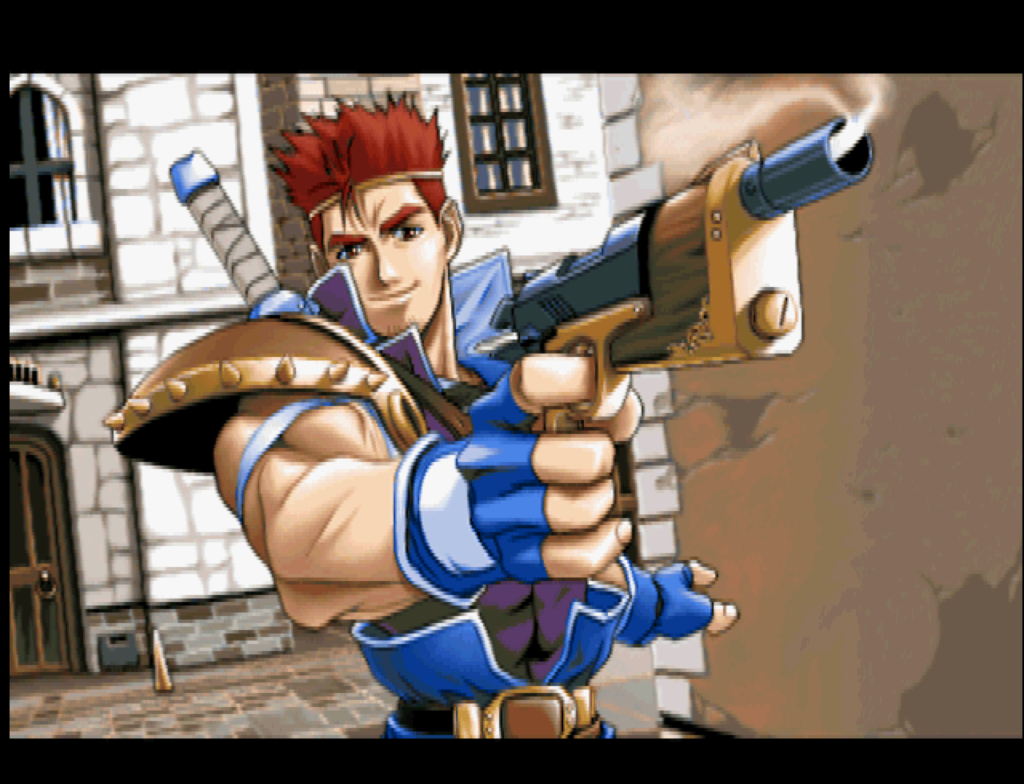
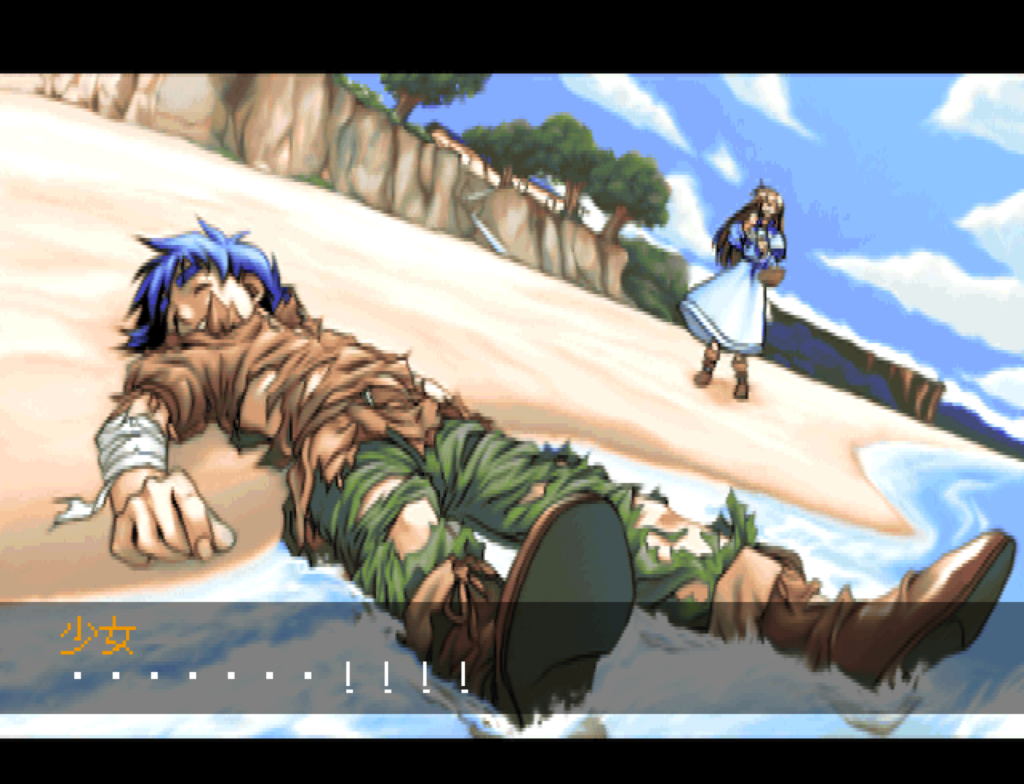
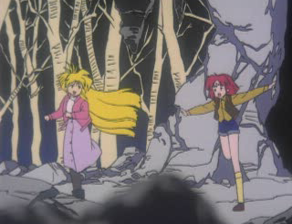
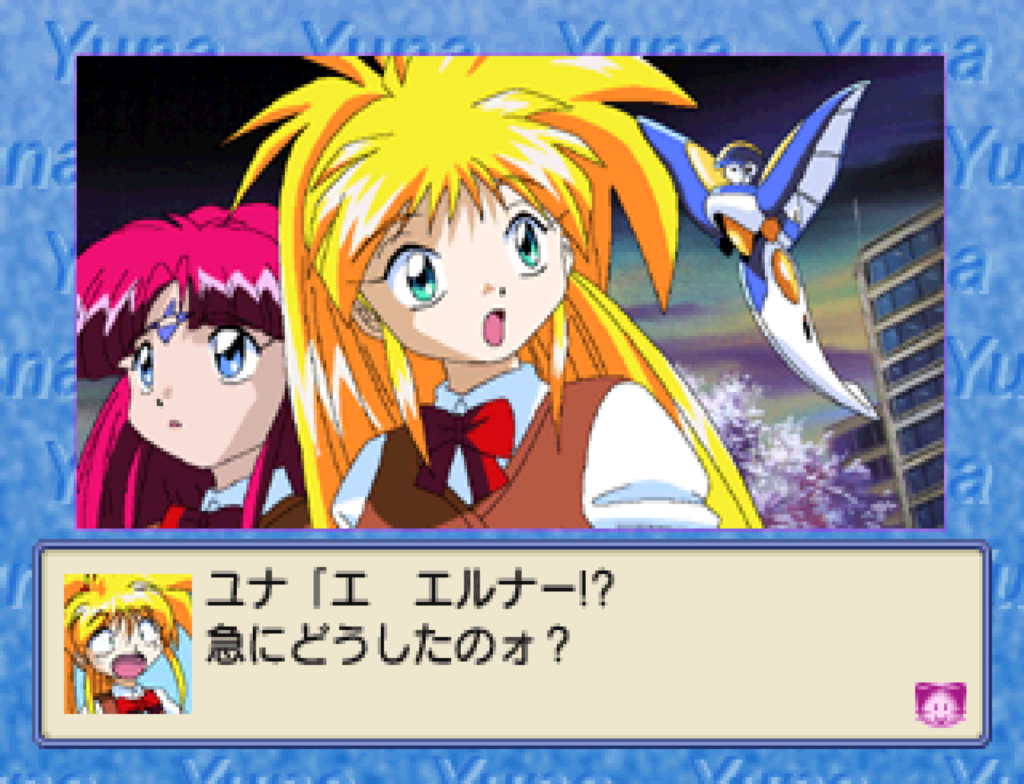
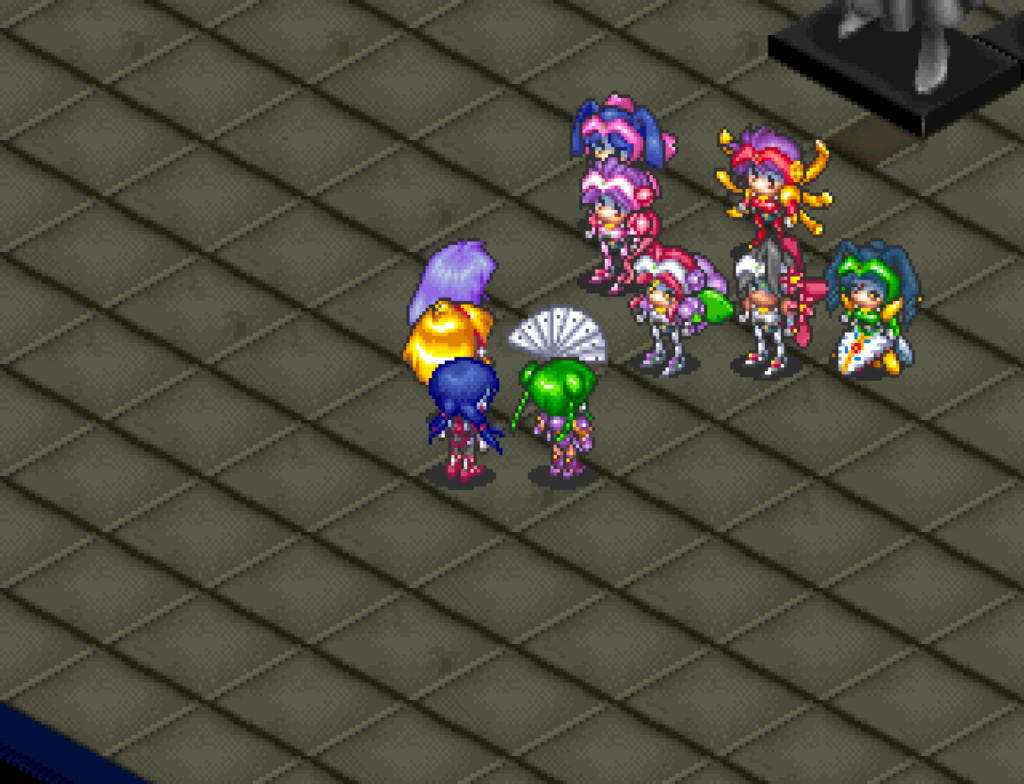
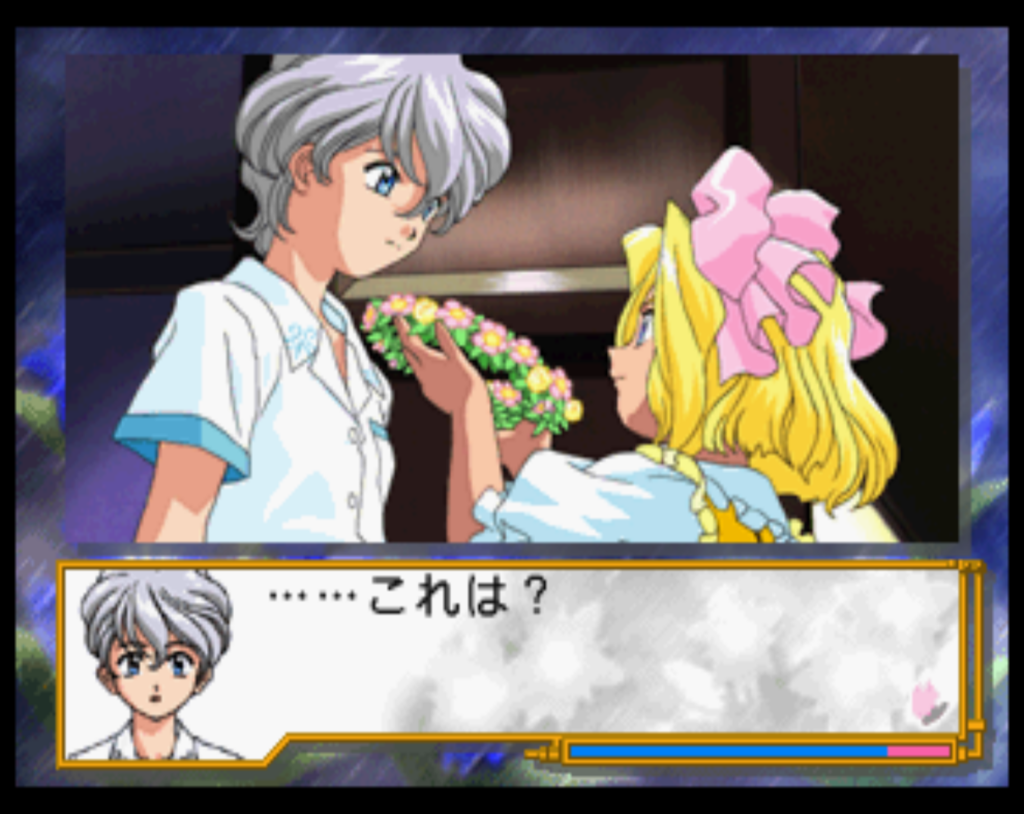
Ogami has been away from the theatre troupe for a year, and now he is back to meet his one true love Sakura. But of course new enemies threaten Tokyo. All of the girls from the first game return, along with two new ones.
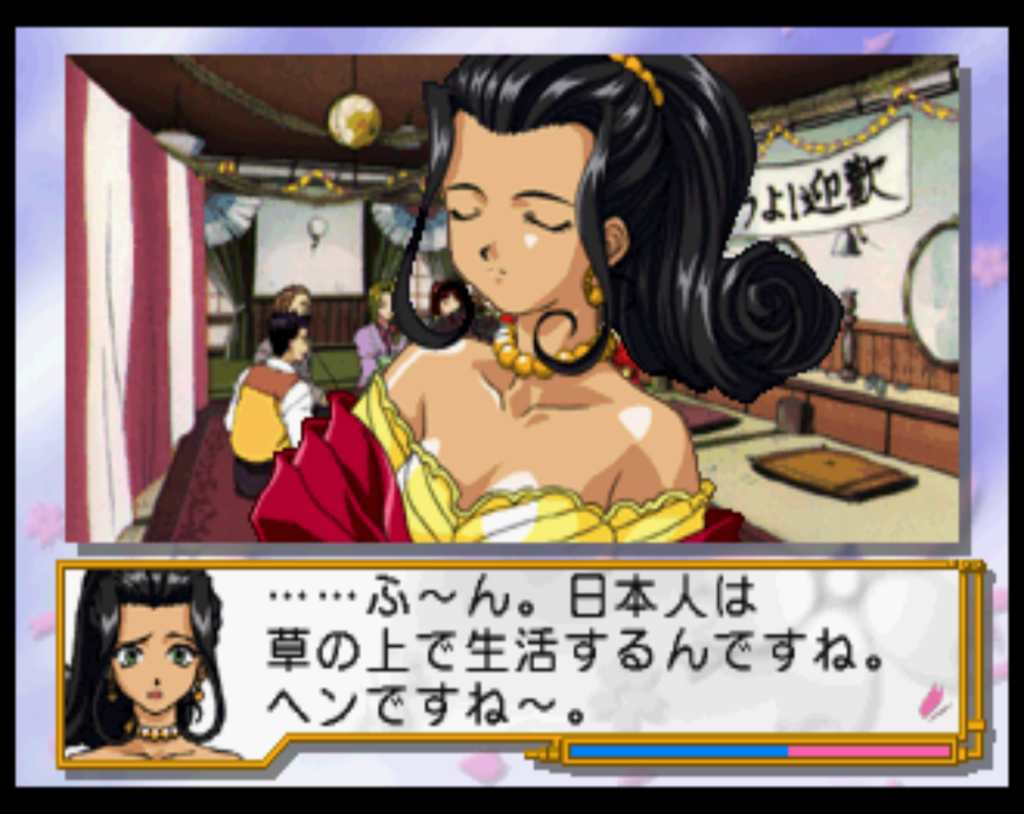
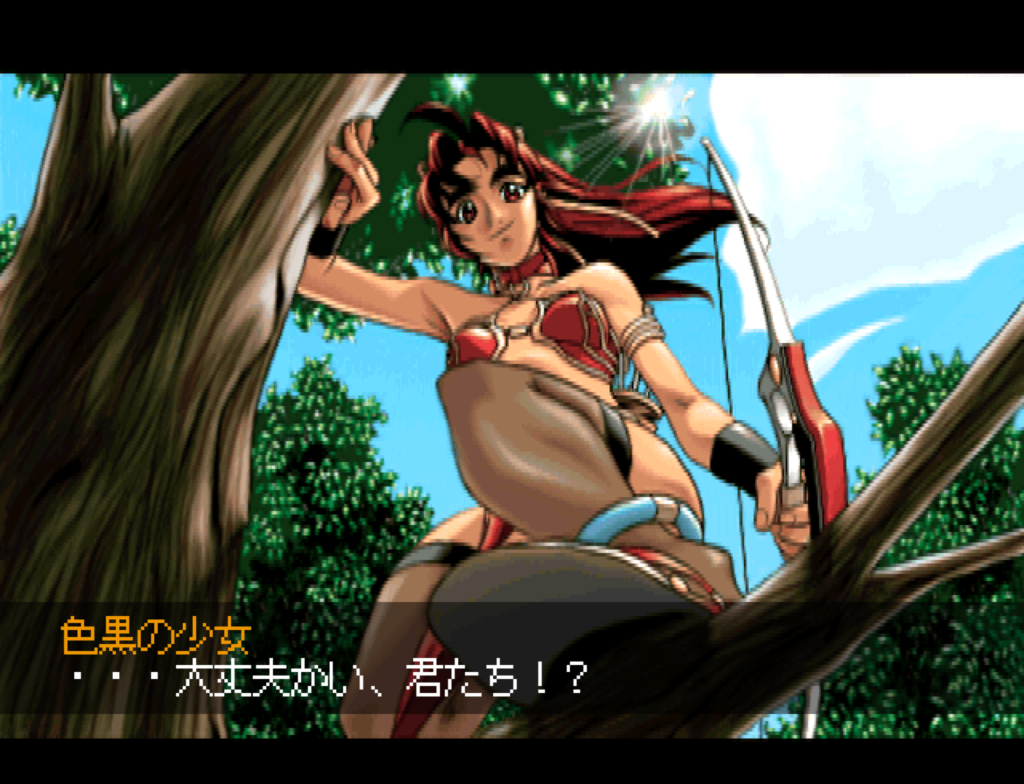
Orihime is a half-Italian woman who seems to hate all Japanese men. Her mech has an area of effect attack although it does not target the spaces immediately adjacent to her.
Reni is from Germany; everyone thinks she’s a man at first but it turns out she is a girl. Her attack is like Sumire’s but it’s a 3-range rather than just 2.
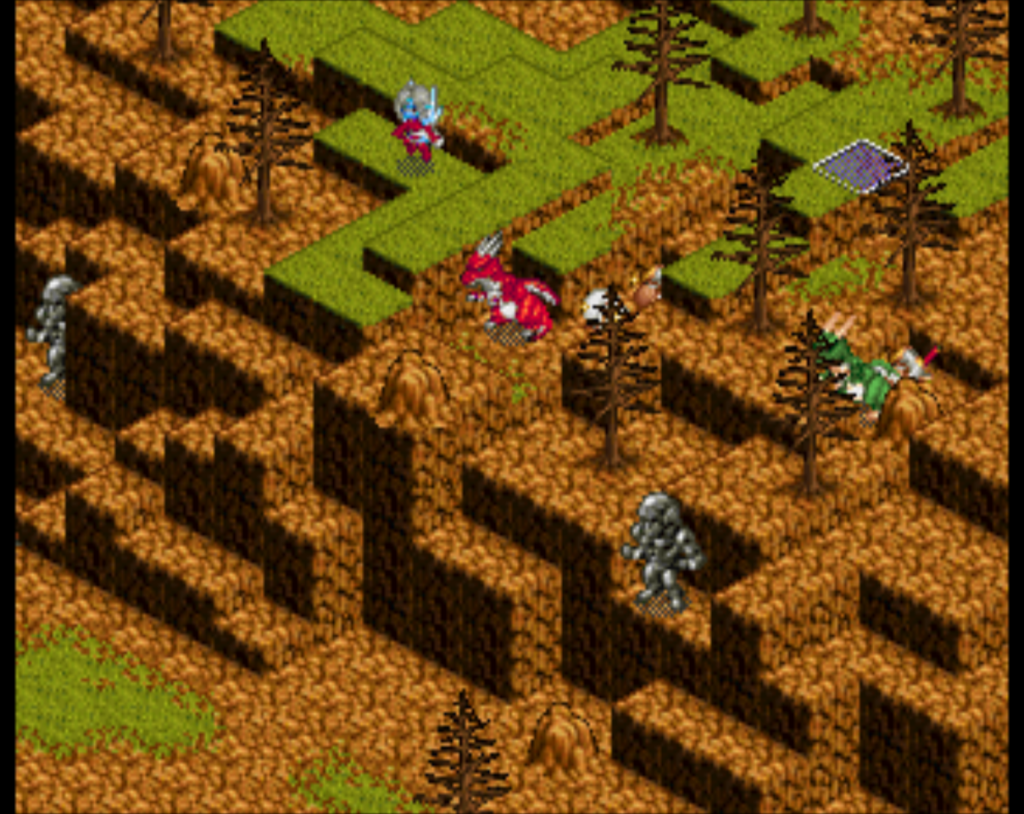
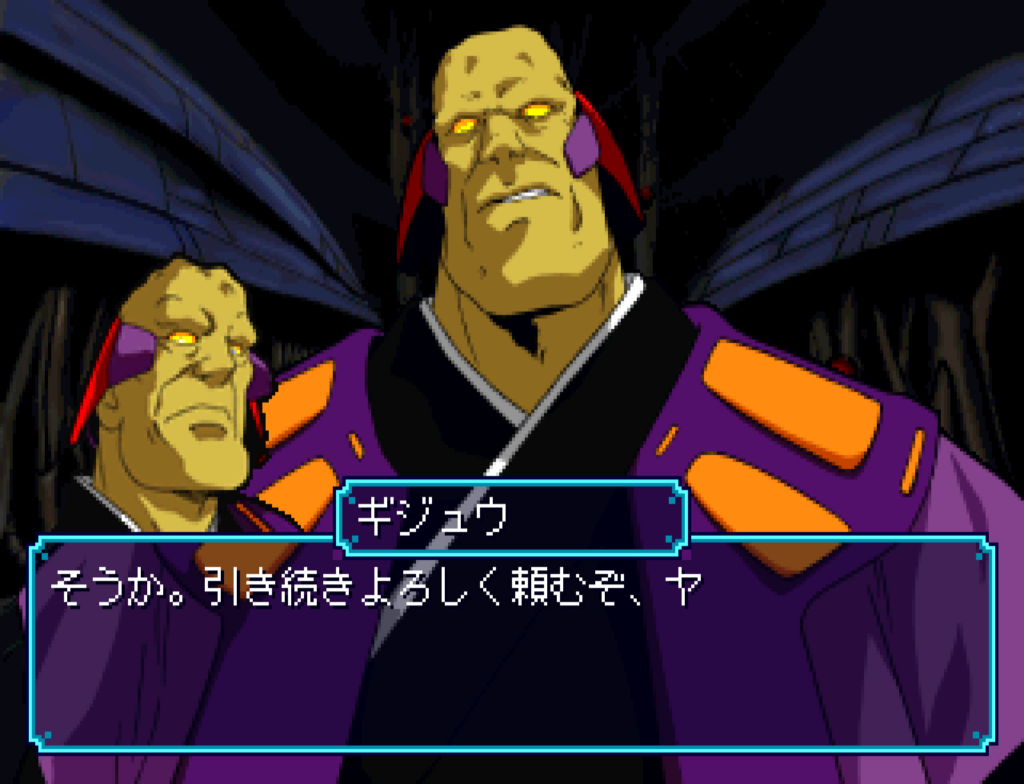
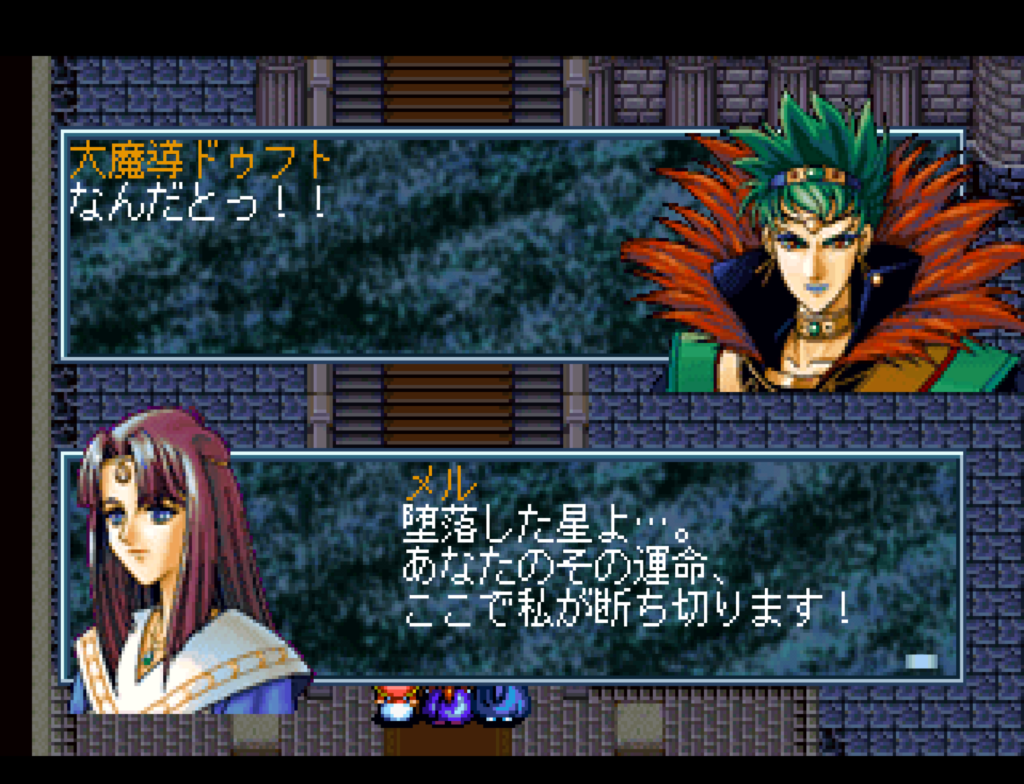
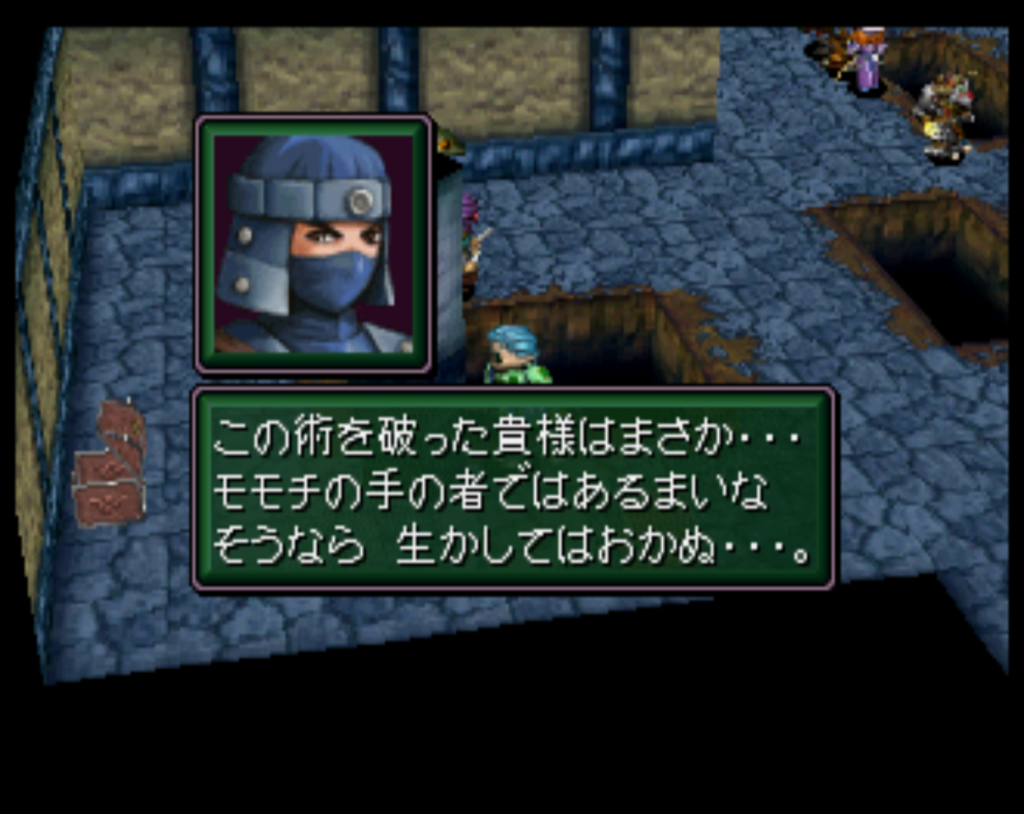
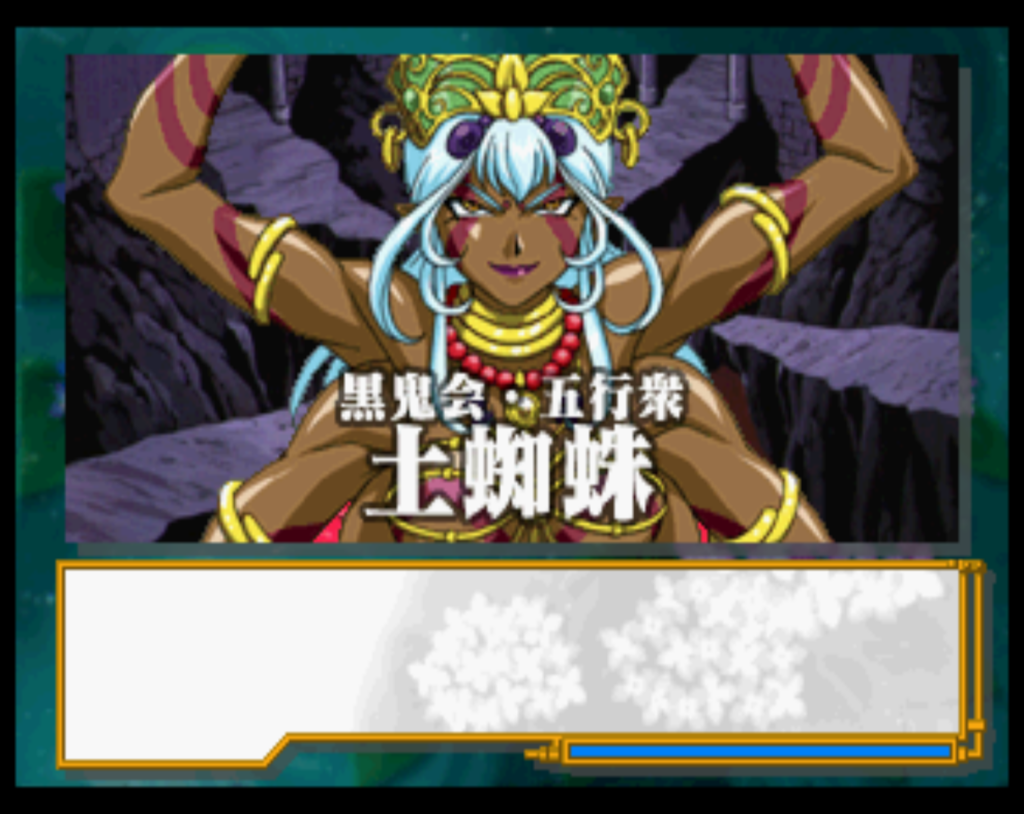
The first stages proceed along the same lines as the first game — they’re a chance to introduce the new characters, revisit the old ones, and introduce the enemy group. This time the group is five demon-like characters headed by “demon mask”, called the Black Five.
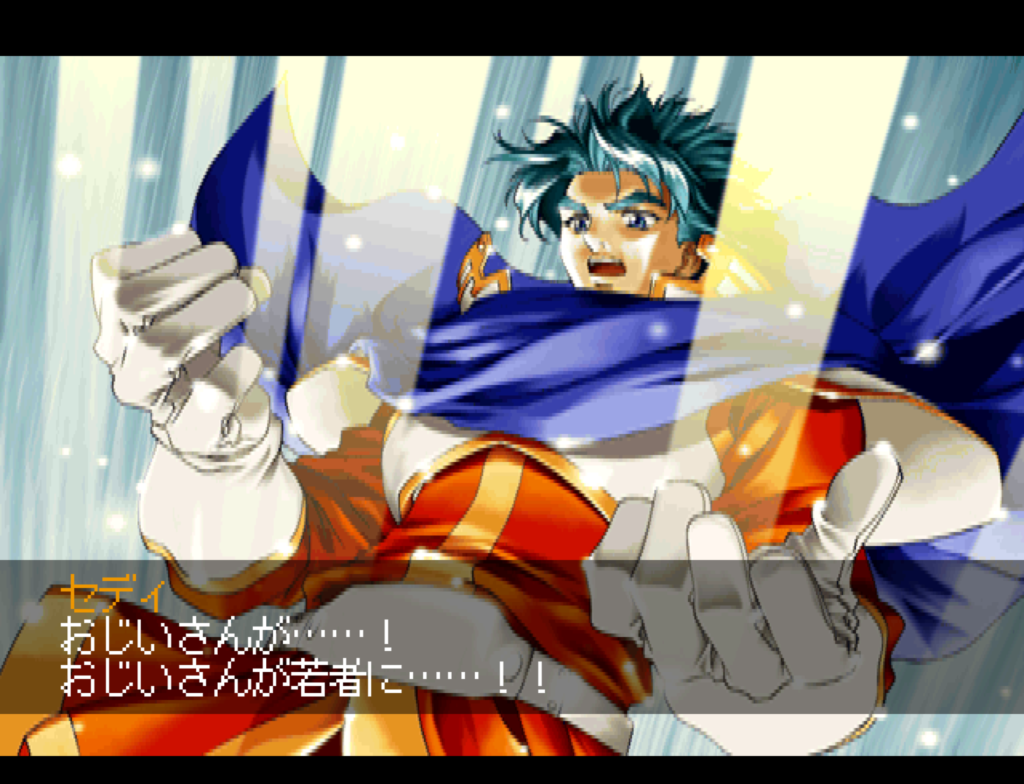
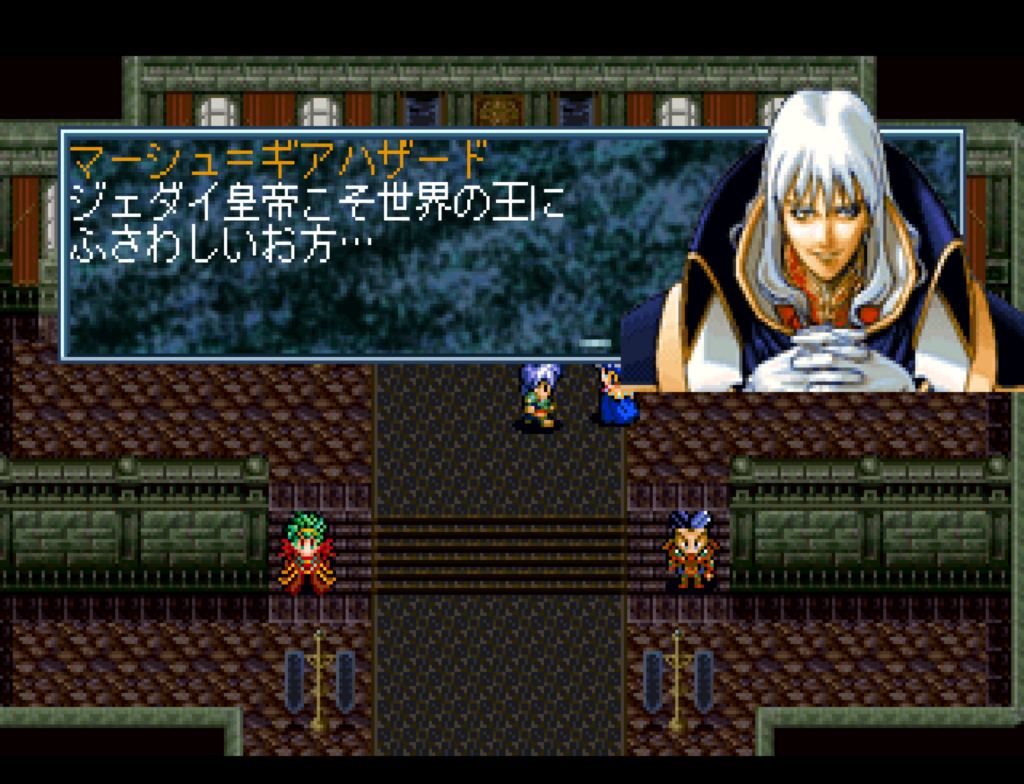
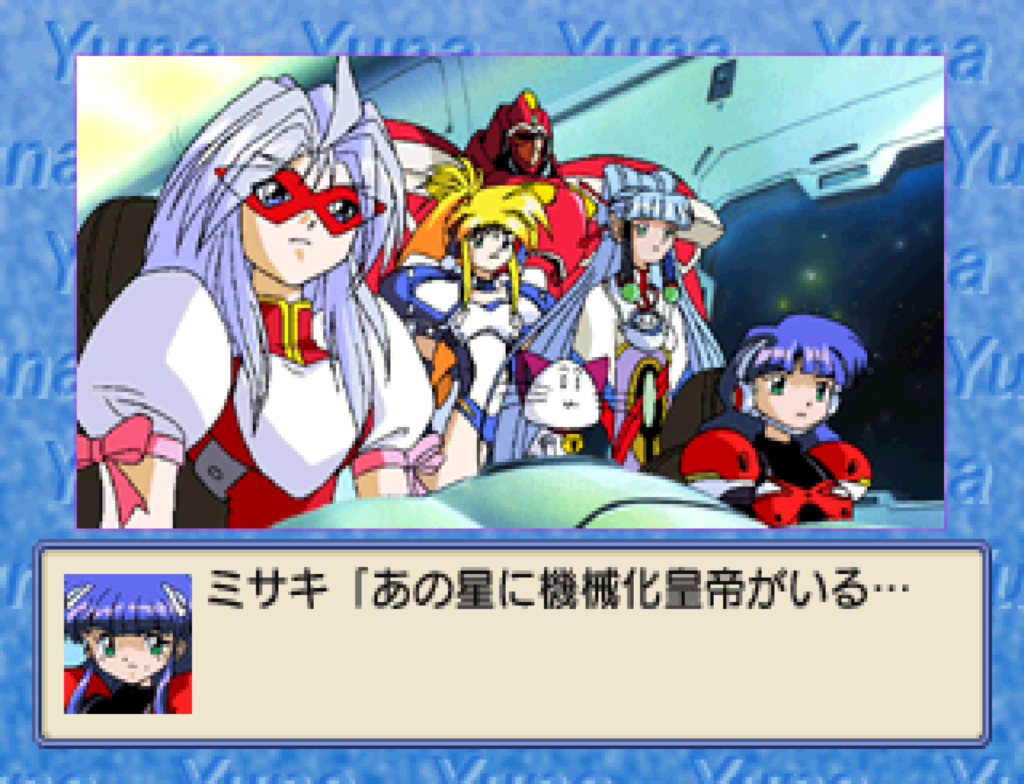
In these first stages there’s not a whole lot of information about what the enemy’s goal is; they are doing everything for a certain unnamed person, and their main aim at first seems to be just to eliminate the Flower Battalion. In the first set of stages we manage to kill two of the five (Kasha the fire obsessed guy, and Suiko the ice person). At the same time, the Battalion is facing pressure from the army. One of the higher ups in the army (Kyogoku Keigo) does not like the group and uses political pressure to cut the funding, although we manage to reinstate it later.
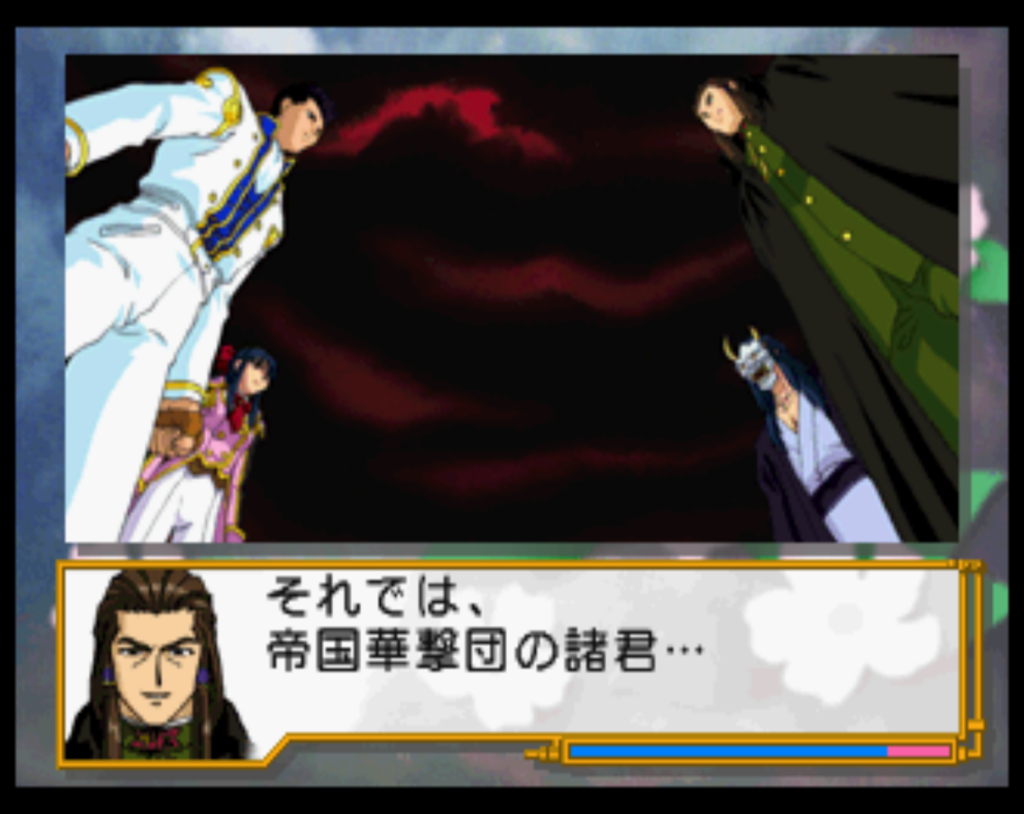
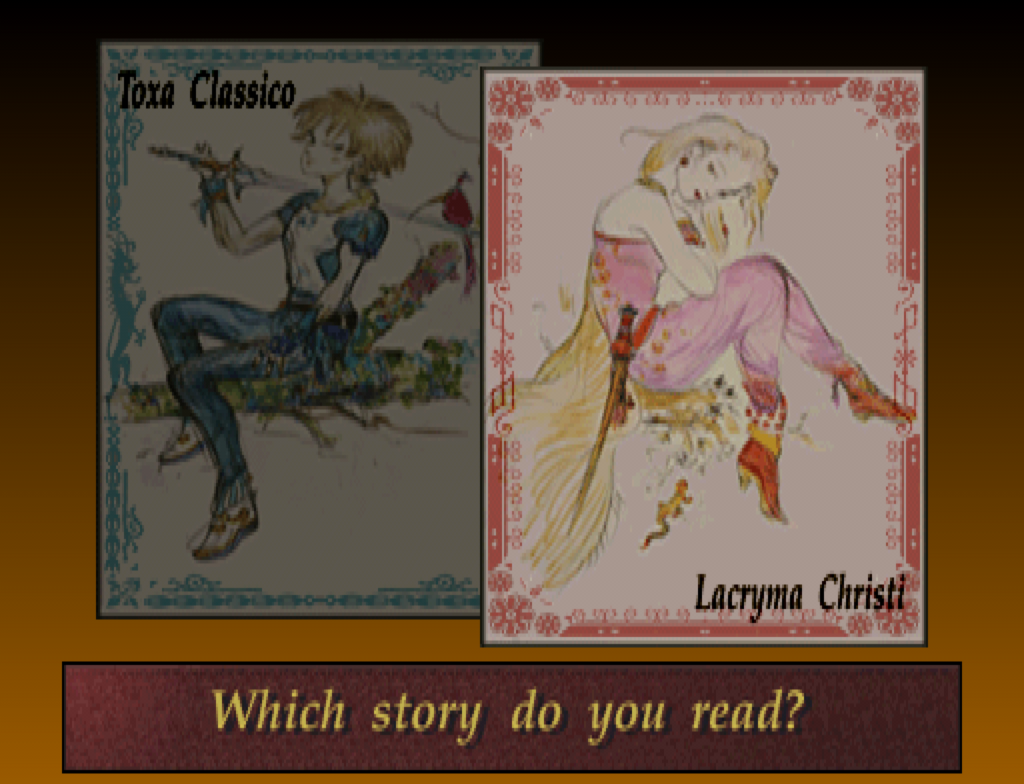
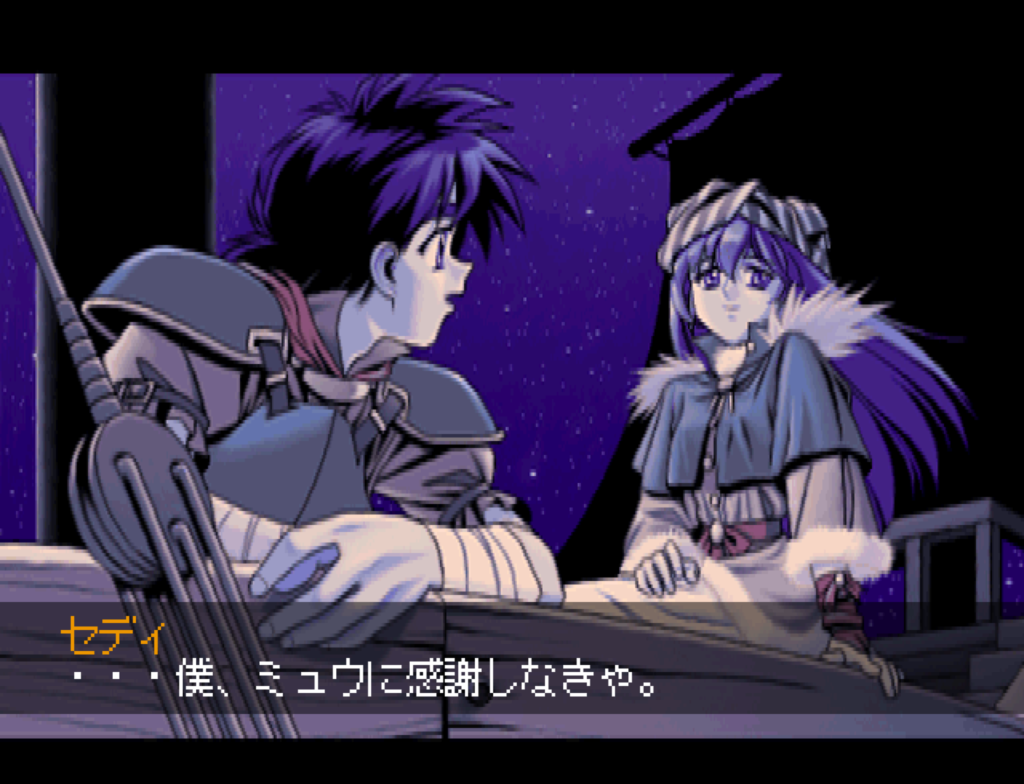
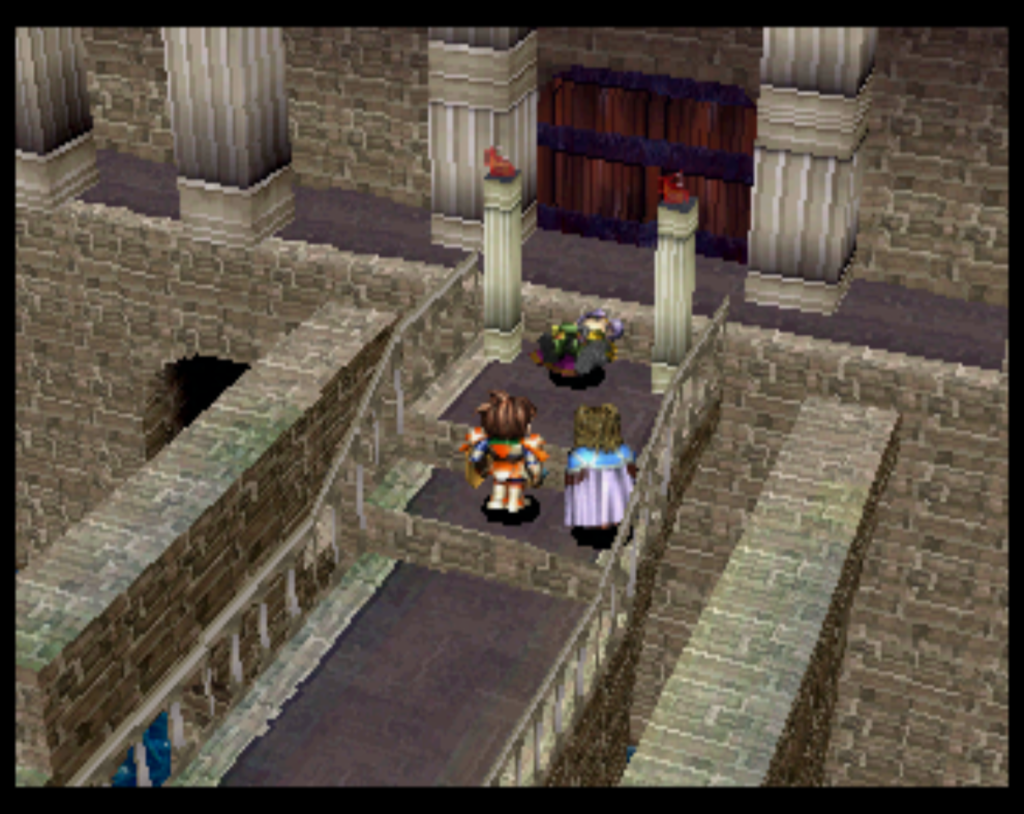
Eventually these two strands come together as Kyogoku tries to take over the government with the help of the Black Five. However, we manage to thwart the group and Kyogoku commits suicide after the rebellion fails. After this there is an entire chapter that has no battles. For me, Ogami went to visit Sakura’s house but I think that’s because my love value with Sakura is the highest — I wonder if there are different scenes for all the different characters.
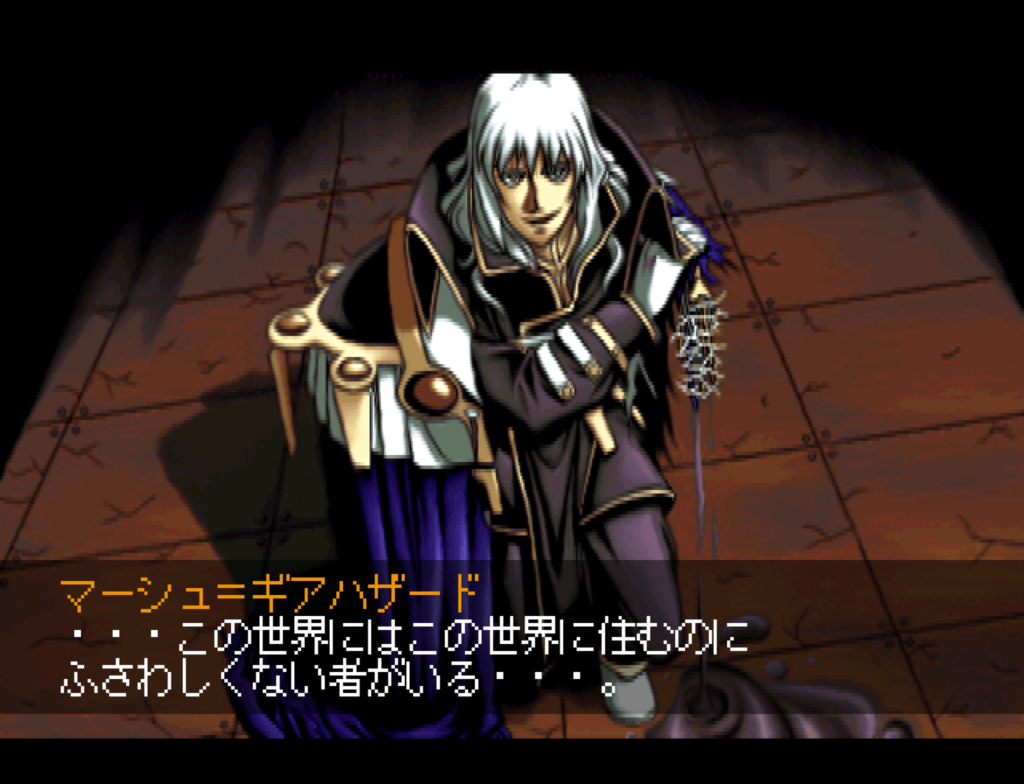
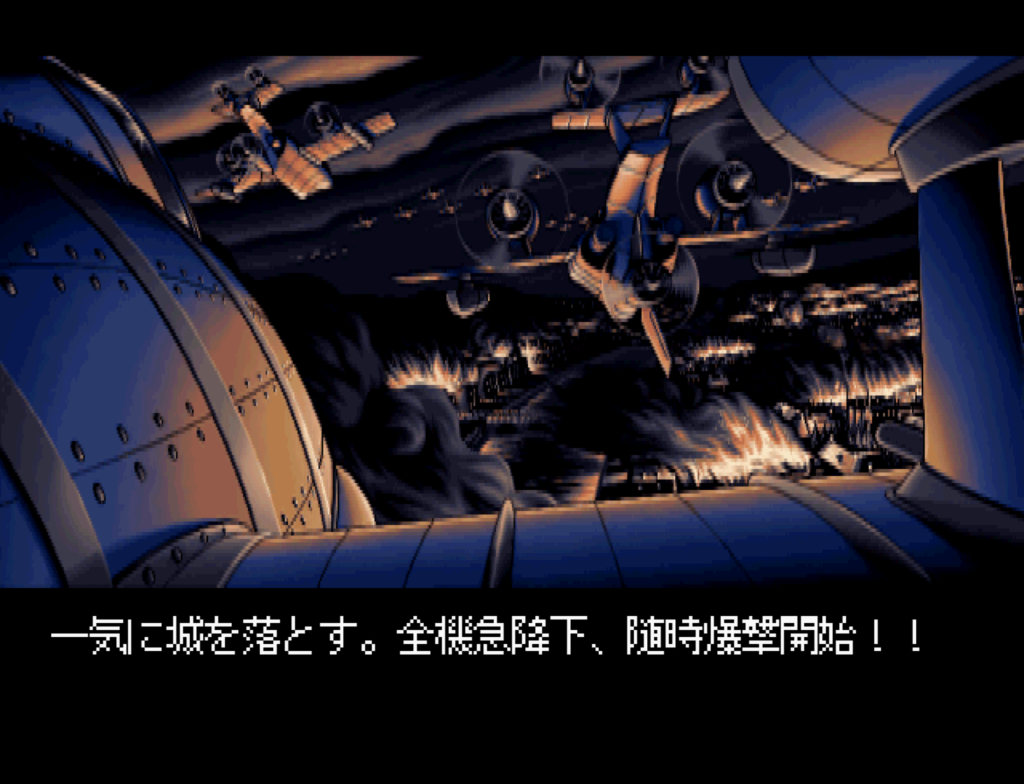
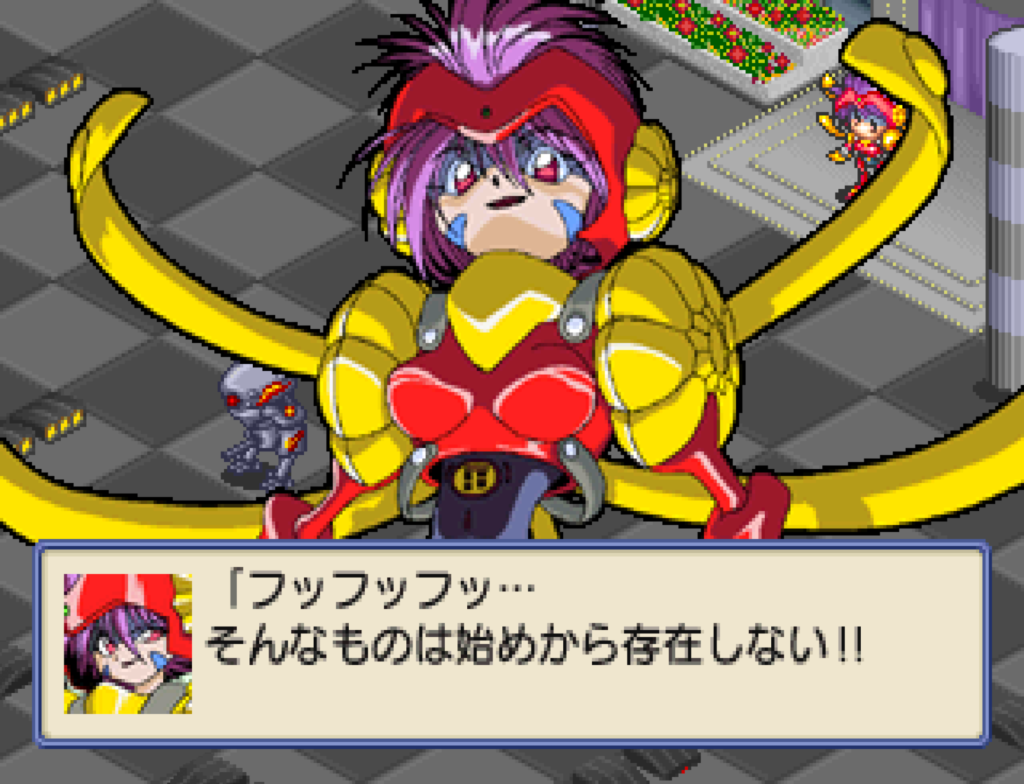
But of course the game is not over yet because there are still 3 stages. In the first game there was also this kind of double plot, but the second part went into some pretty bizarre places. The story this time is a little more grounded, I suppose. It turns out that Kyogoku did not actually die, and all the battles in the first part really had nothing to do with overthrowing the government. They were actually to gather power to revive an ancient flying fortress called Musashi that Kyogoku will use to cleanse the capital and rule over it as a new emperor.
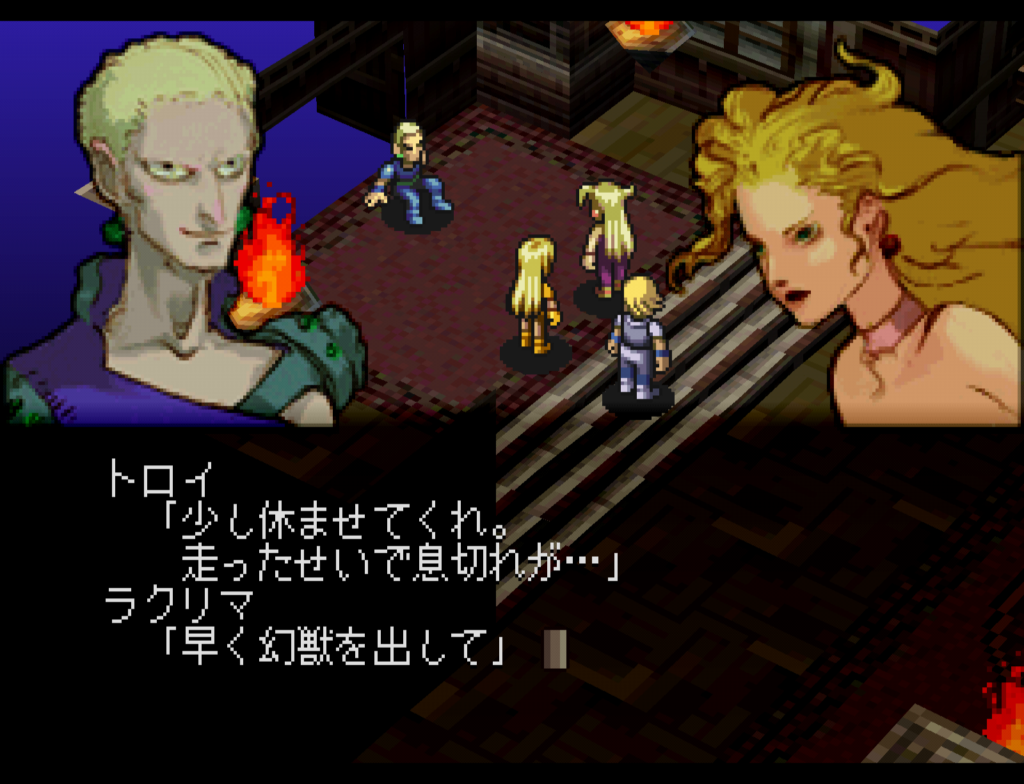
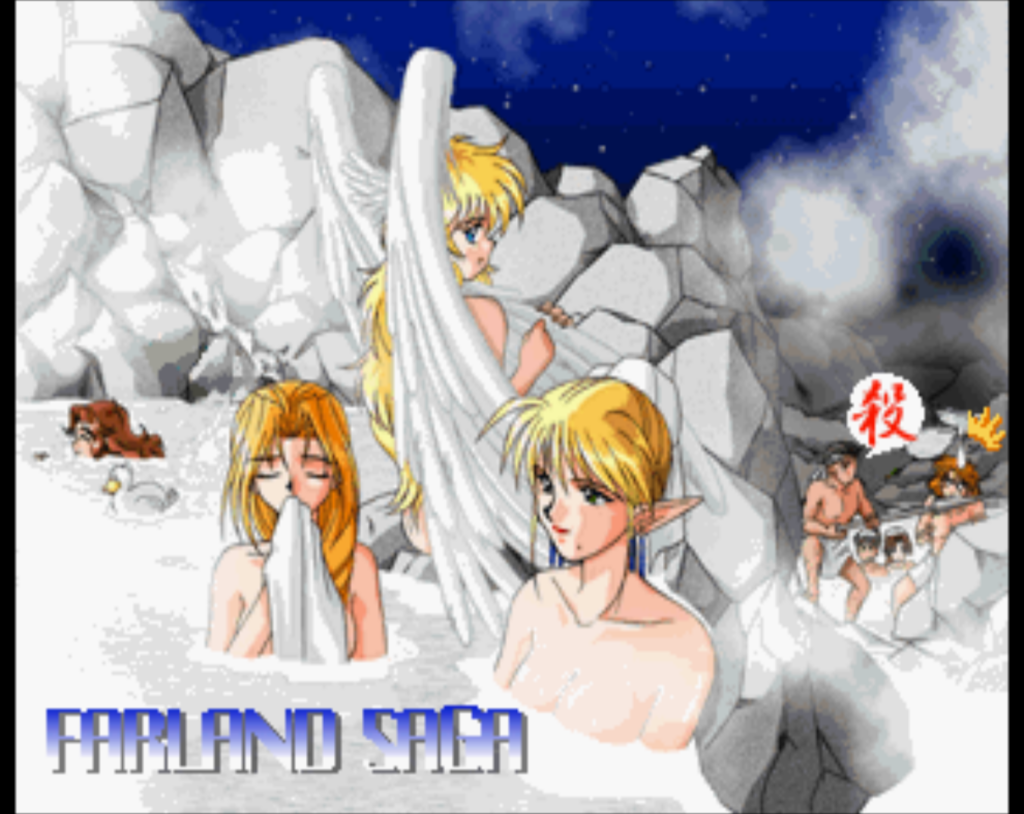
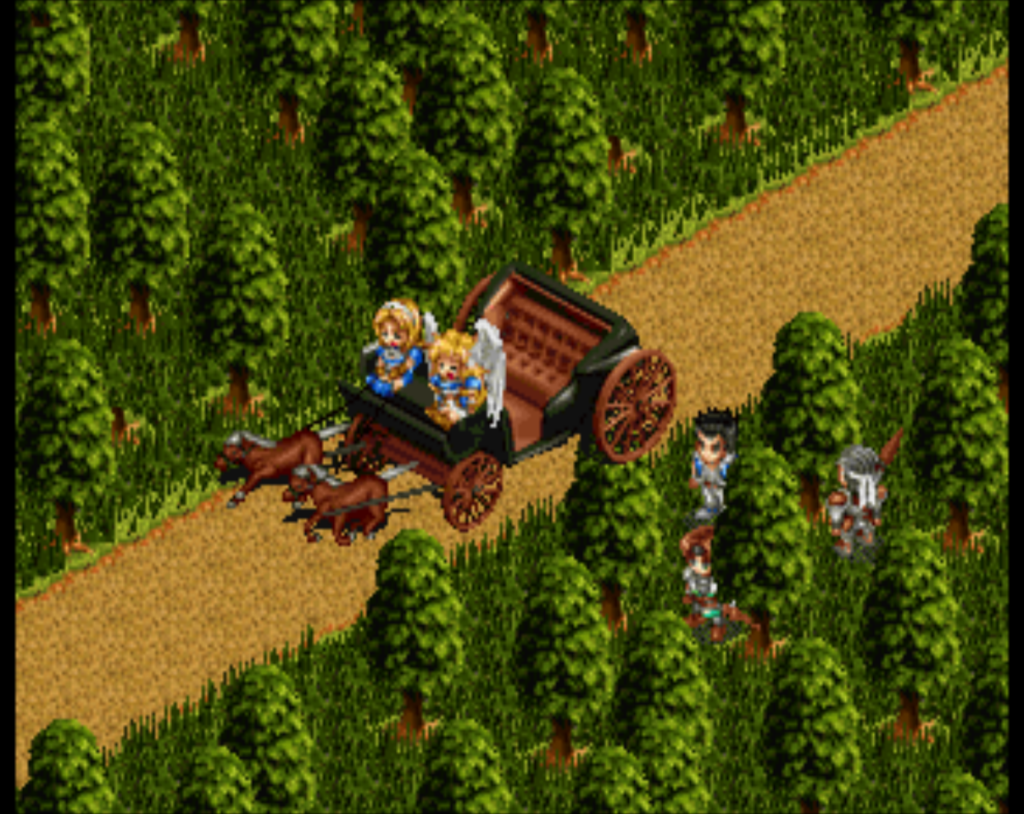
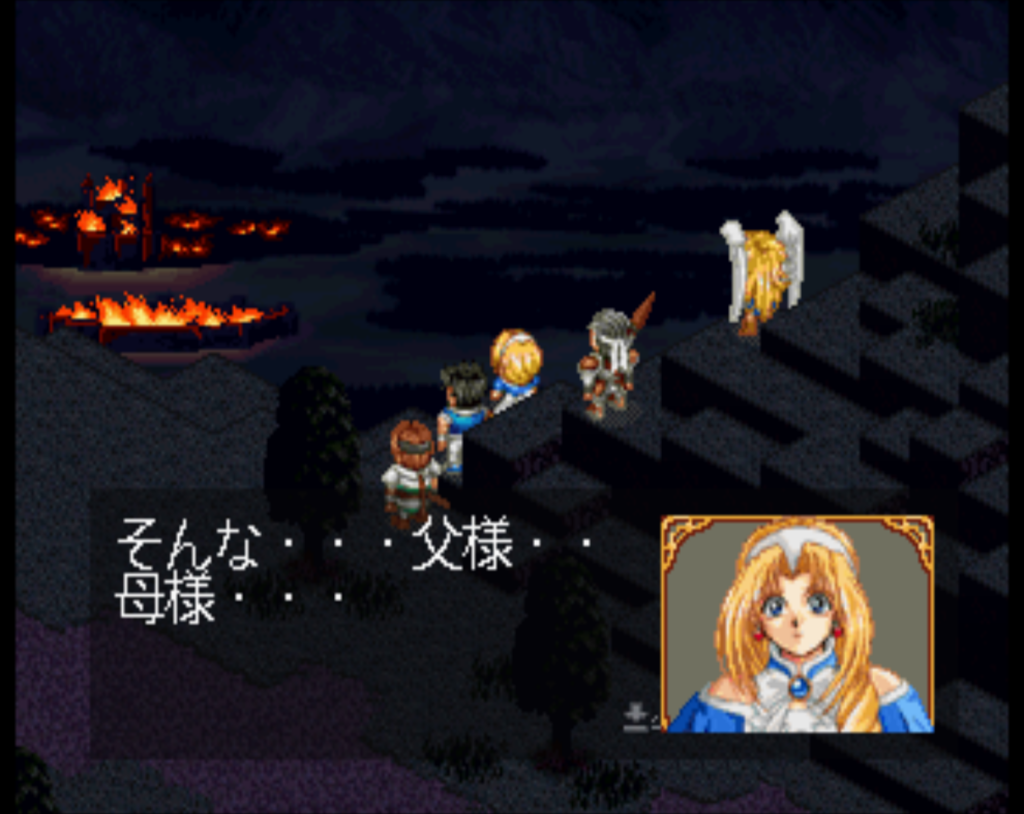
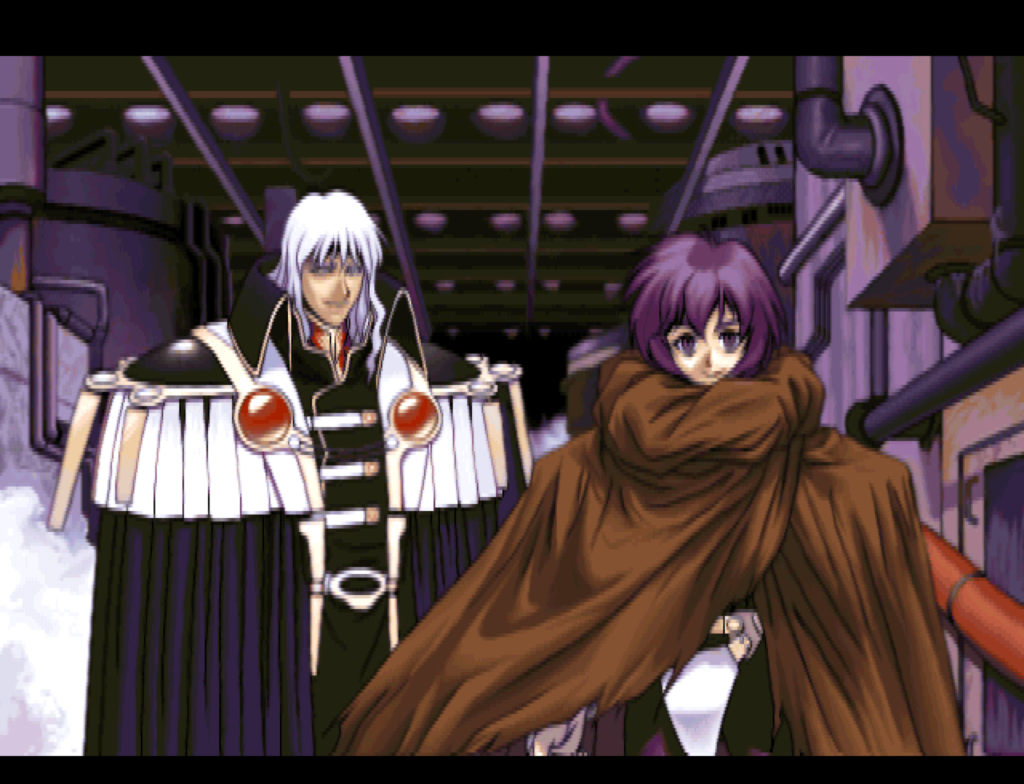
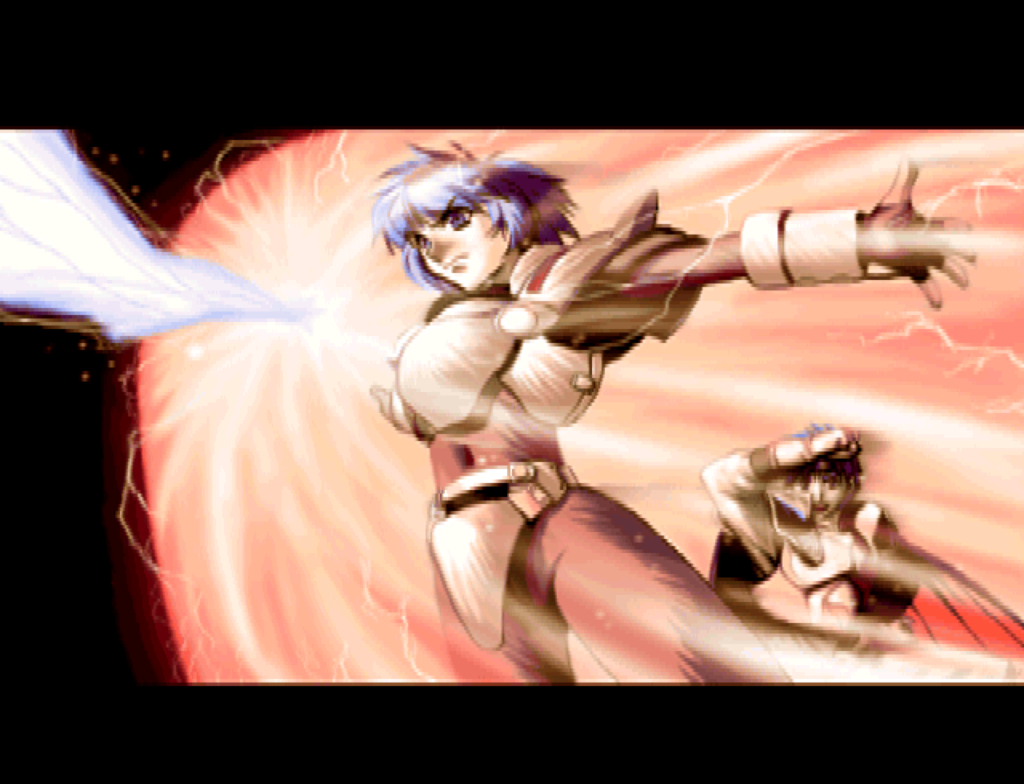
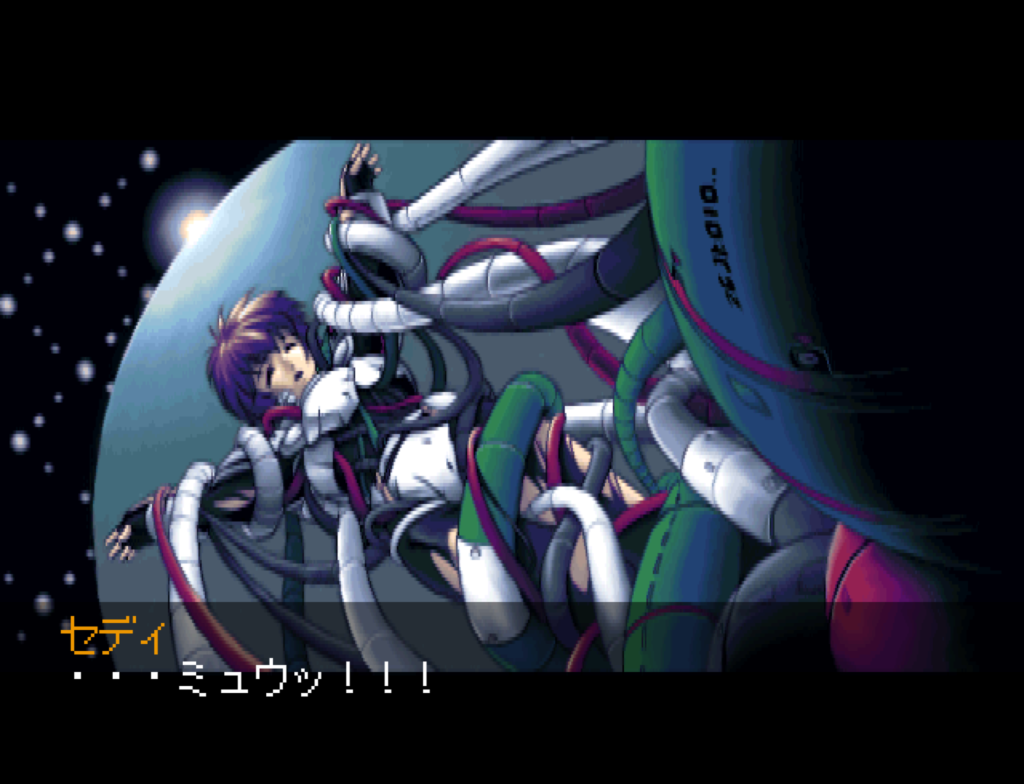
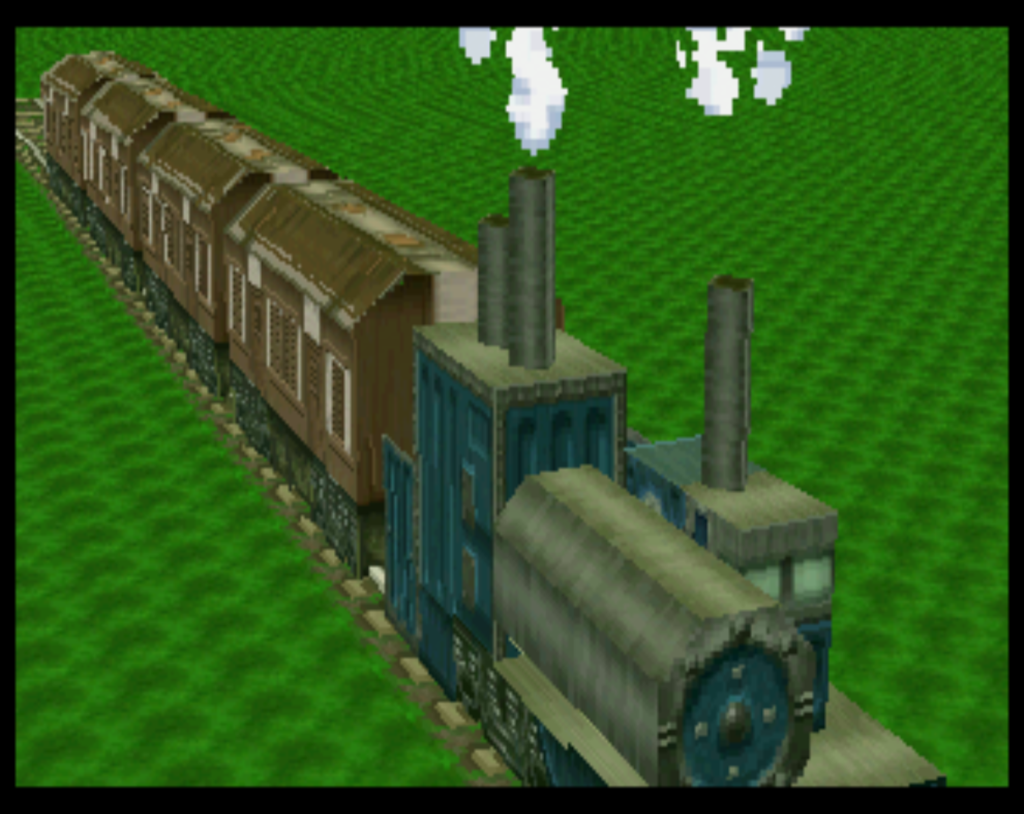
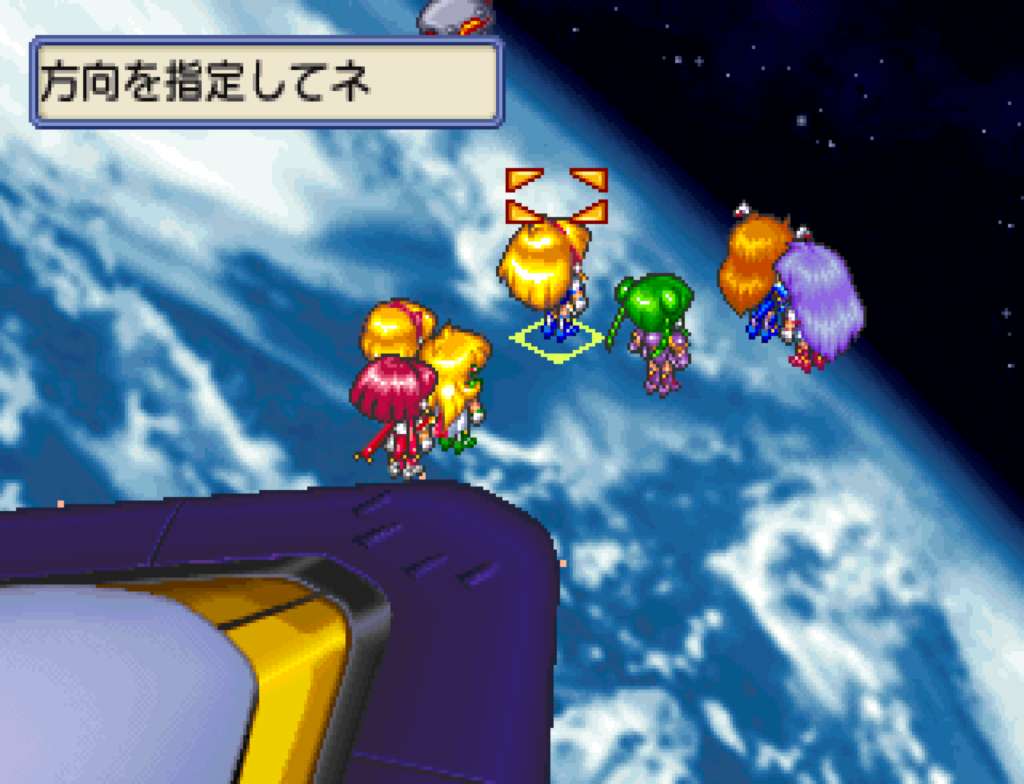
But we use the revamped airship from the last game to make it to the Musashi. It turns out that the Demon Mask is Sakura’s dad, who has been revived by Kyogoku.
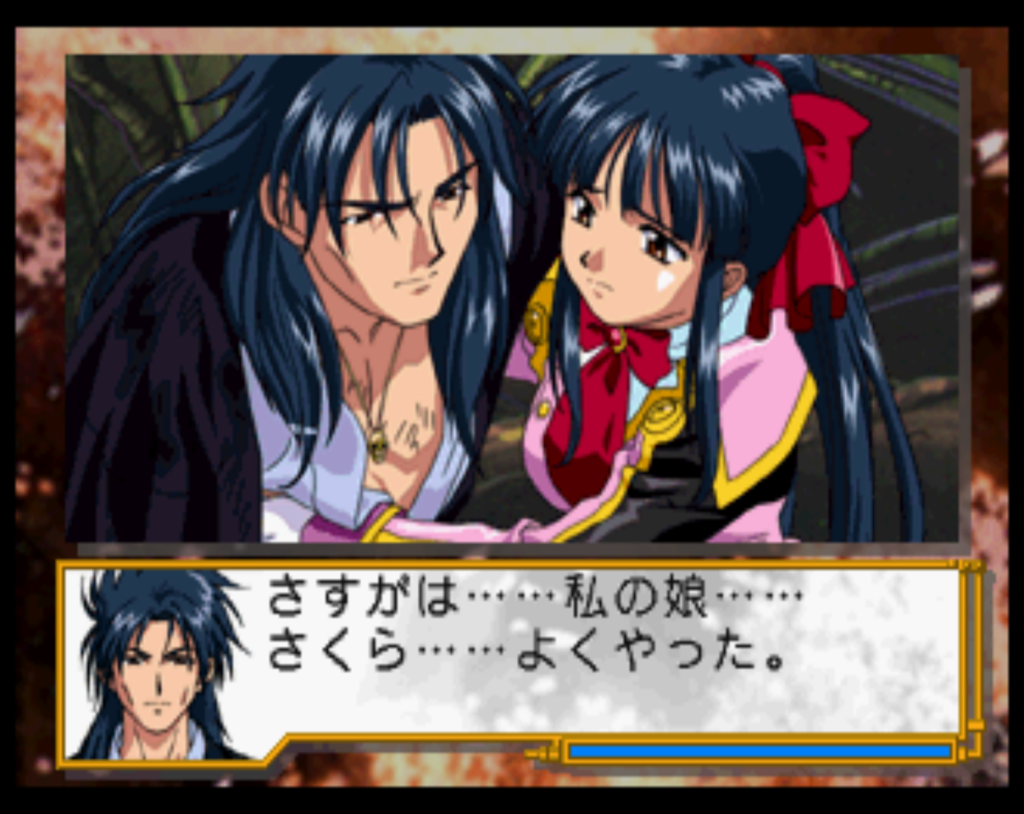
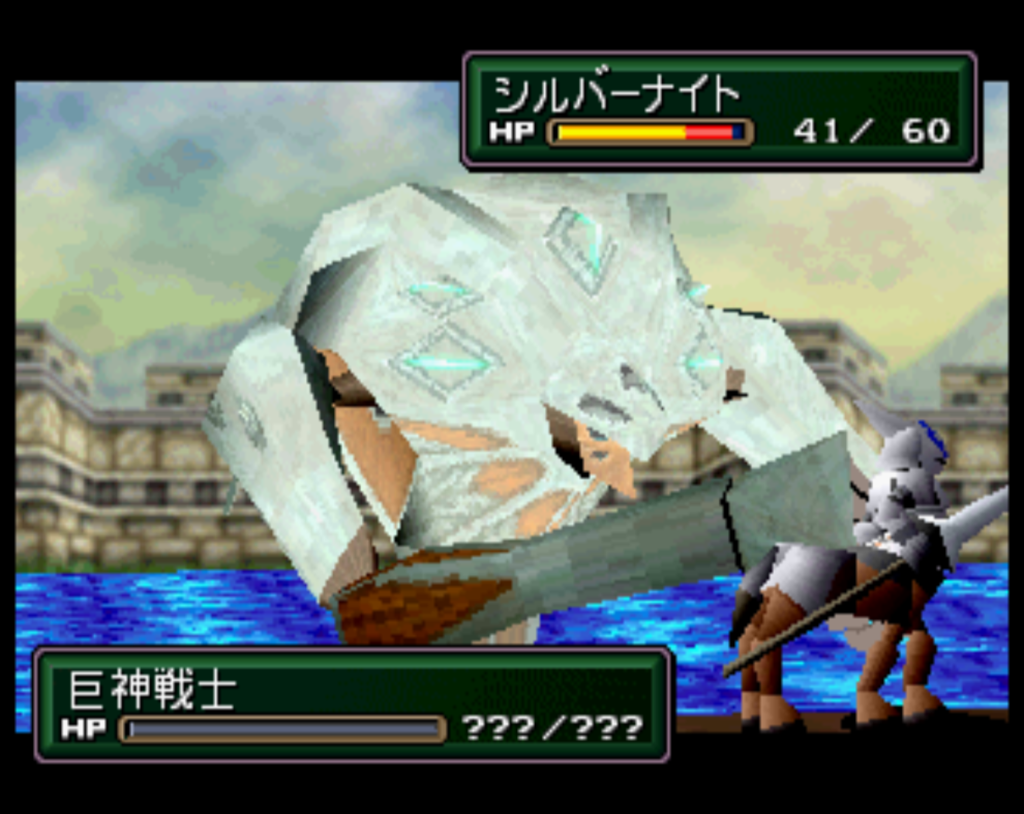
After a tearful reunion he helps us defend against Kyogoku’s attack but dies again in the process, and then we have to get to the main room to destroy all the power generators. Eventually Kyogoku ends up getting absorbed into a big robot called Shinno that serves as the final boss.
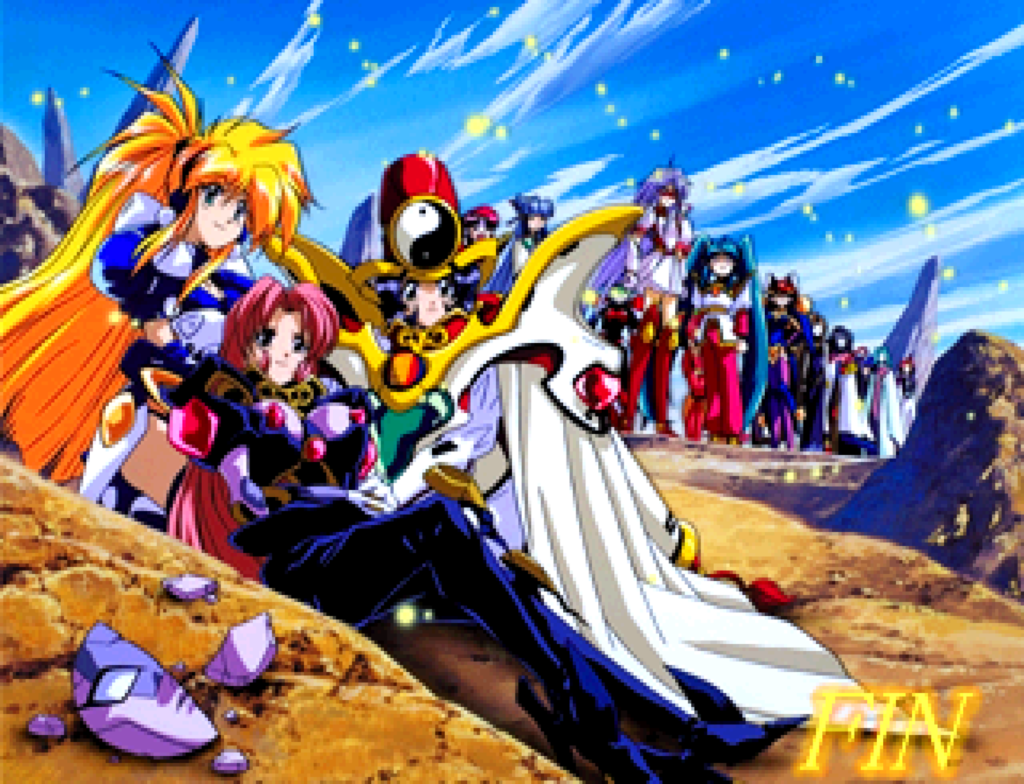
The game ends with Ogami getting promoted but then sent off to France on assignment which sets up for the third game.
Overall, I think the story was enjoyable enough. It had some similarities to the first game but I liked the links to the Kouma War that had been mentioned before and the new characters were interesting. The gameplay wasn’t as interesting. One reason I’m doing SRPGs instead of just strategy games is that I like to have some control over the development of your characters, and here it’s basically just fixed upgrades (along with the trust bonuses from the adventure part). I still don’t like how you can waste time wandering around to empty locations during the free time sections. I think I have to give this game a B rather than the A rating I gave to the original game; I don’t think that means that ST1 is a better game than ST2. I think it’s simply that I was more interested in ST1 because it was new and a shorter game overall, and it’s in a genre that I’m not going to like as much as true SRPGs. I will play the third one, though.
For the next game, I wanted to play a PS1 RPG so I asked Karkalla‘s discord for suggestions. The first one was Grandia, a game I have always heard about, so that will be next. However, Grandia seems like a rather long game so I think what I am going to do is switch off between that and Shining Force III Part 2 each week.