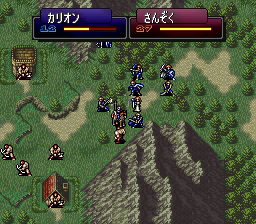
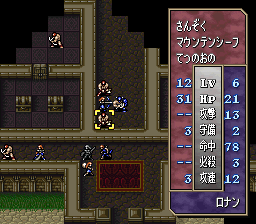
Monthly Archives: August 2025

Sigma Harmonics (DS)

Sigma Harmonics (シグマ ハーモニクス), released 8/21/2008, developed by Think Garage and published by Square-Enix
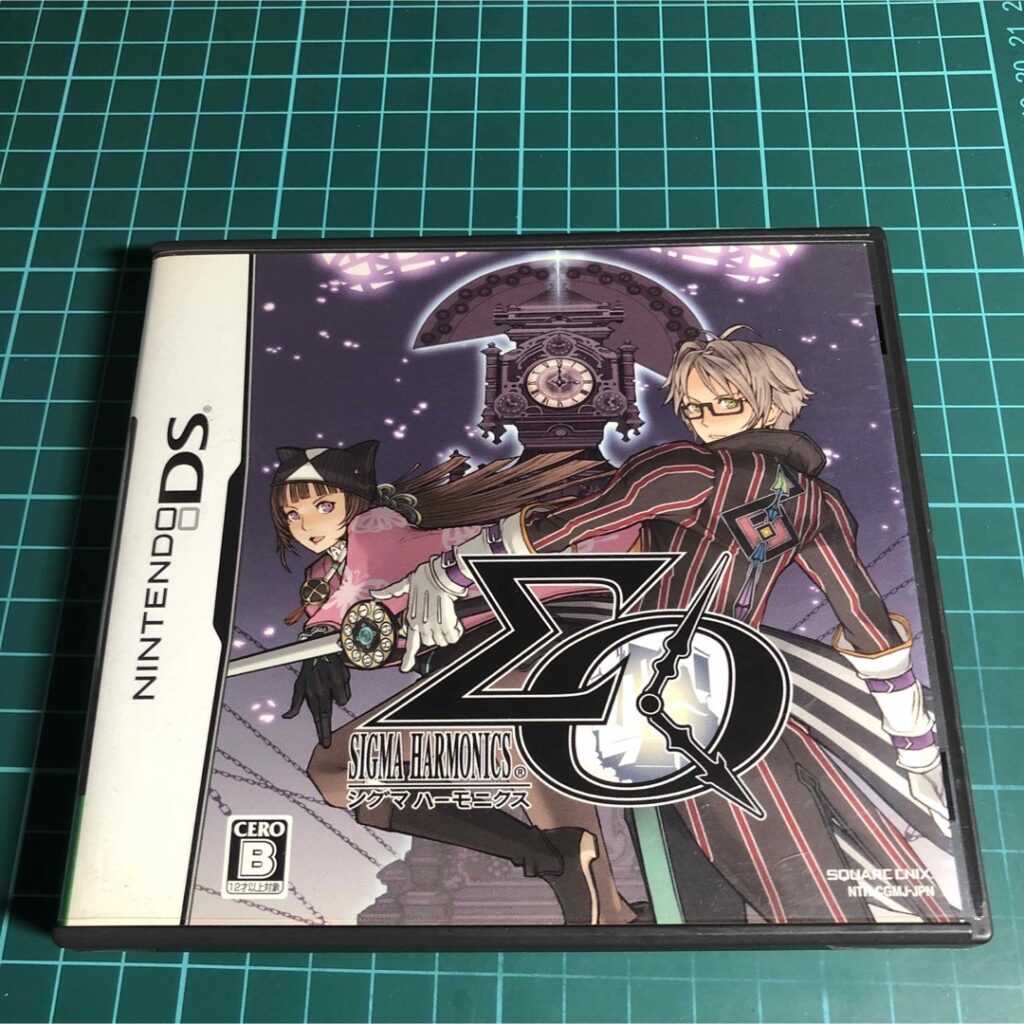
I came up with “DS game” as a random choice so I chose this based on several recommendations from people in the comments. Because it relies so much on the stylus I had to play it on a real DS, so I’m just going to have to pull random screenshots from the Internet (mostly IGN and Famitsu, you can see in the watermarks)

The game’s selling point is that it’s a blend of adventure-murder mystery, and RPG style gameplay. You find clues and solve several mysteries, while also fighting RPG battles along the way.

The two main characters are Sigma and Neon, high school students who are in families that traditionally have certain powers and responsibilities to deal with demons in the alternate universe version of Tokyo that the game takes place in. Sigma can do some time travel and use music to influence the world, while Neon uses cards and divine possession to fight enemies. The two of them come home one day and find that no one remembers them, and that the Great Clock that had imprisoned the demons has been opened, causing changes to the timeline. The game takes place over six chapters, plus two bonus chapters that can be unlocked if certain conditions are met. Each chapter seems to have a mystery you need to solve.
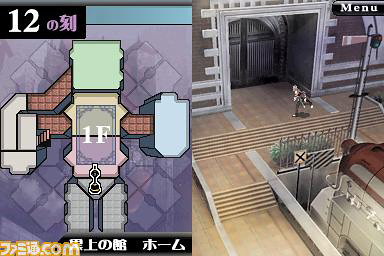
The adventure part of the game involves going around the Kurogami Mansion and using Sigma’s music ability to find clues to the mystery of that chapter. The first chapter’s mystery takes place 50 years in the past and involves the poisoning death of Ume, the mother of Shizuma who was then head of the Kurogami clan. After seeing the scene where she dies of poison, you then go around and find clues. There are two types of clues to uncover. The first are just hints that will give you small pointers to the solutions. The second are scenes you can watch, that will give you tiles like “Wine” or “Yoshiko was in the kitchen” that will be used later in the solution section. You can also use the Clock to return to earlier times that day to see additional scenes.

Once you have uncovered the necessary clues, you will be able to do “Super Reasoning” where you insert the tiles on a grid to answer questions about the incident. So for chapter 1, the first question is “Was the killer in the dining room?” then if you pick “yes” you are asked “What are two paradoxes in that idea?” Once you put those two in, you are asked “Was the poison in the food?” You pick “yes” and you get asked “Why didn’t anyone else die?” and so on.
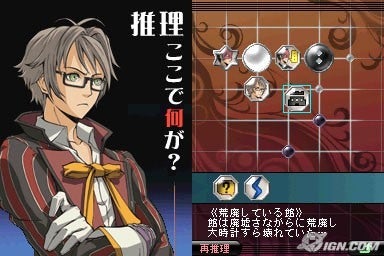
You get no immediate feedback on whether your guesses are right or not. Regardless of how right or wrong your ultimate answers are, you will be taken to a final area where you fight a boss. The boss’ power is weaker the better your answers were, and then you get a rating for how well you answered the questions. One of the requirements for unlocking a bonus chapter is to get at least A rank for all the stages.

On the RPG battle side, you fight random encounters as you explore the mansion for the adventures. The battles are done by Neon vs enemies, with Sigma just acting on the sidelines to direct Neon. Neon spins around the battle while the enemies attack with a real time battle system. You have three separate meters that fill up, once one fills up you can use one of the action cards you have in that space. The actions can be attack in a specific direction, attack some enemy, followup attack, heal, All attack, etc. Sigma can also change the battle song to change the speed at which the various meters fill up, and Neon can switch “class” to get different abilities.
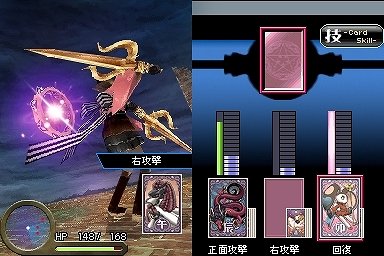
Battles give you XP to level up, and you will sometimes get SP that enable to you to get new jobs. The battle system is decent.

My main issue with the game (and why I only played it for the first chapter) is that I don’t think the two systems mesh together well. And I think the reason for that is that they’re almost entirely separate — fighting the battles doesn’t help you investigate the mysteries at all, and almost nothing you do in the investigation part helps you in the fighting part. So it felt like I was constantly being pulled out of the investigation part by these random encounters that didn’t help me. I honestly would have preferred it if they had entirely separated the two — have the investigation by itself, then once you’ve done the “super reasoning,” go to a dungeon where you do the RPG battle part.

Starting in the second chapter they also have this (virtually) unbeatable enemy that wanders around the map, blocking your ability to do the investigations for no real purpose.

I’ve gotten mixed information about how Japanese players responded to the game. It apparently sold well and Famitsu gave it a 31/40, but there are reports that it was being sold in used game stores for 500 yen soon after its release. I’ve seen this happen before and it’s basically an indication that a lot people bought the game but then quickly sold it, resulting in a glut of copies of the game in the used stores that not many people are buying.

SRPG 115 – Fire Emblem: Thracia 776 (SFC) Stages 19-end

Phew, I’m finally done with the game. I’ll cover the remaining stages and then put my overall thoughts at the end.

Stage 19

This stage is where the inability to reorder your forces starts to become annoying. In this stage it makes sense because it’s supposed to be a surprise attack, leaving your forces separated into two. Beating this stage has an easy and hard mode. Easy mode is to only send out your highest movement units, completely ignore the civilians, and focus just on escaping everyone. This is what I did; I also warped Sleuf down to recruit Amalda; she can then pick him up and get away while the units fight each other.

The hard mode is if you want to save the civilians to get the Knight Proof item. You want to use Rescue to help the civilians but this leaves you open to attacks from the high movement range units. But I didn’t even try.

Stage 20

On the whole I was using more and more save states as I progressed. This is the only stage, though, where I really feel like I abused save states to the point where I was using “strategies” that wouldn’t have worked at all without them. But I also think this is a stage where the inability to reorder your forces and the need for lots of door keys make the stage much more annoying than it would otherwise be.

This is a defend map, although the actual criteria is to survive 15 turns and defeat the boss (who will remain stationary until turn 15). The major annoyance of the stage is that your forces start out scattered all over the map, most of them behind locked doors (why do we need door keys to unlock the doors in Leif’s own palace??) If you haven’t bought a lot of door keys in preparation for this map, that means that many of your units will be trapped until the enemies break down the walls.

At first I tried playing it as actual defense, attempting to move my units near Lief’s place on the throne. But I couldn’t get this to work, so instead I sent out only powerful attacking units and went entirely on offense. This produced much better results, especially if you can defeat the boss before turn 15 (which ends the reinforcements). I was not able to beat it legitimately with this strategy because I couldn’t survive the ballista attacks and still beat the boss, I kept reloading states trying to figure out how I could position people to do it and one time I happened to get a super lucky situation where the right people got criticals, double moves, and dodges — as I said above, I think this is the only place where my abuse of the save states resulted in a stage win with an “illegitimate” strategy. But I was close to giving up on the game entirely at this point so I was willing to move on.

Stages 21-22

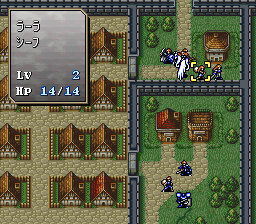
I “warp skipped” these two stages. What this means is that you use the warp staff to send someone (like Asbel) right next to the boss, and kill the boss. Then have Lara dance to give the staff user another turn, and warp Lief there to end the stage. On Stage 21 I did this the first turn, on 22 I waited until the second turn so that Karin could grab a warp staff from a village.

It’s one of the odd quirks of this game that you have these expansive, intricately designed stages like 21 and 22 but then you can beat then in a few minutes with warp staffs.

Stage 23

At the beginning of this stage I silenced the two mages, moved Saias down towards the children, and then picked him up with a flying unit so that Lief could talk to him for the Bragi’s Blade.

After a couple of failures I found that the best way to deal with the initial units and reinforcements was to head down to the bottom of the map, that way I could intercept the silenced units as they fled. I let the horsemen carry the children away to help remove some of them from the map.

Once that was done, I had a hard time with approaching the castle because I could not survive a single turn against the dragonriders that come towards you. Eventually the way I beat it was to carry Lief and Lara up near the castle and release them. On the enemy turn, Sety appears to kill the boss, and the dragon riders start moving (but don’t reach anyone). Then Lief talks to Sety, Sety moves out of the way, and Lara dances to give Leif another turn to capture the castle. I also made sure to steal all of Saias’ equipment.

Stage 24

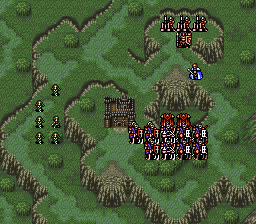
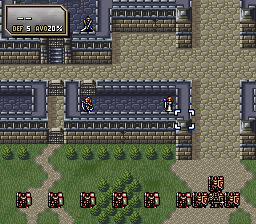
Despite that image I didn’t actually beat the stage with a warp.

I think this is the stage that suffers the most from the inability to reorganize your squads because you have three separate groups that essentially have three different goals and need different abilities…but you have no control over who is in which group.

I completely ignored the children because there was no way I was going to even try 24 gaiden. So basically I just silenced/slept as many mages as I could, set up the right people in a way so that they could survive the stage, and then sent everyone else up. The “big shield” ability on the boss is more bullshit that can end your run due to luck, but beside that it’s not too bad. I was able to convince Galzas because I got Mareeta in my middle group.

Stage 25 (Final)

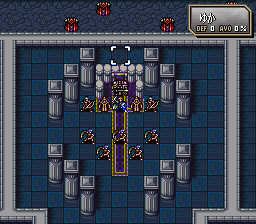
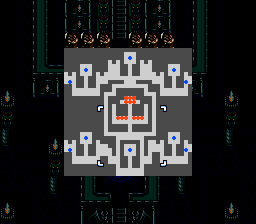
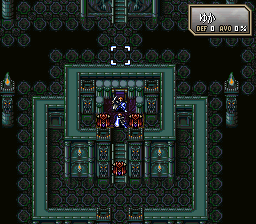
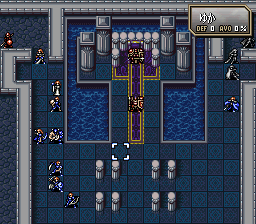
This is another stage where a lack of door keys is problematic, and where your group is separated into 6 sets. For a little bit I thought I might have to actually hack in door keys, but I was able to beat it with a combination of the Unlock staff (2 uses), the one door key I had, a lockpick thief, and warp staffs. Since it was the last stage it didn’t matter if people died, which made things a bit easier. The main thing you have to do is get rid of the Berserk staff user on the first turn. Beyond that once you get into the rooms (which give substantial magic bonuses) you can put some of the other bosses to sleep, which makes things easier.

Once I had all six places under control and the final door opened, it did take me a few tries to beat the boss. What ultimately worked was just to warp Lief into the chamber, beat the boss, and then survive one turn to capture the throne. It looks like I warped Sety in there as well.

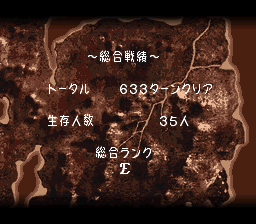
My final rating was predictable:

—

So as you may be able to tell from my posts, I did not like this game. It was definitely my least favorite of the Fire Emblems — the difficulty is just too punishing and relentless for me to truly have fun with it, even with the save state use.

However, I can appreciate the amount of time and care that went into the map design. With the possible exception of stage 1, every map is designed around a series of specific challenges that involve memorable and unique enemy arrangements and groups. There’s no “go to” strategy that you can just pull out to lazily beat any stage. Even as of 1999 there is basically no other designer that is putting this much thought into their map design. For a certain type of gamer I think this is a well designed game — I’m just not that gamer.

However, there are three elements of the game that I think are genuinely bad design and not just “it wasn’t for me”:

  • As I mentioned before, the inability to rearrange your characters on the map mixes very poorly with the stages where you really need specific people (or types of people) in certain locations.
  • Door keys are far too important in the game given that you have no way of knowing how many you will need, and there is no way to buy them between stages. Having some enemies that you can steal or capture keys from doesn’t really address this.
  • The “big shield” ability that randomly nullifies damage is an anti-strategy luck-based element that (once again) mixes poorly with bosses that can often kill you in one round (if all their abilities proc or if they have good equipment).

This is Kaga Shozo’s final fire emblem game — we’ll see him next in Tearring Saga which is so close to FE that the company got sued by Nintendo. Meanwhile, Fire Emblem will continue on without Kaga, starting with the GBA series of games in 2002.

SRPG 115 – Fire Emblem: Thracia 776 (SFC) Stages 14-18

I promise I will finish this game at some point.

Stage 14

This is the first “defense” stage, where you just have to survive for a set number of turns. It’s tough, though — there are a lot of enemies, a bunch of ballista that restrict your movements, and the initial wave of enemies contains a boss that can easily take out a character.

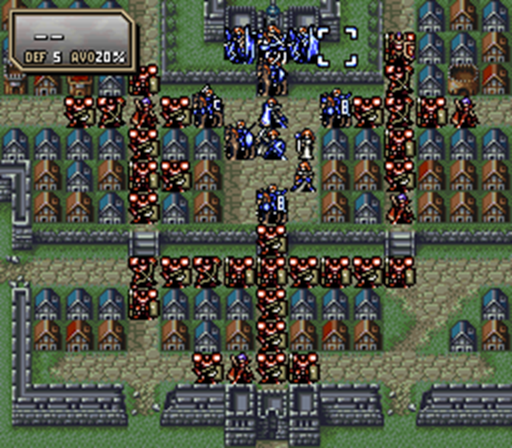
After a number of failures I used a cheap tactic someone told me on the discord, shown in the screenshot above: you take three horsemen and remove all their weapons. Mounted units can’t be captured, and as long as you heal any damage the horsemen take, most of the enemies will not be able to get anywhere near you and the 10 turns will run out. Mounted units can be used to recruit Homer and visit 3 houses.

Stage 14x

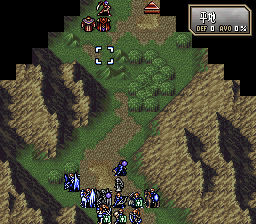
In this stage you have to lead the villagers through the mountain pass up to the exit. Each villager you save gives you a nice S drink (which lets you deploy a fatigued character). The enemies are sorcerors with rewarp staffs and pegasus knights, meaning they can reach you pretty easily and it’s hard to block them. This is another stage where I relied on a walkthrough strategy — the Japanese walkthrough recommended staying right at the beginning until all the reinforcements are exhausted (which only takes 20 turns). This worked, and then I headed up through the pass. It’s still tough though because of the bosses:

The magician boss has a range 10 Fenrir spell, and Eichmann has a Killer Axe. I tried a bunch of things to beat this but could never do it without someone getting killed either by Fenrir or the Axe.

Eventually though I just set someone on a forest who could survive a Fenrir shot and ate all 5 uses of it, using a couple of healing potions (a few shots missed).

I still did not have anyone who could use a Warp staff at this point. This may seem surprising but if you don’t know how important Warp staffs are to the game it’s not all that hard to believe — healing staffs don’t give you that much experience, and if you are switching between Nana and Safy like I did, it spreads that XP around.

Stage 15

It is so nice to get a breather here; this stage is quite easy (so easy I guess I didn’t take a screenshot). Basically all you have to do is recruit one of the NPCs and then get Leif to a church, and the stage is done. The only reason I had to do it more than once is that the NPC kept moving away from Leif (and the first time I didn’t know bandits would destroy the church).

I chose the left/A route.

Stage 16A

I feel like it’s a waste of space to say “another tough map” because they’re all tough. The first challenge is here, where Ilios has a very long range magic attack that can one shot many of your guys, and also very high movement. What eventually worked for me was to move Karin up into the sea (she has a high magic so isn’t an attractive target for Ilios). Make sure Ilios can’t target anyone he can kill, and then once all the other mounted units charge after your characters, Ilios will retreat far behind them, leaving things open for Karin to recruit him.

Next is this situation. The enemies do not move unless you attack the boss, and there are 5 ballista to deal with. Possibly I could have used Ilios’ 10 range spell; I don’t entirely remember why I didn’t do that. In any case, the only working strategy I could come up with was to waste all the ballista’s shots, making sure that my guys weren’t in range of more than one (or most two) at a time. Once this is done, the fact that the enemies don’t move at all makes it very easy to take them out, and Kempf himself is no problem.

I killed Conomoor, and then took the castle.

Stage 17A

This is the first map I warp skipped.

I used Repair on the sleep staff and then put Moore to sleep. With him out of the way it was much easier to get my fliers up to the houses at the top to grab the Warp and Rescue staffs, and then capture Moore for the additional goodies. I then visited the church to recruit Sara, put Misha to sleep so I could capture her, and then used two Warp staff uses on Asbel (to kill the boss) and Leif. Saias did make one appearance and was able to use his sleep staff on Finn, but that didn’t matter.

Stage 18

This has the most ridiculous recruitable character in the series; I just ignored it entirely — I also didn’t bother with the chests (other than unlocking the Nova Book). Ilios was surprisingly hardy and able to take on the armor knights.

The boss has this stupid “big shield” ability that blocks all damage randomly. I had to reset once because of this but Asbel succeeded in blowing him away the second time.

I have 7 more chapters plus 2 gaidens, so given my pace so far we’re probably still looking at another two weeks on this game.

SRPG 115 – Fire Emblem: Thracia 776 (SFC) Stages 9-13

I’m continuing to crawl my way through FE5. The game’s difficulty is frustrating to the point where I can’t play the game for very long in one sitting before I get tired of yet another reload, and I have to put the game aside for a while. If I had to rank this game purely in terms of the fun I am having with it, it would be last place among the 5 Fire Emblems I have played so far — the punishing difficulty and permadeath is just too much. But I can respect the game design and I would like to finish it if I can. It might take a while.

Stage 9

I had a really difficult time with this stage. You need to protect the house in the upper left. The biggest danger are 5 dragon knights that have huge range and they all have Kill lances, plus one is boss-class. Once you enter any of their ranges, they will attack any units that are in range, and if there’s nobody in range they will head for the house. You start with 4 new units up near the house, and the bow knight in particular is worth saving because there’s a special dialogue that gives you an Elite sword.

There are several strategies that apparently work, but after many failures and resets, and trying various methods, I eventually won by initially feinting towards the south and drawing off four of the dragon knights, beating the boss with Asbel. I retreated the 3 regular units from the map and left only Sephira (the bow knight) on the house. I then headed through the top path. I don’t completely remember how I dealt with the 5th dragon knight (who heads towards the house) but my units were able to reach the left part early enough that Selphira didn’t get overwhelmed. I then tried to capture some of the laggard units at the bottom right but after having to reload I just got tired of the stage and finished it without doing that.

Stage 10

This stage has the first “long archers” (ballista). You can play the stage safely by taking a long time to exhaust their arrows before moving everyone into their range — this is what I did, although it loses you some useful items that you can get by playing more quickly. I probably should have at least tried to save the towns but I was so mentally defeated after stage 9 that I just wanted to get through this one with minimal resets. If you play it safe there’s really not much to fear in the stage except for the dragon knight you can see at the top of the picture, who I beat with Asbel. Karin went in to capture the bishop next to him for some useful items.

Stage 11

This stage is where the game finally defeated me and I had to raise the white flag — I did two things that violated my FE rules. The first one is that I used a cheat code to give myself a thieves’ key. I was almost entirely out of keys of all kinds, but the main reason for this was my misunderstanding of the capture rules; I lost all my thieves’ keys to capture baiting and had been relying on treasure and door keys up to now. I could see this was going to get more and more annoying so I hacked in one thieves’ key.

The second thing I did was I made two save states on the stage instead of one. I had gotten to the point where I was close to giving up on the game entirely, and so I accepted the lower difficulty rather than do that. Since then I have not made more than two save states on a stage.

The main issue with this stage is that when Lief reaches the center area, those two ballistae appear and a bunch of locked doors appear too. If you want to unlock the Gaiden chapter you have to keep Fred (the green horseman) alive and beat the stage in under 20 turns.

I spent an enormous amount of resets and reloads trying to get everything to work out, and I was never able to. In the end, I left most of my forces outside at the bottom and only took 5-6 up through the center. I accepted Fred’s death. Even after you get past that the stage is not a cakewalk, but the boss runs after you fight him once — for some reason he doesn’t use his spell so if you just range attack him it’s OK.

Stage 12

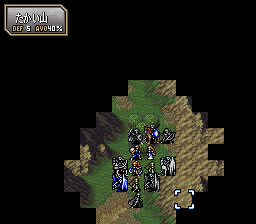
I believe this is the first fog of war stage that is not a Gaiden chapter. This one is comparatively easy; I had to restart because I moved Marth like that picture above, and then I couldn’t finish the stage in the 20 turns necessary to unlock the Gaiden chapter. I still had to reload about 5 times but given my experiences in the rest of the game, 5 reloads is a cakewalk.

Stage 12x

There is a lot to do on this stage, in theory. A perfect run of the stage would accomplish these things:

  1. Recruit Troude
  2. Recruit Tina
  3. Recruit Perne
  4. Do not let Tina use her Thief staff (requires everyone who has stealable stuff to have at least 3 magic)
  5. Get the Knight Proof and Warp Staff from the dancers that show up on turn 25-30
  6. Promote Lara to Dancer
  7. Get all the treasures

I was able to do 2, 3, 5, and 6. It was too much trouble to recruit Troude. As far as getting all the treasures, you either have to use Warp staffs, or you can lure all the thieves down to the bottom. However, they tend to have fairly high Build making it hard to capture them, and their Speed is also high making it hard to steal from them. So I just let the treasures go and was contented with accomplishing the other stuff.

Stage 13

This map begins with Glade by himself on the castle there. While he can hold out pretty well against the enemies, I do not think that he can survive by himself if you go very slowly (once the boss reaches him, he has a lot of trouble). So we have to go fast. There are ballista and Horse Archer reinforcements which makes it especially hard to take along weak units. Discord advised me to have a Reblow staff user, although on my winning run I didn’t actually need to use it.

Once the main force arrives, some of the units will go for us. I beat the boss (Rist) easily with Armor Killer, but that’s only the first issue. Now all the initial units retreat and the ballista stop firing, but endless reinforcements come out from the top.

After a bunch of failures I got the tip from Discord that seems obvious now — to block off the sides so that the enemies can’t flood the castle area. Doing this let me finish the stage fairly easily. I didn’t bother with any of the stuff at the bottom.

I’m past the halfway point of the game, and I hope it doesn’t take another 3 weeks to finish it.

SRPG 115 – Fire Emblem: Thracia 776 (SFC) Stages 5-8x

I’m back from a 2 week vacation — I finished Xenoblade Chronicles DE, and played some Sigma Harmonics (DS) which I will cover after FE5. But this is going slow.

Stage 5

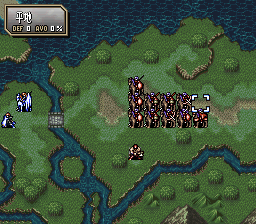
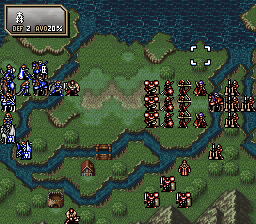
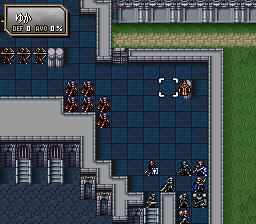
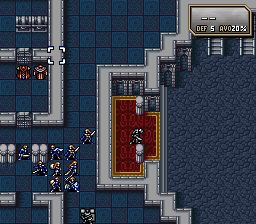
The stage begins with Eyvel and Nanna stuck in the middle area. Nanna can heal but is mostly useless for fighting (her Earth Sword is decent but she dies too easily). Eyvel is awesome of course but she can’t stand up to all the enemies on her own; more and more difficult ones come out. However, when you open the door, a story event happens and Eyvel leaves. I had a hard time getting past this part because of all the mages coming down (as you can see above) and the tough enemies from the arena area are still there.

A mage with meteor at the left is a danger but I just had him waste his spells on Arbel. There is an area at the left with two strong mages guarding some chests.

I did not want to risk the stage at this point and have to go back to my save state, and the chests didn’t seem worth it. I was told that the Jormungards that the mages have cannot be used by any of my characters for quite a while so stealing those isn’t too important either.

Stage 6

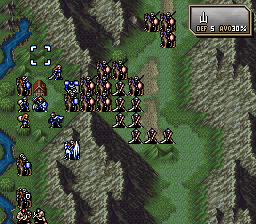
This is yet another escape map. The enemies are very strong and so the dialogue encourages you to use Karin to carry people over the wall. At first I took this too seriously and tried to do it for everyone, but the enemies start moving towards you so you can’t really “stealth” the map like that. I carried a few slow people over but mostly went through the doors. Also there are 6 houses with items and such. Four of them can be picked up as you move through the town, for the other 2 I took Karin over there as everyone else was escaping. I had a close call but was able to escape.

Stage 7

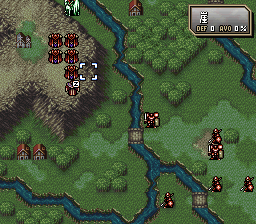
I had a lot of trouble with this stage and eventually had to ask the discord for help — I think this stage is kind of unfair with a hidden gimmick. At the start, there are two ways to go down to the bottom of the stage. One has axe bandits and the other swordsmen. At first I decided I would turtle in the houses, but this does not work because on turn 2 reinforcements start coming in, and they are difficult.

There are two keys to surviving this stage: One is that the bandits can be ignored; they will not move unless you go attack them. Second is that once anyone reaches the castle and escapes, the horsemen reinforcements will all begin to retreat. I feel like this is something that would be hard to figure out on your own, unless the dialogue in the stage gives you a clue to do that.

So I sent Karin down to escape, but even then it was hard to survive the few turns it took her to get there. Meanwhile, there is also a swordsman that can be recruited by Sefy — I got the advice on discord to capture bait him and then as long as you block the way north he will try to escape the stage by going south instead, which will put him near Sefy.

There is a coliseum at the bottom but I’m not that stupid.

Stage 8

FINALLY we can use the between battle menu to arrange items and such. This is also where the “fatigue” system is implemented, so some of my characters could not be sent out. But on the whole this is a much easier stage than the previous ones.

My main difficulty was that I kept killing Marty, but I didn’t realize that Ostin has the “wrath” ability which makes him critical on counterattacks. Oops.

Stage 8 Gaiden

This was a frustrating stage for me. You begin with Tanya and Dagda alone vs. a bunch of enemies; fortunately they are pretty strong so it’s not as bad as you would think. Meanwhile everyone else went up the left side. I kept having to reset or load state because of bad moves, and then eventually when I reached the boss I could not hurt him effectively with anyone I had. So I had to restart the stage all the way from the beginning — unfortunately Asbel was fatigued so I couldn’t send him out, but the Fire Sword was in the convoy so I was able to use that along with Lief’s Light Sword to finish off the boss.

There is a mysterious thief in this stage who immediately heads for the exit and basically can’t be dealt with — I wonder if the only purpose of that unit is to open the door to the boss so that you can finish the stage even if you have no keys (which I am very very short on, I have no thief keys left since I lost one to capture baiting).

I’ve started promoting units as well, which is nice.