I’m making somewhat slow progress on this but I am moving forward. I think this will be the last post until I finish the game, which probably will not be this coming weekend but the weekend after that.
One element of the system I forgot to mention last time is the skill learning system. When you level up, you earn skill points — this starts out at 1 per level but increases as you gain more levels.
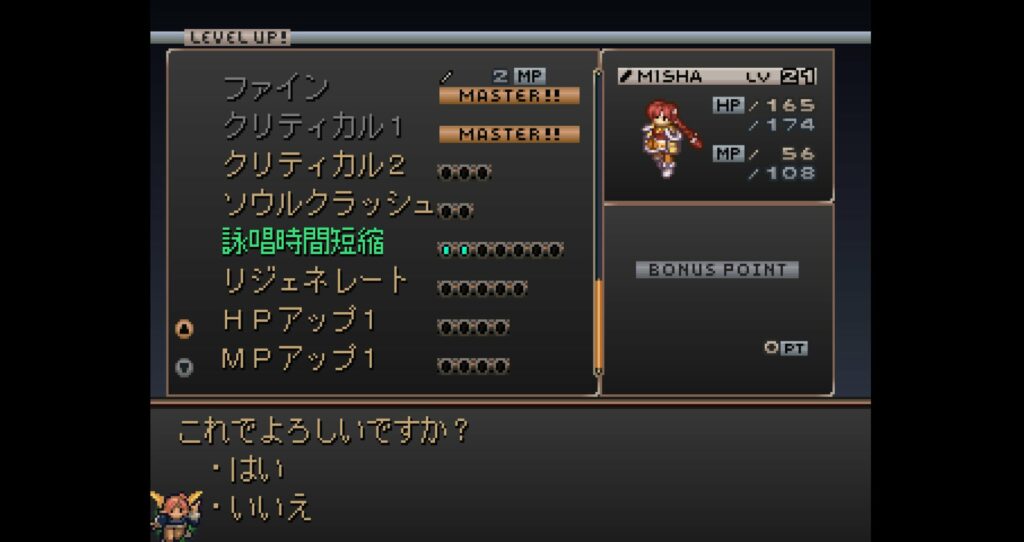
The circles there are how many points you need. So at lower levels when you are only getting 1 point per level it will be easier to get the small things. The things you can learn include spells/skills, and passive abilities like increasing critical hit rate, stealing things, or quickening spellcasting time. I think the difficulty of this game changes a lot depending on how efficiently you spend these points.
Last time I was in the middle of the quest to save Sandra by giving her a medicine from the Featherians. This whole sequence is mostly story and exploration; the main remaining battle is the tournament in the main capital which you have to fight with just the main character and Luisa. The main walkthrough on gamefaqs makes it seem like you really have to be prepared for this but it’s not quite as crucial as that — you have to win six battles, but you get a fair amount of money and XP for clearing each one, and after each one you can save and rest, buy things, and even leave the capital to fight random battles. So it’s not like you will get stuck if you end up here with an inadequate party.
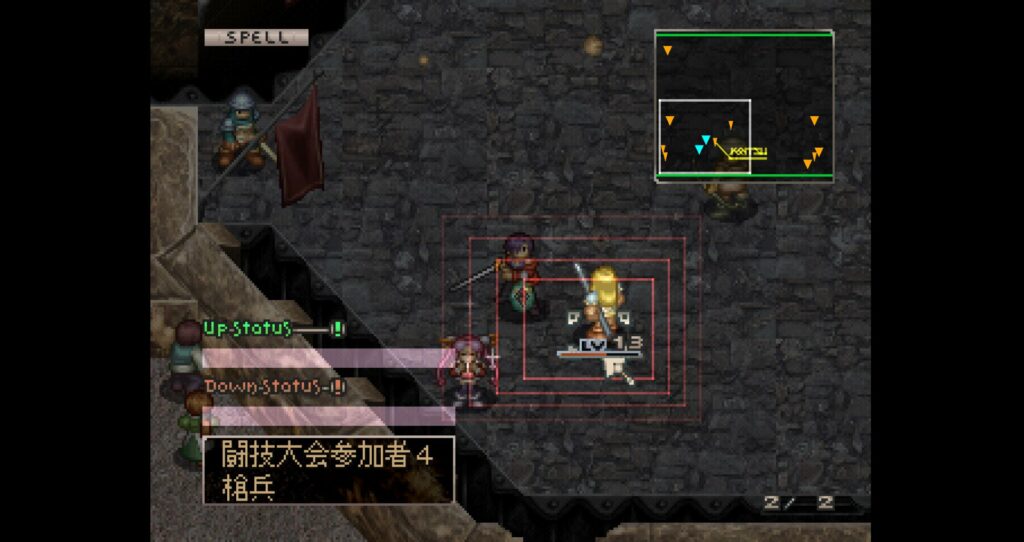
After winning the tournament, we can continue this section of the game, going through a lot more story sequences until the next dungeon, where we save the Featherian queen. The main event battle here is a race against time to solve a door puzzle while endless enemies come at you, although you can destroy the generators they are coming out of.
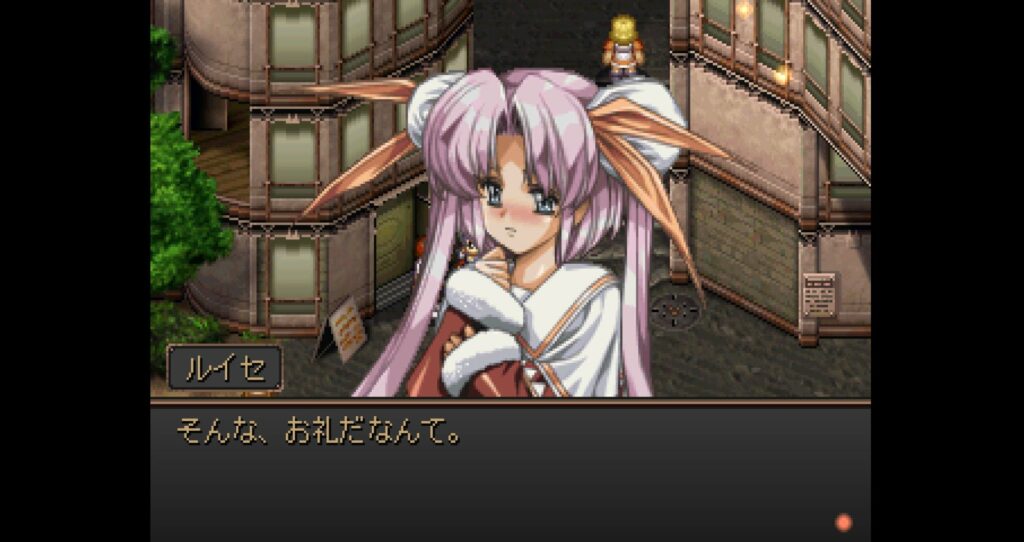
This finally finishes the first major section of the game, and puts the Featharian story aside for the time being — now the game switches modes a bit. We become operatives for the kingdom and are given missions to complete (apparently 12 total followed by the endgame). After each mission, depending on certain factors during the mission, you will get 1-3 “vacation” days where you can go around to various places and talk to your party members.
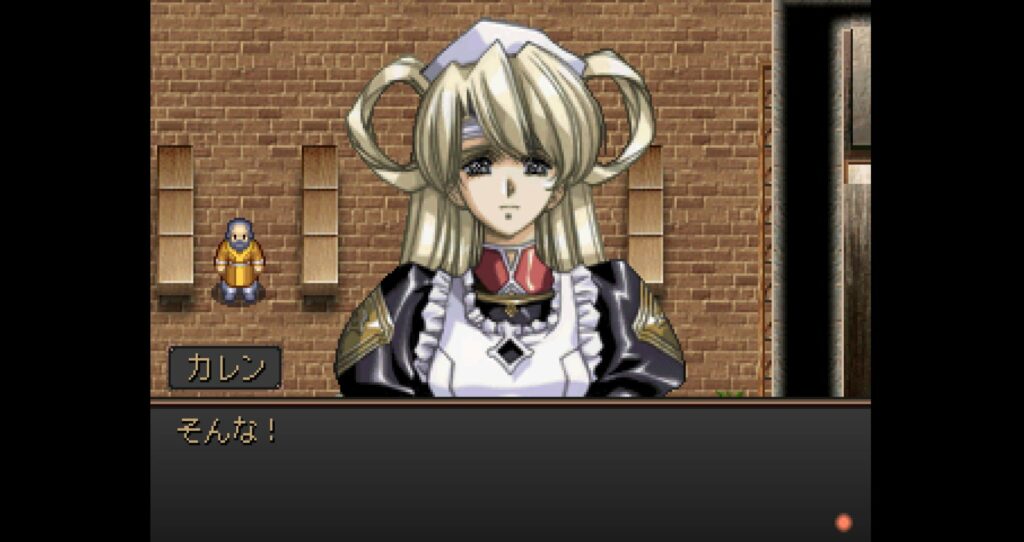
In one sense this is a rather frustrating system because each character has a sequence of events that you can complete to ultimately see that character’s ending, but there is no way to tell where these events will be. (I may be wrong about this endings thing, I haven’t checked the later parts of the walkthrough so I’m not completely certain that seeing all a character’s events are necessary).
You choose where to go to spend the day, and then talk to your characters, but you only get a limited number of chances to do this before the day ends. A character might have one of their specific events, but even if they don’t, they just say a few lines and that wastes your time. So there is a fair amount of randomness involved in this.
On the other hand, as far as I can tell, nothing you do in these vacation sequences affects the main gameplay — that is, you don’t get any items or hidden skills or anything like that. So if you end up wasting all your time and not finding many events, it won’t affect the main story or your ability to do any of the battles.
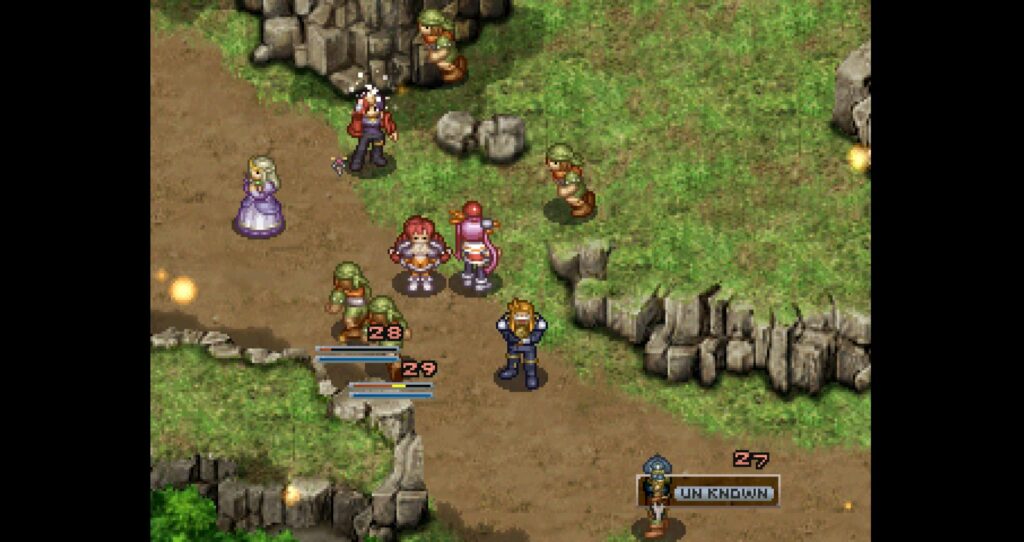
I’ve done the first three missions so far — the storyline now has switched to a war between your kingdom and the neighboring one. As usually, most of the battles involve more than just killing all the enemies. In battle 9 you have to protect the princess, battle 10 collect an item (although it’s easier just to beat all the enemies), and battle 11 stop thieves from leaving the screen. The only battle in this section I found particularly tricky was battle 14 in mission 3.
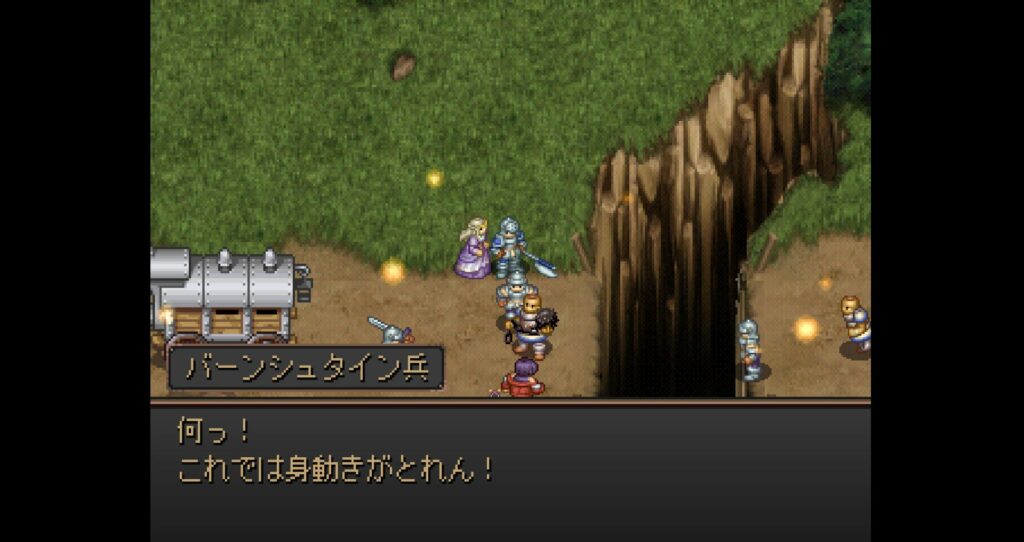
In this mission you are trying to save the princess from a carriage that is taking her to a prison. You hide behind a rock until you think it’s the right time to move out, then you have three successive goals — collapse the left bridge so the carriage can’t cross the chasm, collapse the right bridge so the soldiers can’t escape with the princess, and then defeat the remaining enemies (without the princess being killed).
You lose if the carriage crosses the left bridge; it’s hard to judge when to jump out. Partly it’s challenging to figure out exactly where you have to move to drop the bridge, and the enemies will immediately block you from doing it. I made a save state right before the fight started just so I wouldn’t have to go through all the dialogue again, and it took me about 10-12 tries to get it right. Then you have to make sure someone is close enough on the right side to take out the bridge, but I was able to do that on my first try.
Battle 15 is slightly challenging if you want to prevent the NPCs from dying so that you can get the maximum vacation days, but spamming Magic Arrow is sufficient.
Anyway that’s the end of mission 3. Whether I make a post next week depends on whether I think I have enough to write about — otherwise I’ll skip that week and just do a wrapup the following week (hopefully 2 more weeks will be enough!!)